It’s the midpoint of the One Room Challenge. Where is that freaking-out emoji? WE HAVE SO MUCH TO DO! SO MUCH! So we’re going to dive right in (did you count all the so’s?). Recap of week 3.

If you came here from the ORC site, hello! I’m Sanju Patel. By day, I work behind a desk, typically crunching numbers. By night, you can find me in a garage. My wife and I purchased a home in Texas 2 years ago – a quick close without costly bells and whistles. As lifelong fans of DIY, we’ve decided to invest into our home as our family grows with an open invitation to see our process from start to finish.
Slinging Some Mud
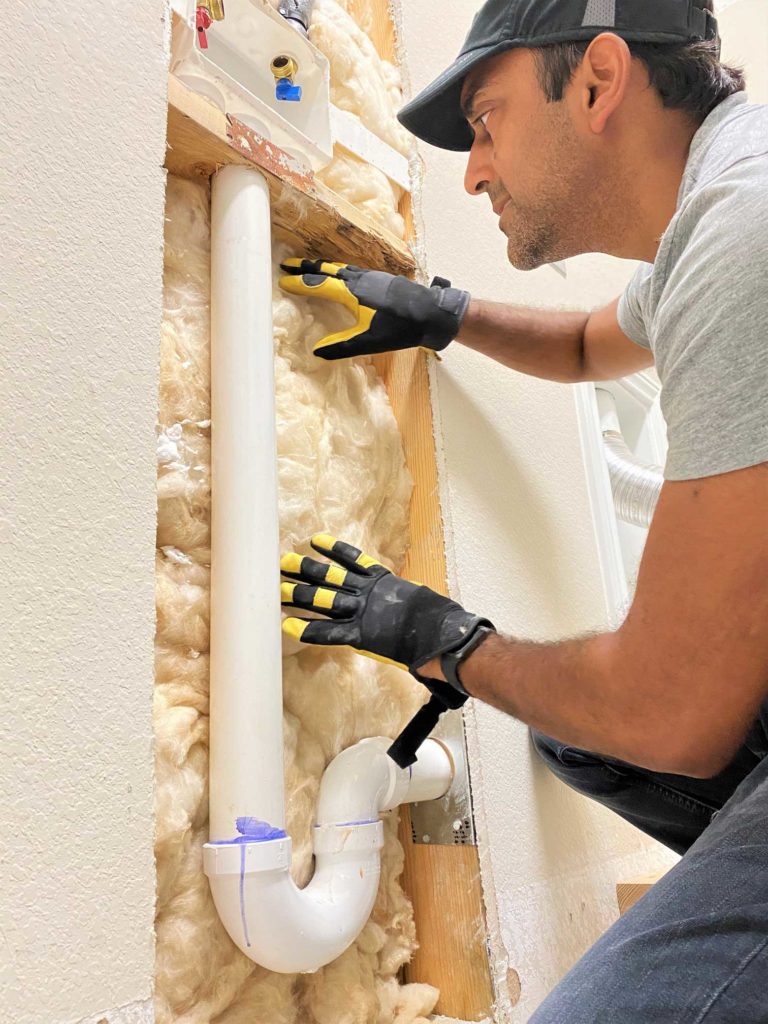
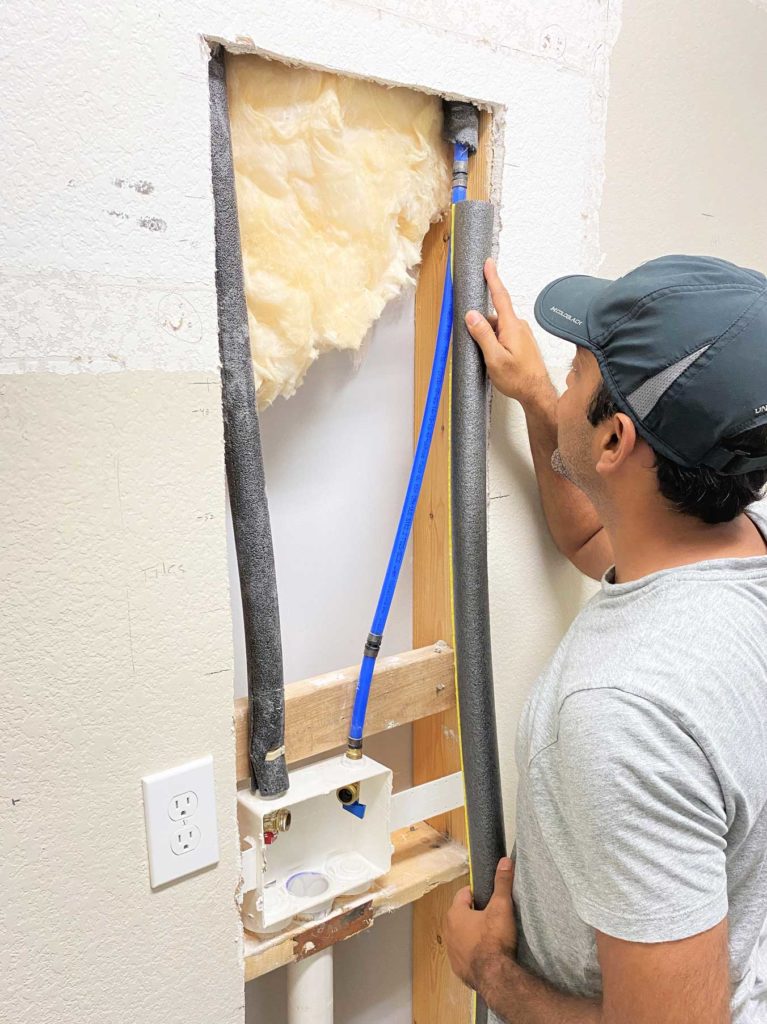
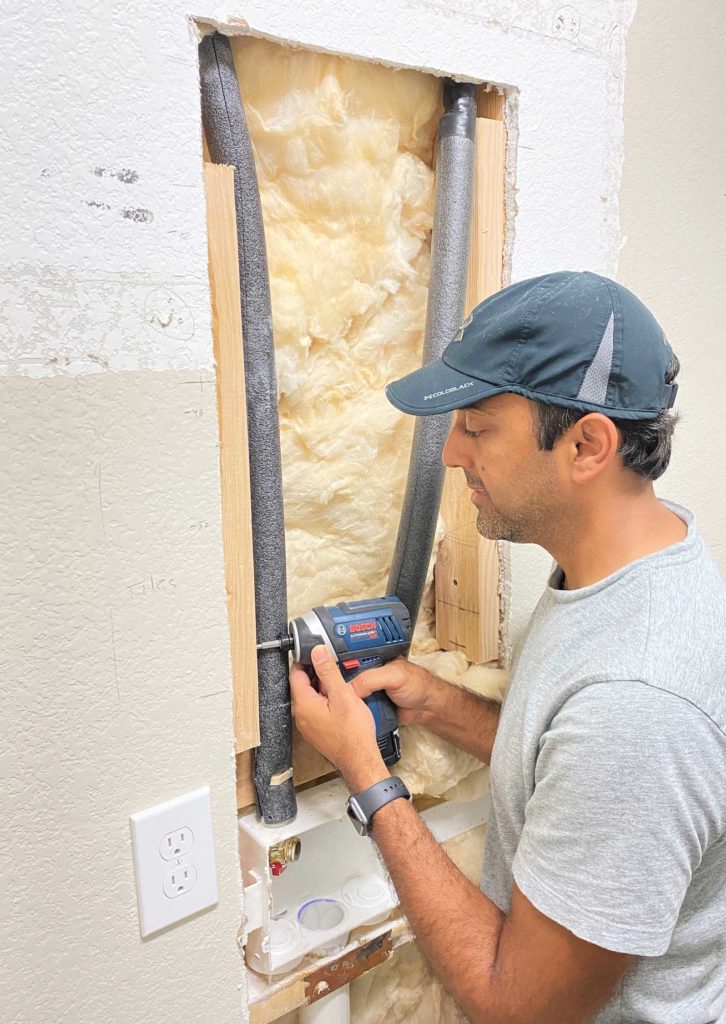
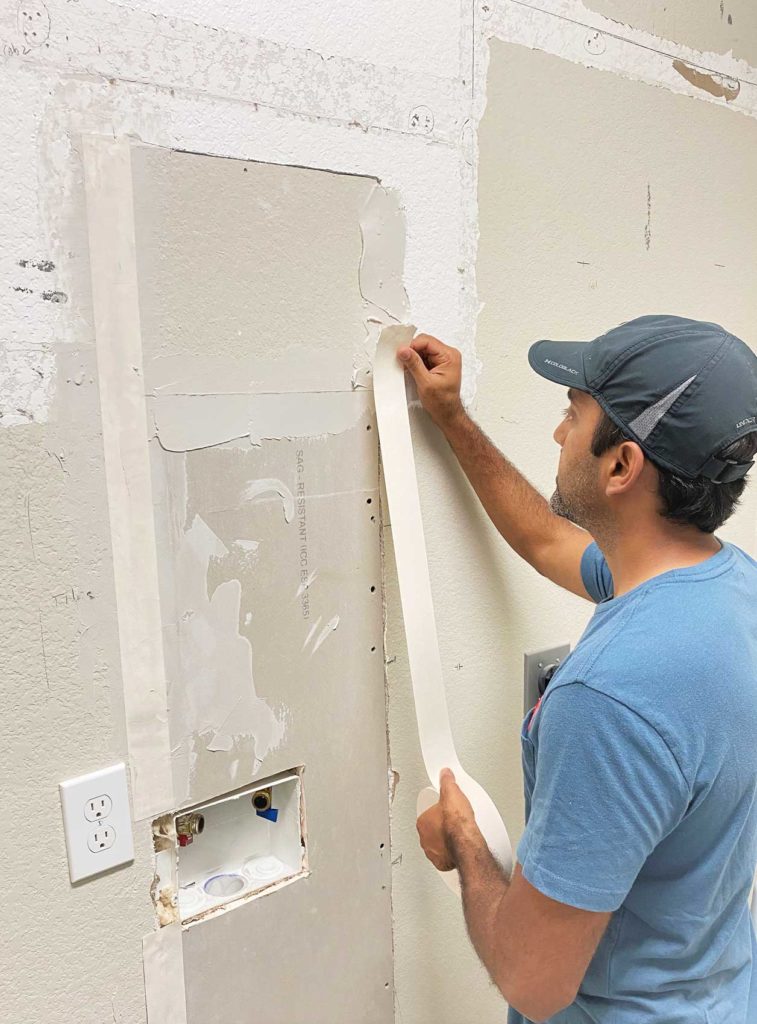
We finally patched up the drywall. R-13 insulation was replaced and the PEX tubing encased with new 1/2″ foam. New drywall was cut to size (for precise cuts, make several passes with a utility knife). The opening was blocked out with 2×4’s for the new drywall to rest on. 2″ drywall screws spaced 5-6″ apart were used to attach the drywall.
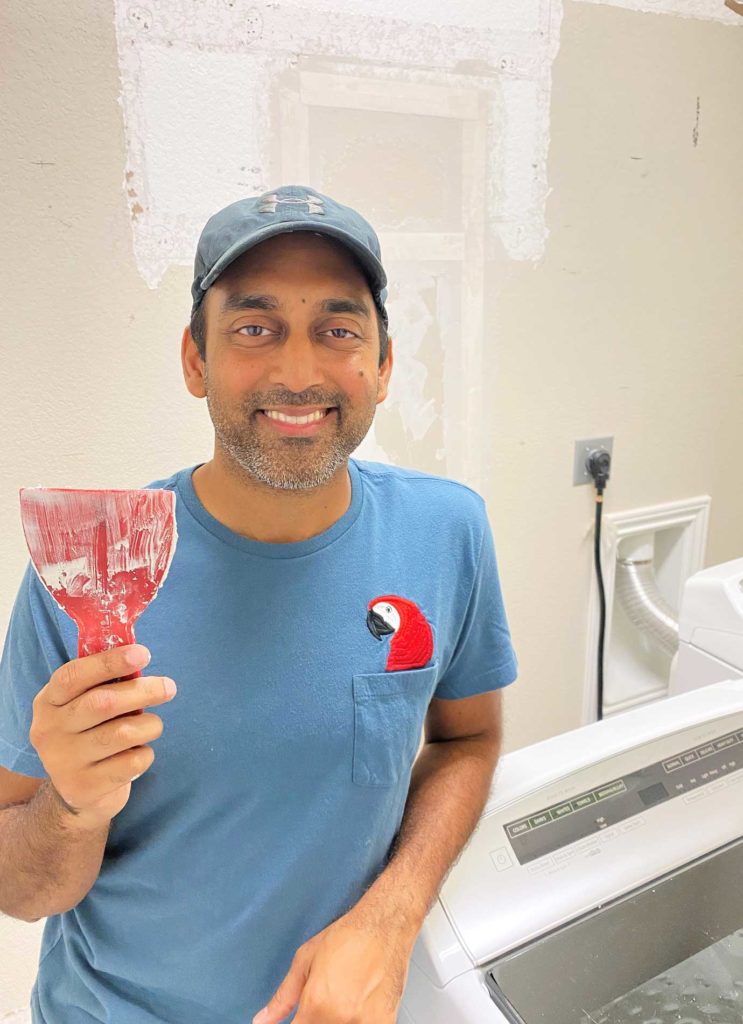
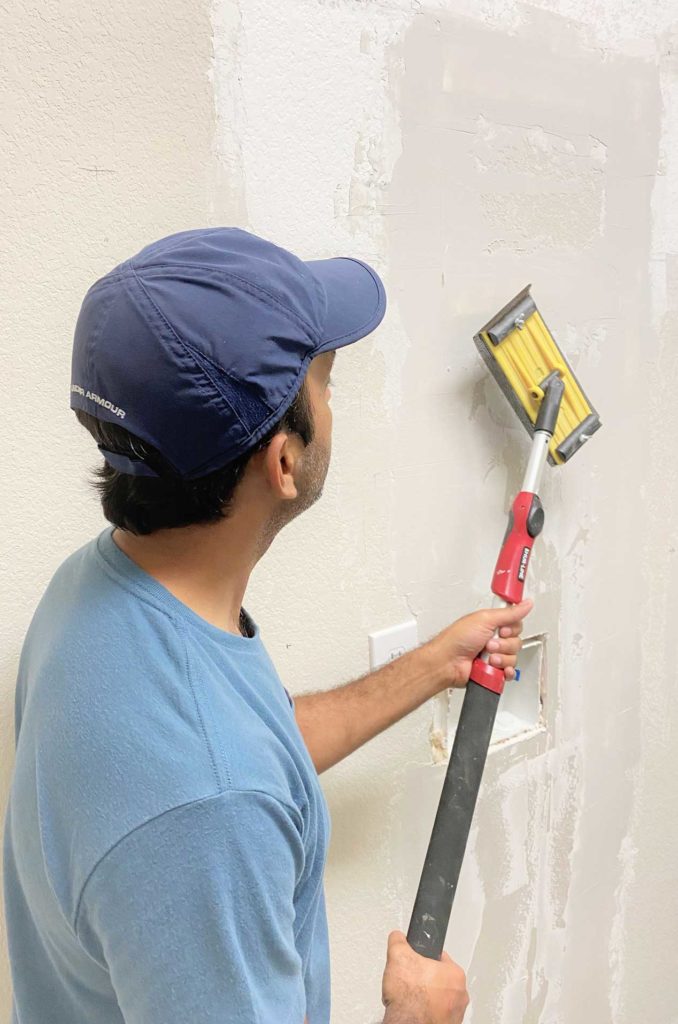
Paper tape with drywall plaster (aka mud) was used to overlap the seams (be sure to get full coverage and let out air bubbles by pressing with a putty knife). This will take multiple passes with dry time in between – mud, dry, sand, mud, dry, sand…etc until you reach your desired look. As a general rule, start with medium and end with fine sand. Our repair job doesn’t have to be completely perfect since most of it will be covered at some point in this room transformation.
Our Scandinavian Journey
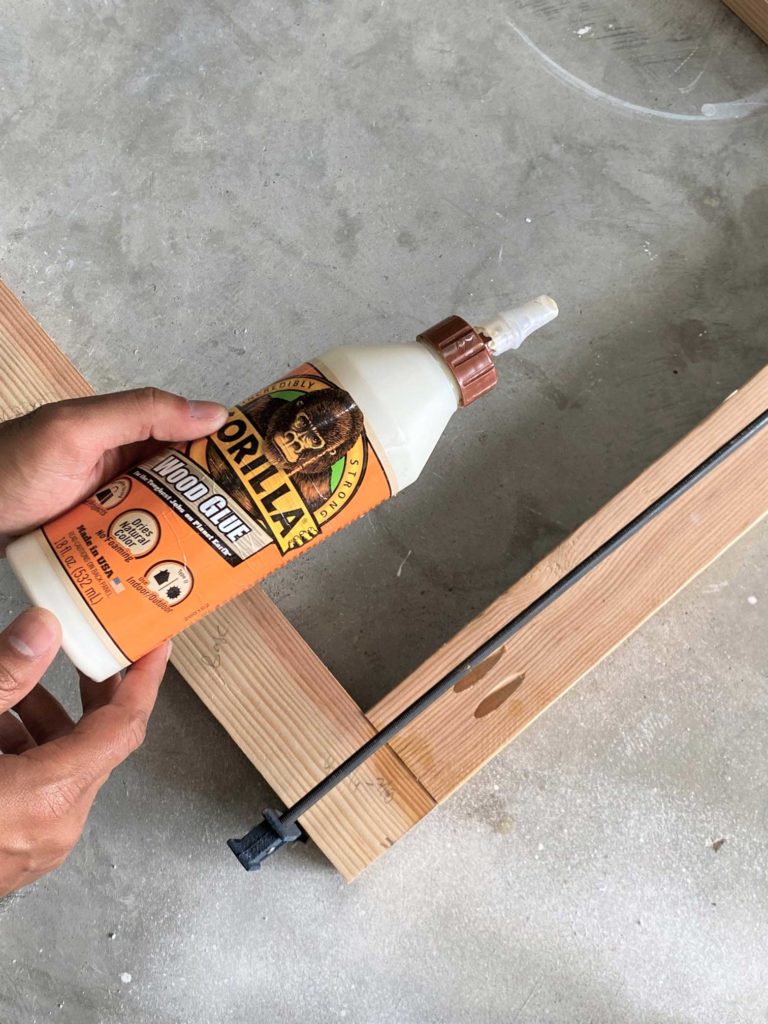
With the drywall patched up, we decided to switch things up and start building the Ikea Pax unit. Base work was completed with my favorite pals: Gorilla Wood Glue and #10 3 1/2″ Power Pro Screws found at Lowes.

Next, we unpackaged our Pax unit – it’s actually well packed and easy to retrieve. With the boards being high, it might be helpful to ask for help (though the boards are light). When opening the box, be careful using a utility knife – it might accidentally pierce the unit.
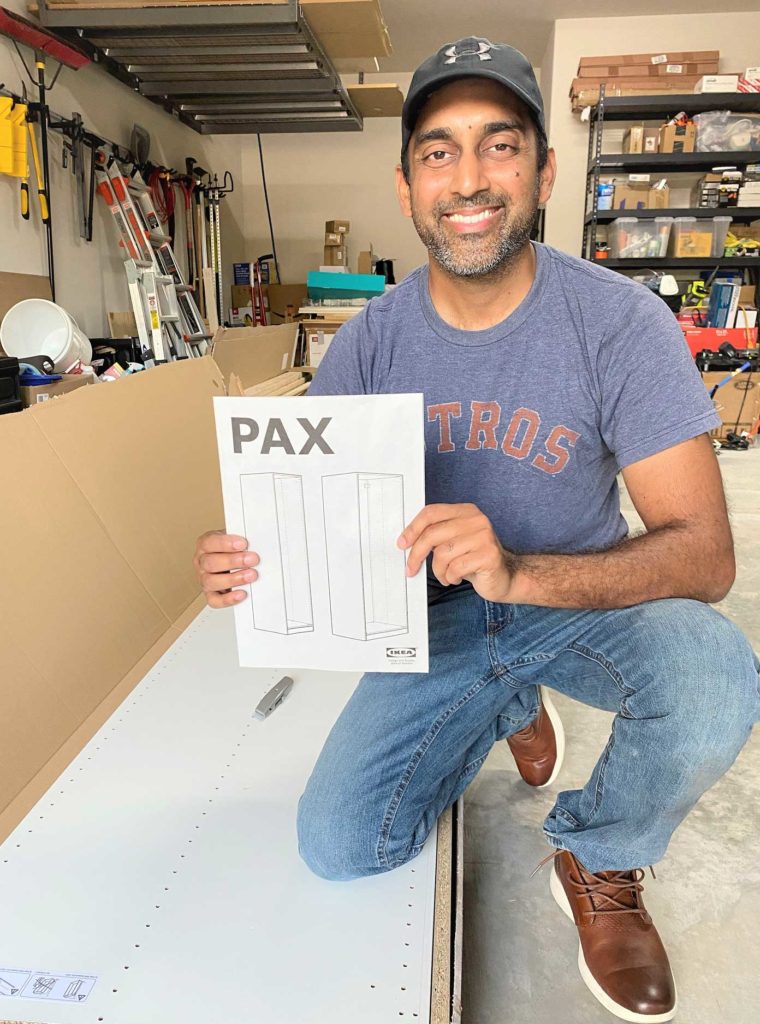
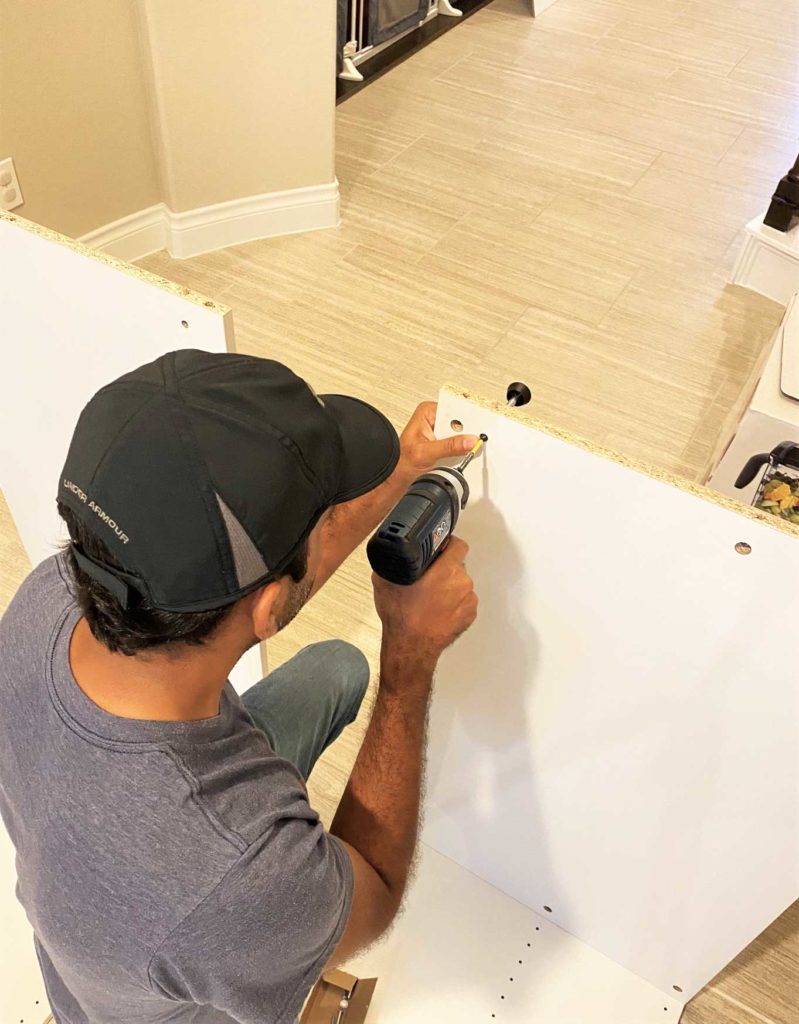

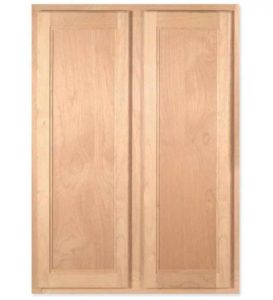
The unit is tall and wide so we’re going to keep it out of the laundry for now. This should give us enough room to work in for other tasks. By the way, don’t you love those doors?
We have a lot more ground to cover this week:
- Attach studs on the walls for the Pax unit to rest on
- Start building out the Pax cabinet topper (as featured on our closet reno Instagram stories)
- Paint some of the walls
- Paint Pax unit door (we’ll have to trial and error it with the material – if you’ve painted similar furniture before, we’re all ears for suggestions!)
- Order more wallpaper
Speaking of wallpaper, we received so many great suggestions on how to deal with our textured wall! Thanks from the bottom of our hearts. Just wanted to highlight a few: 1) add a wallpaper liner to minimize texture, 2) try a hardboard, 3) use the wallpaper as-is. At first, the latter didn’t make sense, because that is what we were trying to solve for, but a great point was brought up depending on the lighting situation. Natural light tends to dramatize shadows. In our case, we just have a big, bright florescent bulb shooting downward and well…the texture is actually hardly noticeable. We also reached out to lovevsdesign and they echoed similar suggestions. So…we might just attach the wallpaper as-is.
Backordered Parts
Here’s what I didn’t anticipate for (hand resting on head). We ordered 2 unfinished Alderwood cabinets (30″ W x 42″ H) to rest above our washer and dryer. Sadly, the cabinets are backordered and may not arrive for another 2 weeks. We could easily swap out for the abundantly supplied 30″ H units, but that extra foot will add more depth (and space). It’s something we’re trying hard not to part with just yet.
Gut check: we’ll be in for a thriller in the final week as everything comes together. We still have a backsplash to work on that last week, eek! Thank the heavens for Memorial Day weekend because we have some catchup to do (though I might be tempted with some R&R).
As always, send us any questions and don’t forget to follow our Instagram stories. By the way, there are 20 SUPERB featured designers participating in the One Room Challenge with Better Homes and Gardens as a media partner. These guys and gals totally rock and will not disappoint. Check it out!
“Where is that freaking-out emoji?” lol same. Hope your cabinets come in soon! Can’t wait to see the finished project!
Hi,
You look like you’re having fun! I’m tackling my laundry room in the fall and also plan to do some Ikea hacks, so I’ll be keeping an eye on your progress for tips.
Good luck on the next half of the challenge! 👍
-Amanda
Amanda Sosnowski Interior Design
PS- I searched on your website and Instagram but couldn’t find your name anywhere 🤷♀️
It’s coming along great, Sanju! Looking forward to the big reveal soon–this has been such a fun project. Cheers, from our laundry room to yours! -Kristi