
Enhance your outdoor space with a pergola
Hi folks! For our latest transformation, we went outdoors – extending our patio and building a pergola from scratch along the Eastern side of our home. Surrounded by beautiful landscape, a pergola can serve as a place to gather, eat, and play.
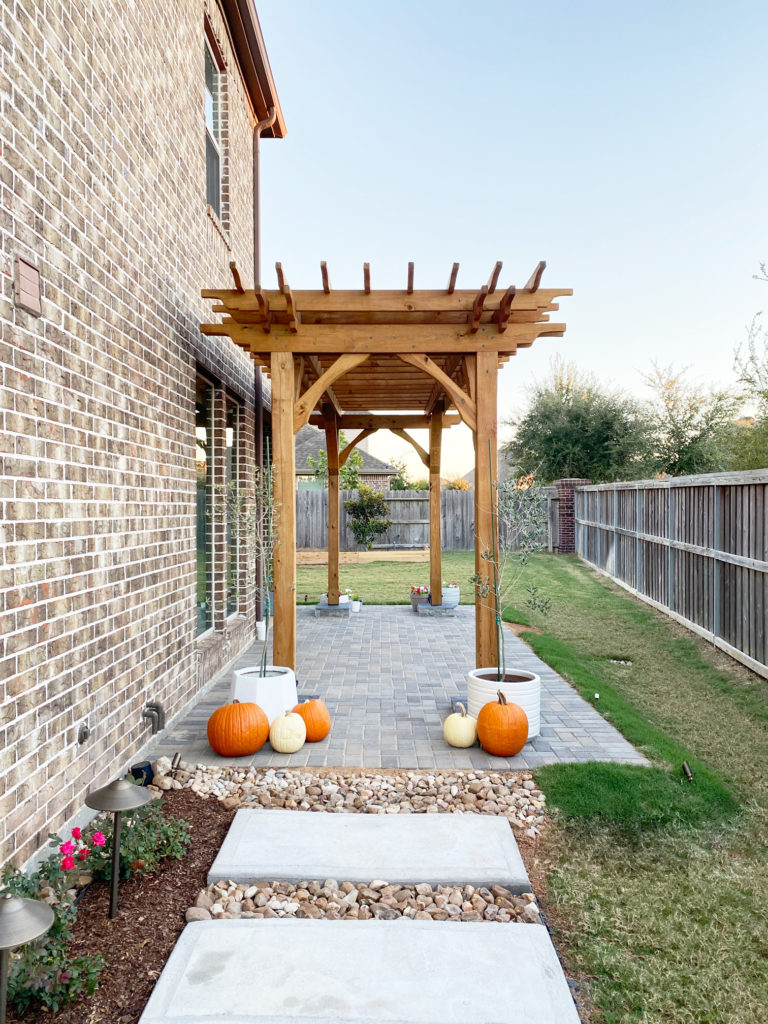
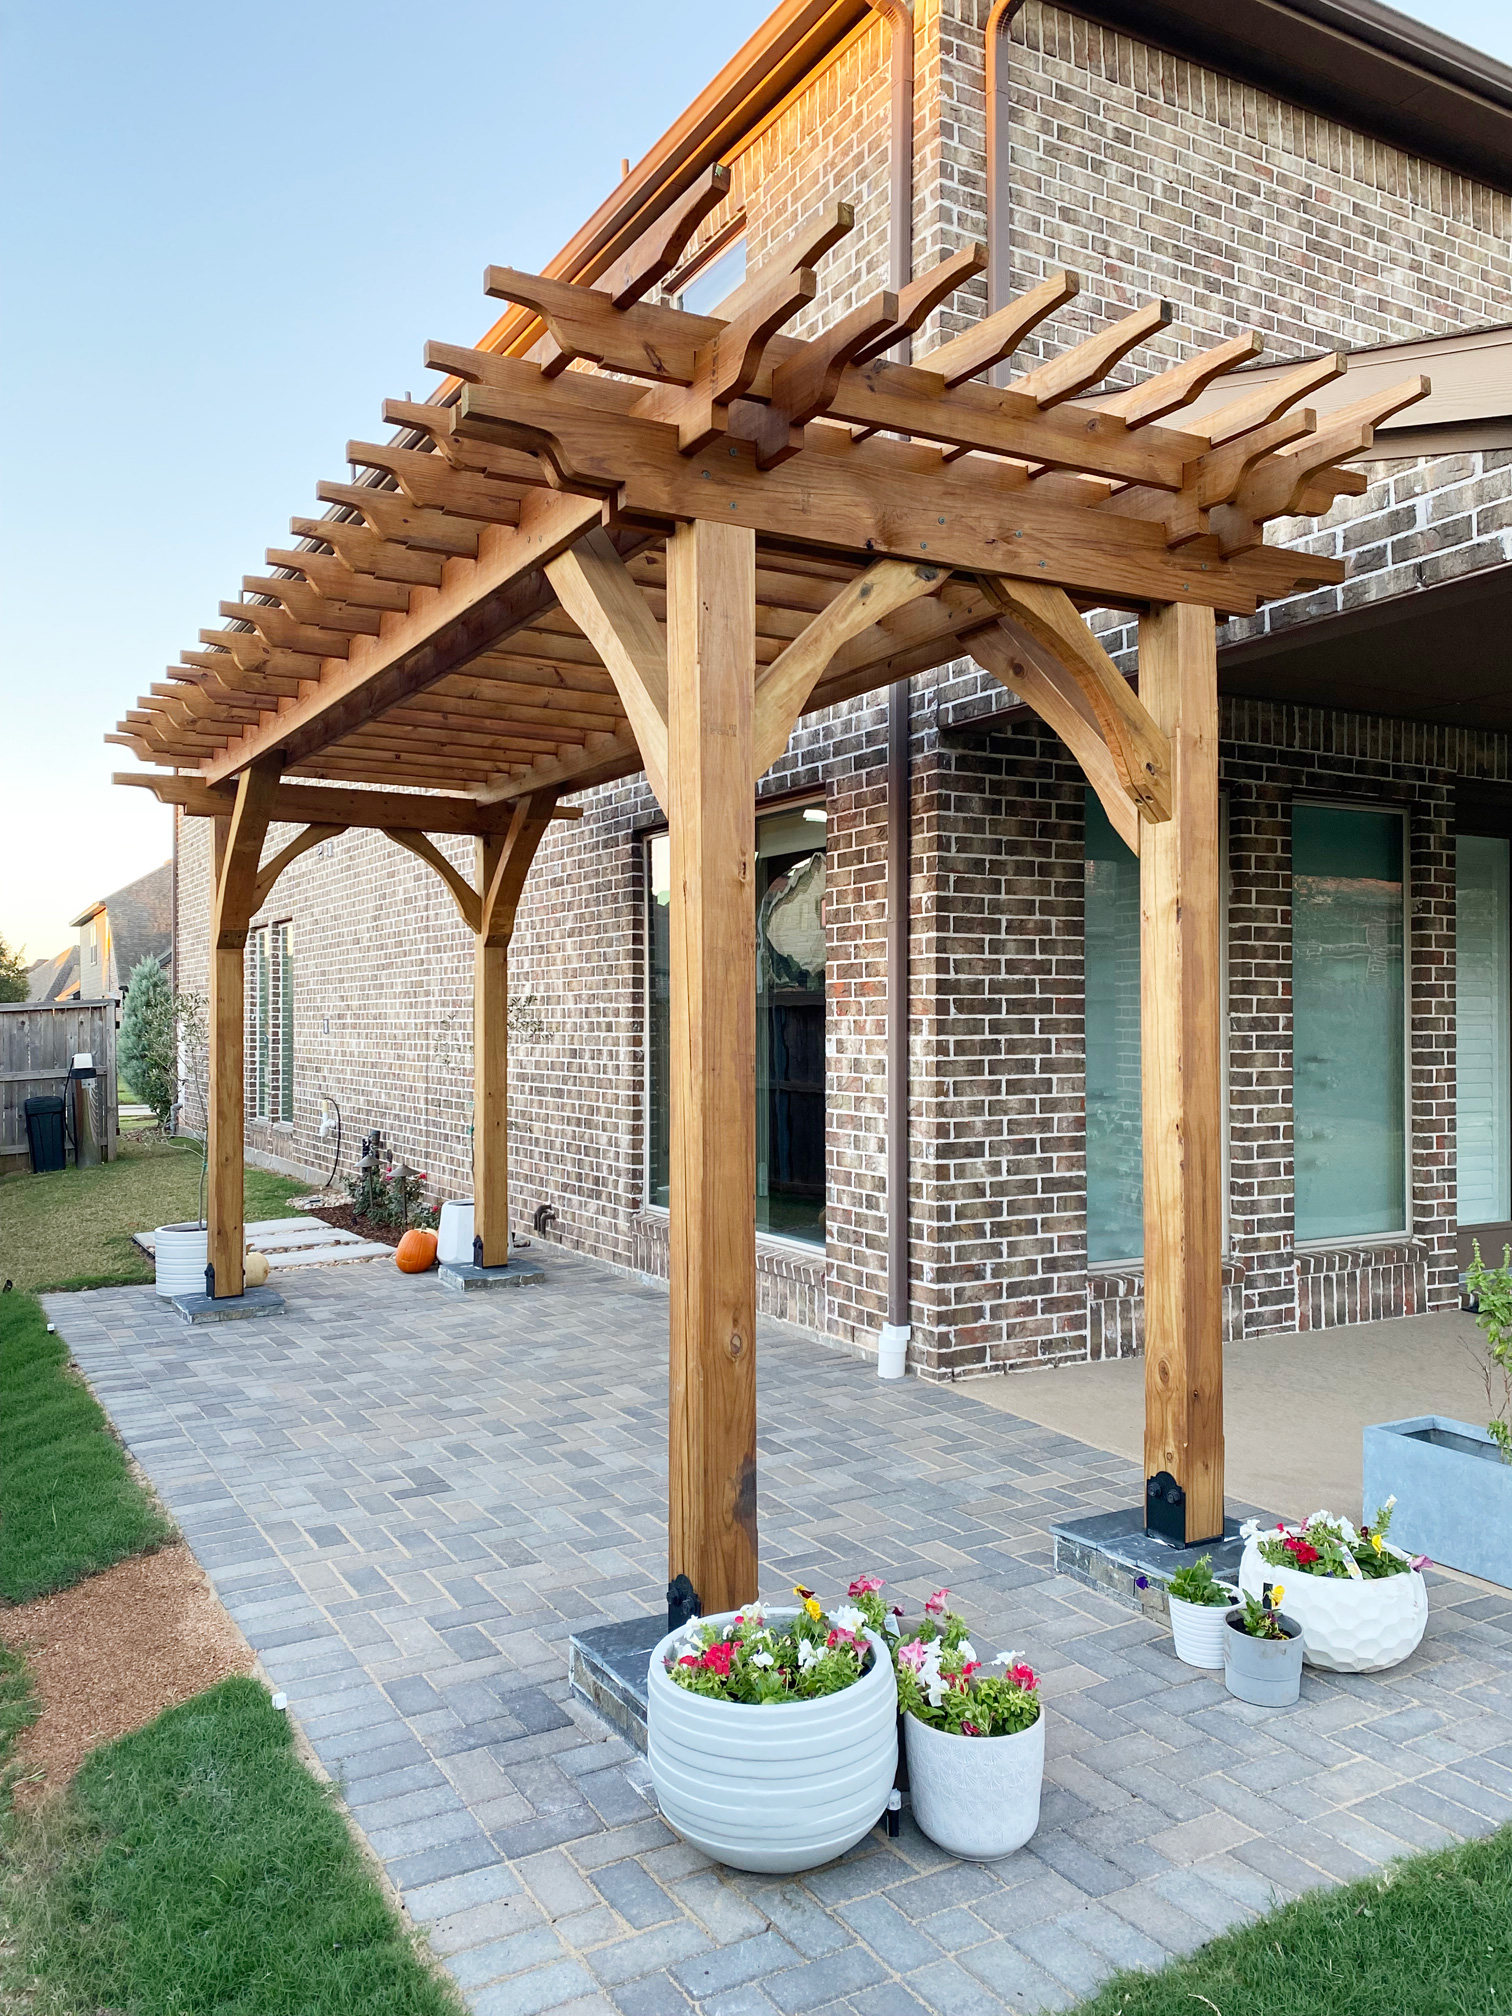
A pergola is a garden feature supported by posts and cross beams to help provide shade while creating a breezeway effect. Although the planning process started back in March, we’re excited to share weekly progress carrying us into Autumn.
A perfect budget friendly solution
A pergola is a quick and efficient way to add some flair to your outdoor space while still blocking some sunlight. Our windows receive a TON of morning light and although roller shades help, we didn’t want to reduce all of the natural light. In addition, a pergola extends our patio with ease without having to pour expensive concrete and build an enclosed structure.
What to consider?
We honestly had no idea where to start, but a quick Google search revealed countless DIYers building pergolas for a fraction of the price (professionally built and installed pergolas can be greater than $10k depending on the size). Since time was on our side, we dived right in from calculating dimensions to sourcing materials. Here are a few areas to keep in mind if you choose to DIY:
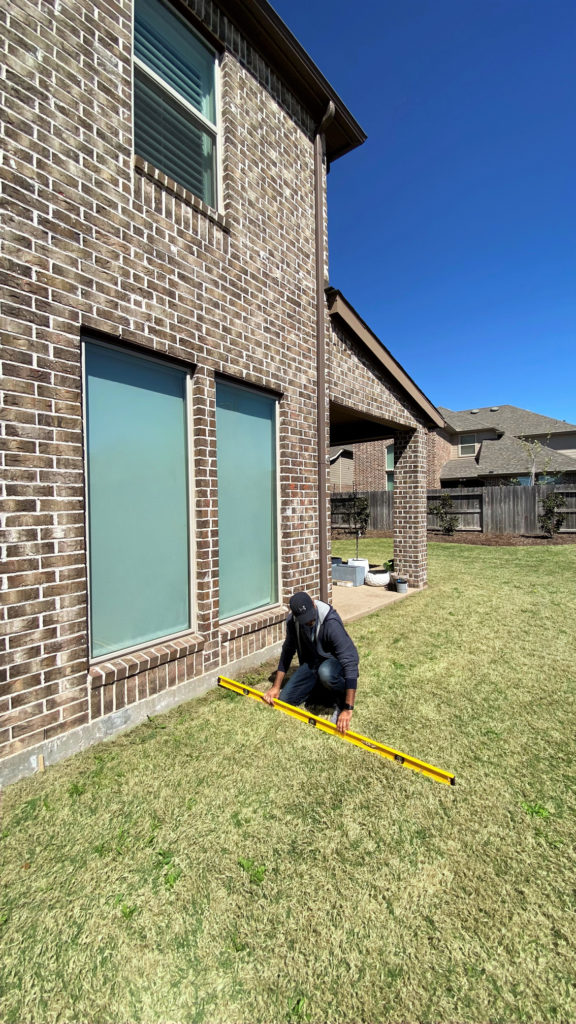
- calculate structure dimension
- find reliable pergola plans (such as Apex Pergola)
- consider flooring options (such as concrete, pavers, decomposed granite, grass)
- determine landscape (such as bushes, shrubs, irrigation, drainage)
- source materials (locally or big box stores)
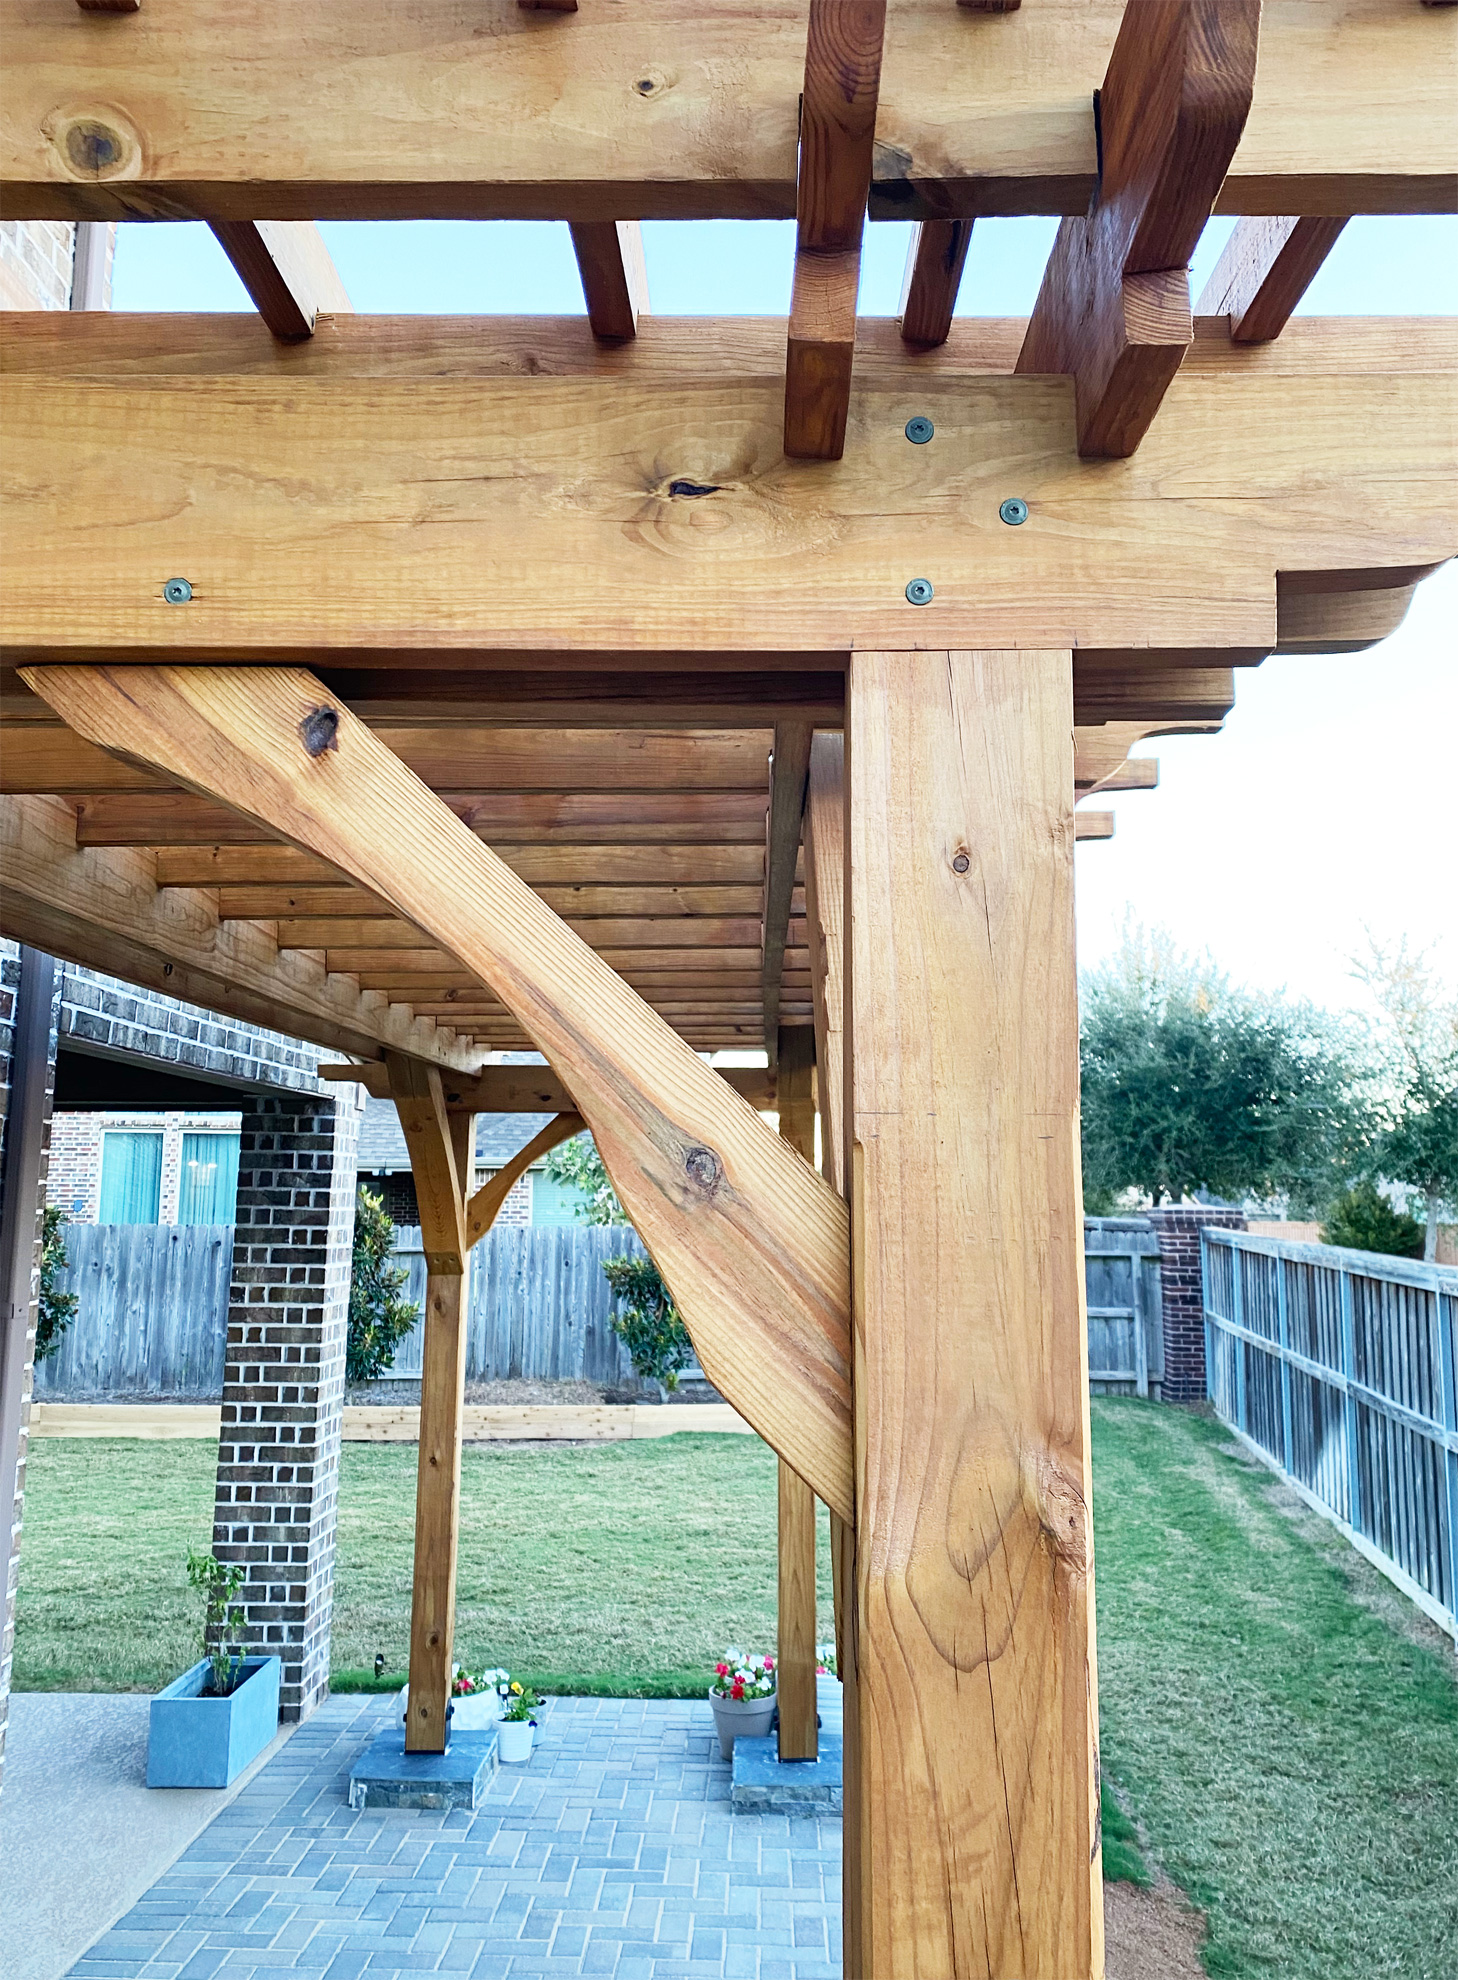
A classic pergola will overhang from the posts – something we had not considered initially. For example, if you are building a 8′ x 20′ pergola, the posts will land inside of the overhang – as a result, post to post, the dimensions will be closer to about 5′ x 16′. Our posts landed in front of windows that had to be moved back, creating a small gap on the other end. Moral of the story: don’t be afraid to go bigger if needed. The challenge also arrives when beams are longer than 20′ – which are not readily accessible at a retail level. Long pressure treated beams are prone to twisting and warping. In this case, two shorter beams can be joined at the middle.
Finding the right plan
There are countless plans online, but good results were achieved through Apex Pergola. The plans were professional with an easy-to-understand material list downloaded in minutes and very helpful YouTube videos. In fact, the plans were so good that they were quickly accepted by our Homeowners Association (for those that have HOAs, consider approval time and acceptance before ordering materials).
Renting tools vs. owning
As DIYers, we thankfully had a few tools in our garage such as a power drill, circular saw, reciprocating saw, sander. Its no secret that if you plan to continue DIYing, it’s better to invest in tools. For one-time use, we found success by renting moderately priced tools (or vehicles) for a few hours through Home Depot (such as a motorized auger to help dig a 2-3′ hole for our post install). Keep in mind, tools are charged by the hour or day so plan ahead, perform your research on tool operation, and work quickly.
Materials
There are 2 common materials to choose from: the more expensive, yet aesthetically pleasing and aromatic cedar or affordable pressure treated Southern yellow pine (referred to as PT). Coming right out of the mill, pressure treated lumber is “wet” and incredibly heavy (much heavier than cedar). With long beams, delivery offers a convenient solution for a fraction of the total project budget (plus its easy on the back and reduces lifting/loading). Our local lumber depot, McCoy’s was well stocked for this project.
Both cedar and PT lumber repel rot or insects, however cedar is a far superior product (reflected in it’s price). Although we love cedar, we saved nearly 4x by choosing PT lumber.
To help match the look of cedar to PT lumber, we allowed the wood to dry to an acceptable moisture level (less than 12%) and apply a goof-proof natural cedar stain from Ready Seal (check stain labels for application instructions). Moisture content can be determined by a simple moisture meter.
Pergola basics can be found here.
As always, send us any questions and don’t forget to follow our Instagram stories. Check out our most recent yard progress.