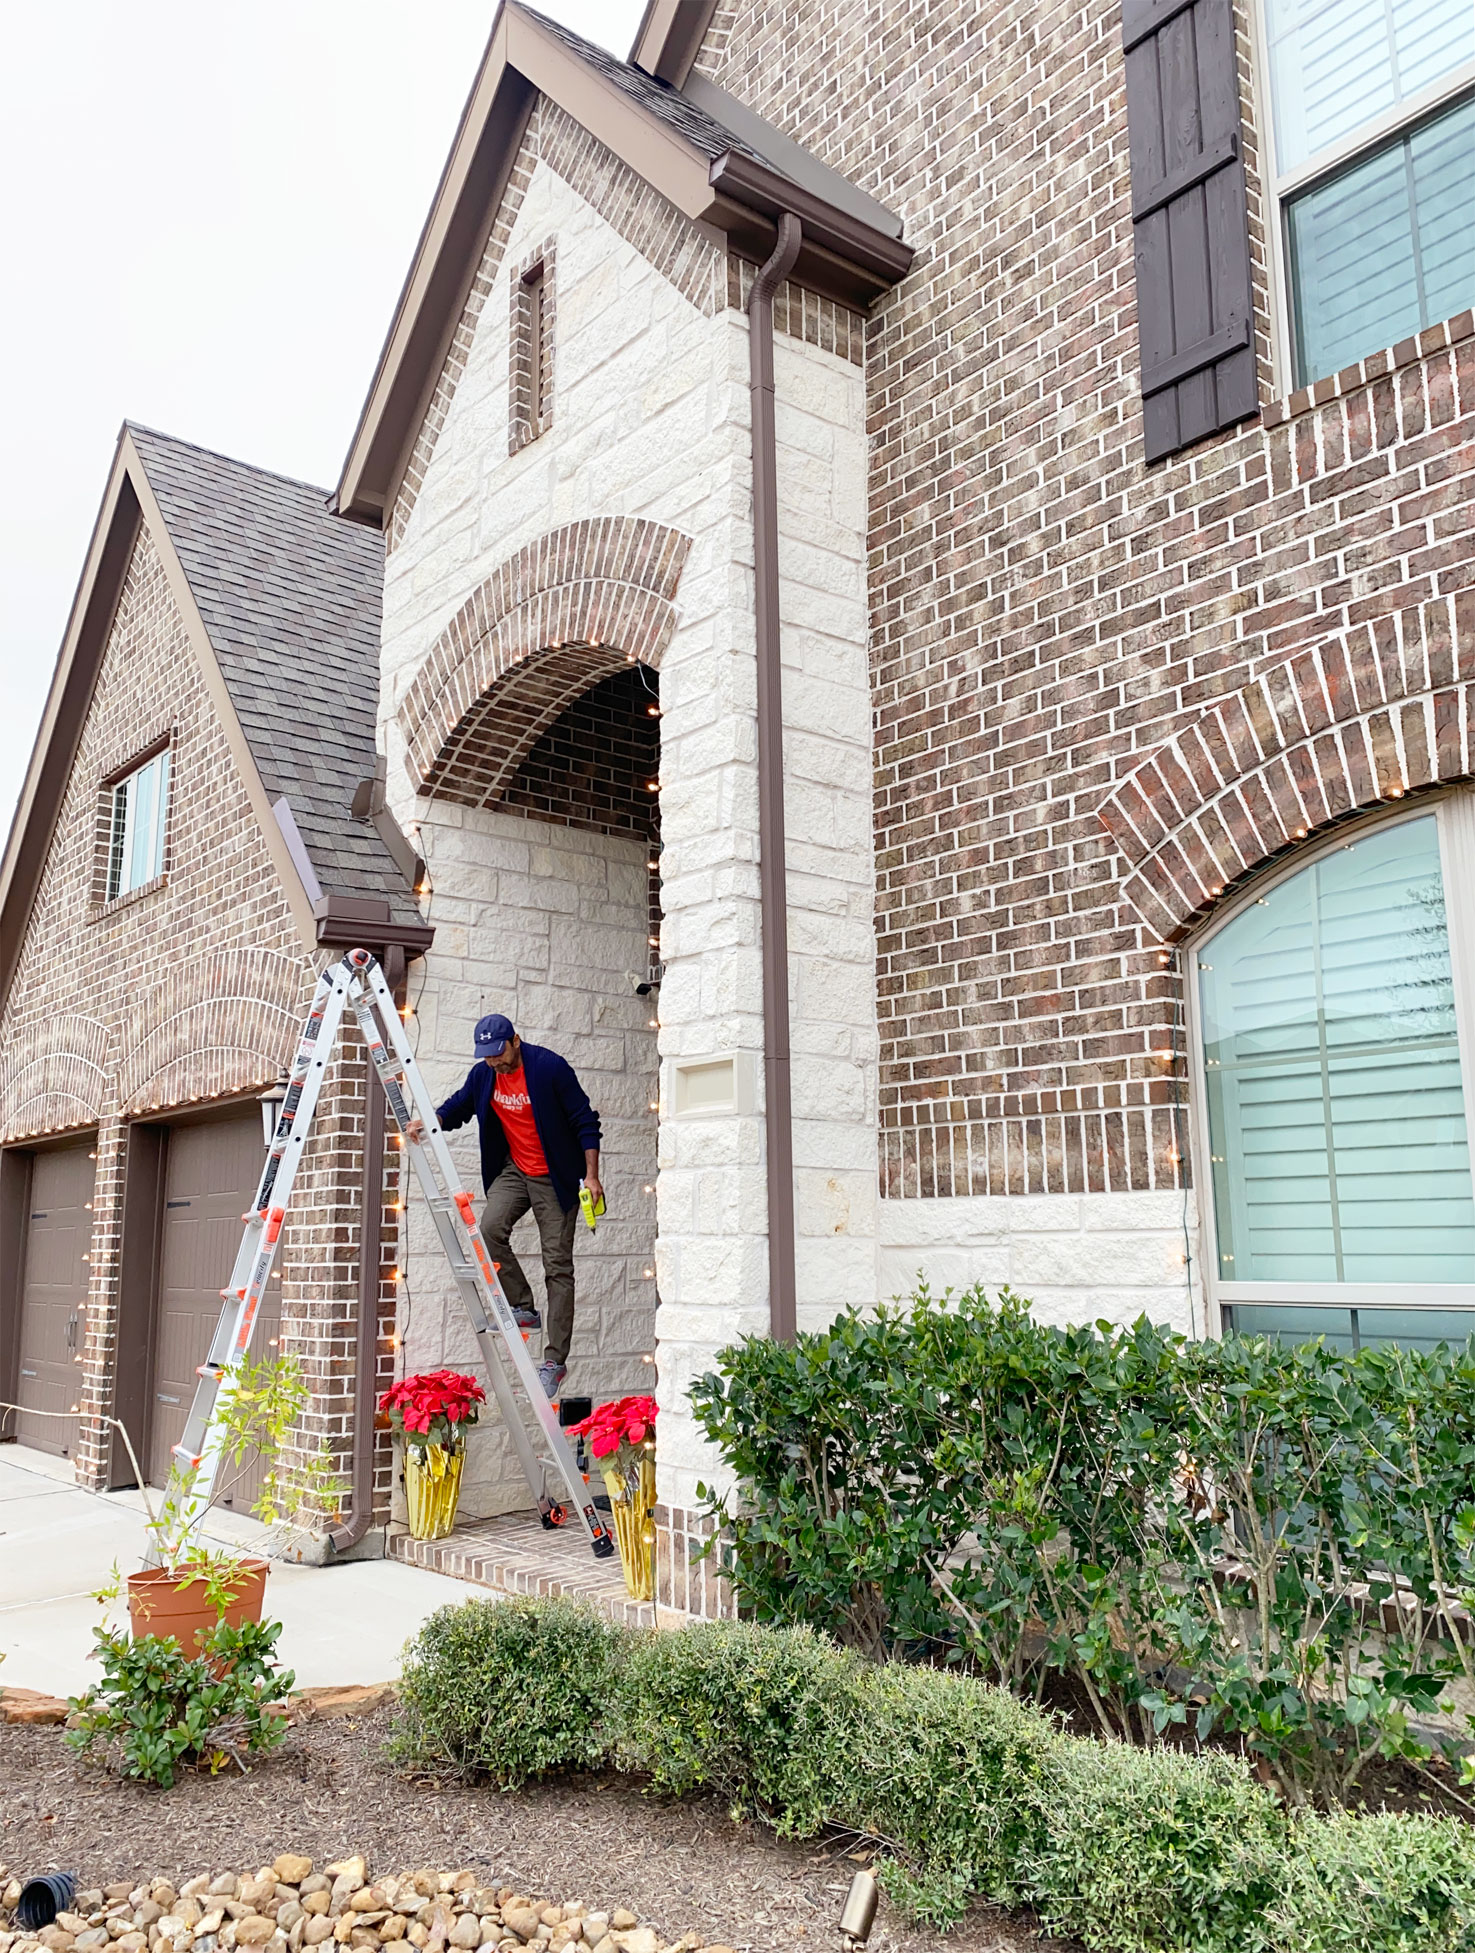
The day after Thanksgiving arrives with many fond memories of unraveling those miniature Christmas lights and hanging them over our garage, driveway, and trees. And of course, hiding that extra slack behind a bush or in the gutter that would remain lit through Christmas (hehe).
However, there’s no real secret to hanging lights like a pro. In fact, it’s INCREDIBLY easy. When you’re done, you’ll be asking yourself, “why did I wait so long?”
Last year, we hopped over to 1000bulbs.com and purchased C7 Christmas Lights in preparation for our install. The lights were cut down to size for a custom fit around an object (for example: a garage door or window) and spliced with 18 gauge SPT1 (outdoor rated) wire. In addition, lights were strung together using male and female connectors (Gilbert plugs). The possibilities are endless once you get the hang of it.
Tip: Highly recommend grabbing supplies 1-2 months before Thanksgiving to avoid shipping delays or stock outs.
Supply list
Here’s what you’ll need to get started…

As previously mentioned, most of these supplies were ordered from 1000bulbs.com, a one-stop shop for holiday lighting. This list can be used with other suppliers as well.
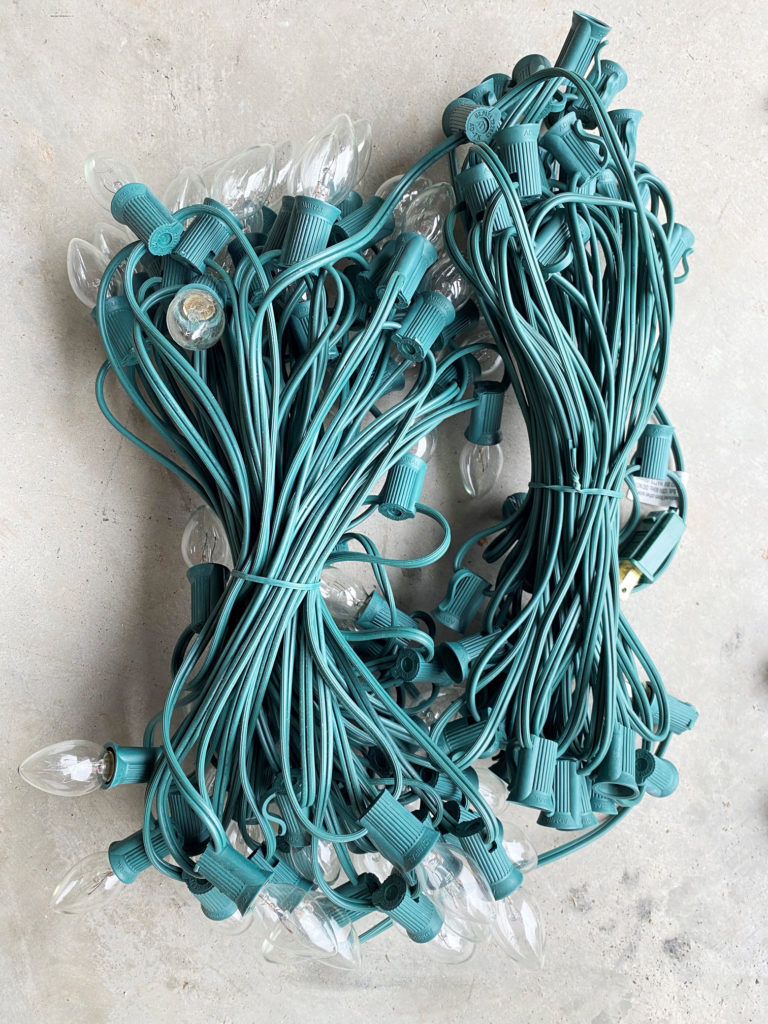
- C7 string lights (25′, 50′, or 100′ length): it never hurts to have extra slack that can be cut down. The worst feeling is not having enough.
- C7 clear light bulbs: sold in packs of 25. LED is the name of the game today, but you could opt for 7 watt incandescents for extra brightness.
- SPT1 18-gauge wire: extra wire that can be fed to an outlet. You may also discover thicker SPT2 wire, further explained here.
- Male and female Gilbert plugs: these plugs can be used to terminate the C7 string light or spliced to SPT1 wire to connect multiple lights.
- Cord wrap: used to store away Christmas lights. The Hyper Tough cord wraps from Walmart are economical, yet effective.
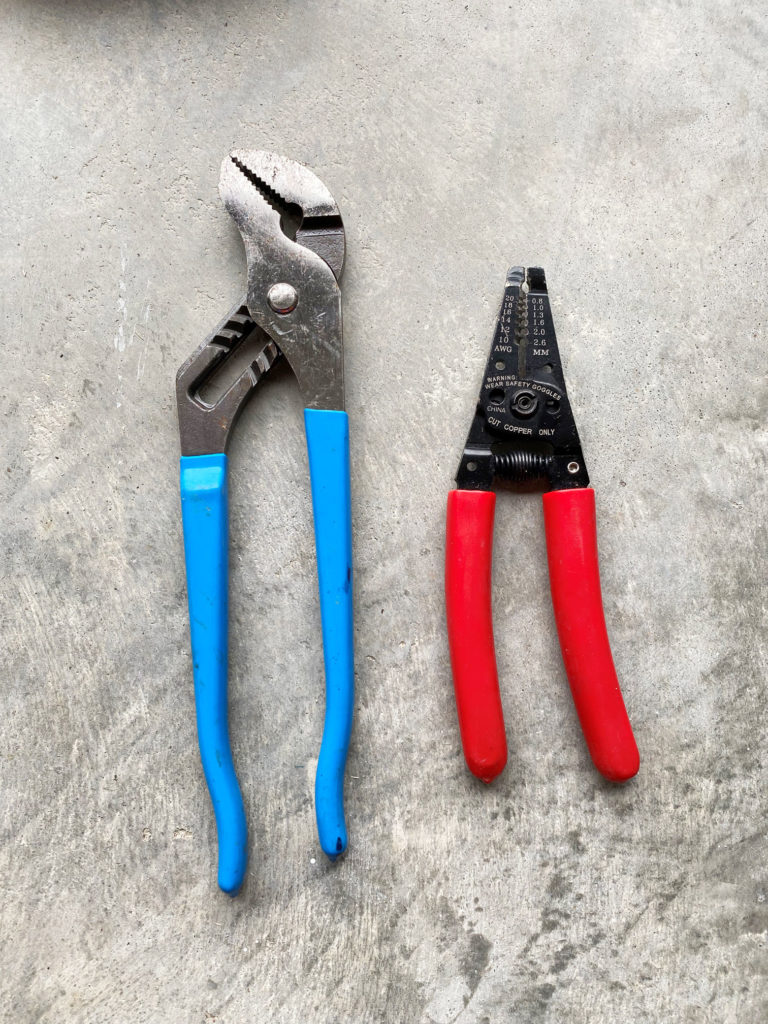
- Channel pliers: to open and close the Gilbert plugs
- Wire stripper (optional)
- Outdoor WiFI plug (optional): to control lights with a smartphone (especially helpful with an automatic schedule)
- Glue gun and full size 10″ glue sticks: to secure lights to surface like a brick wall
- Magnetic clips: perfect for metal lintels, quick and easy to install.
Installing Gilbert plugs
First, measure the object or area and plan how the wiring should feed to an outdoor outlet. Most outdoor outlets should be GFCI protected per national and local codes. As added protected, C7 string lights should also arrive with a female plug containing a small fuse.
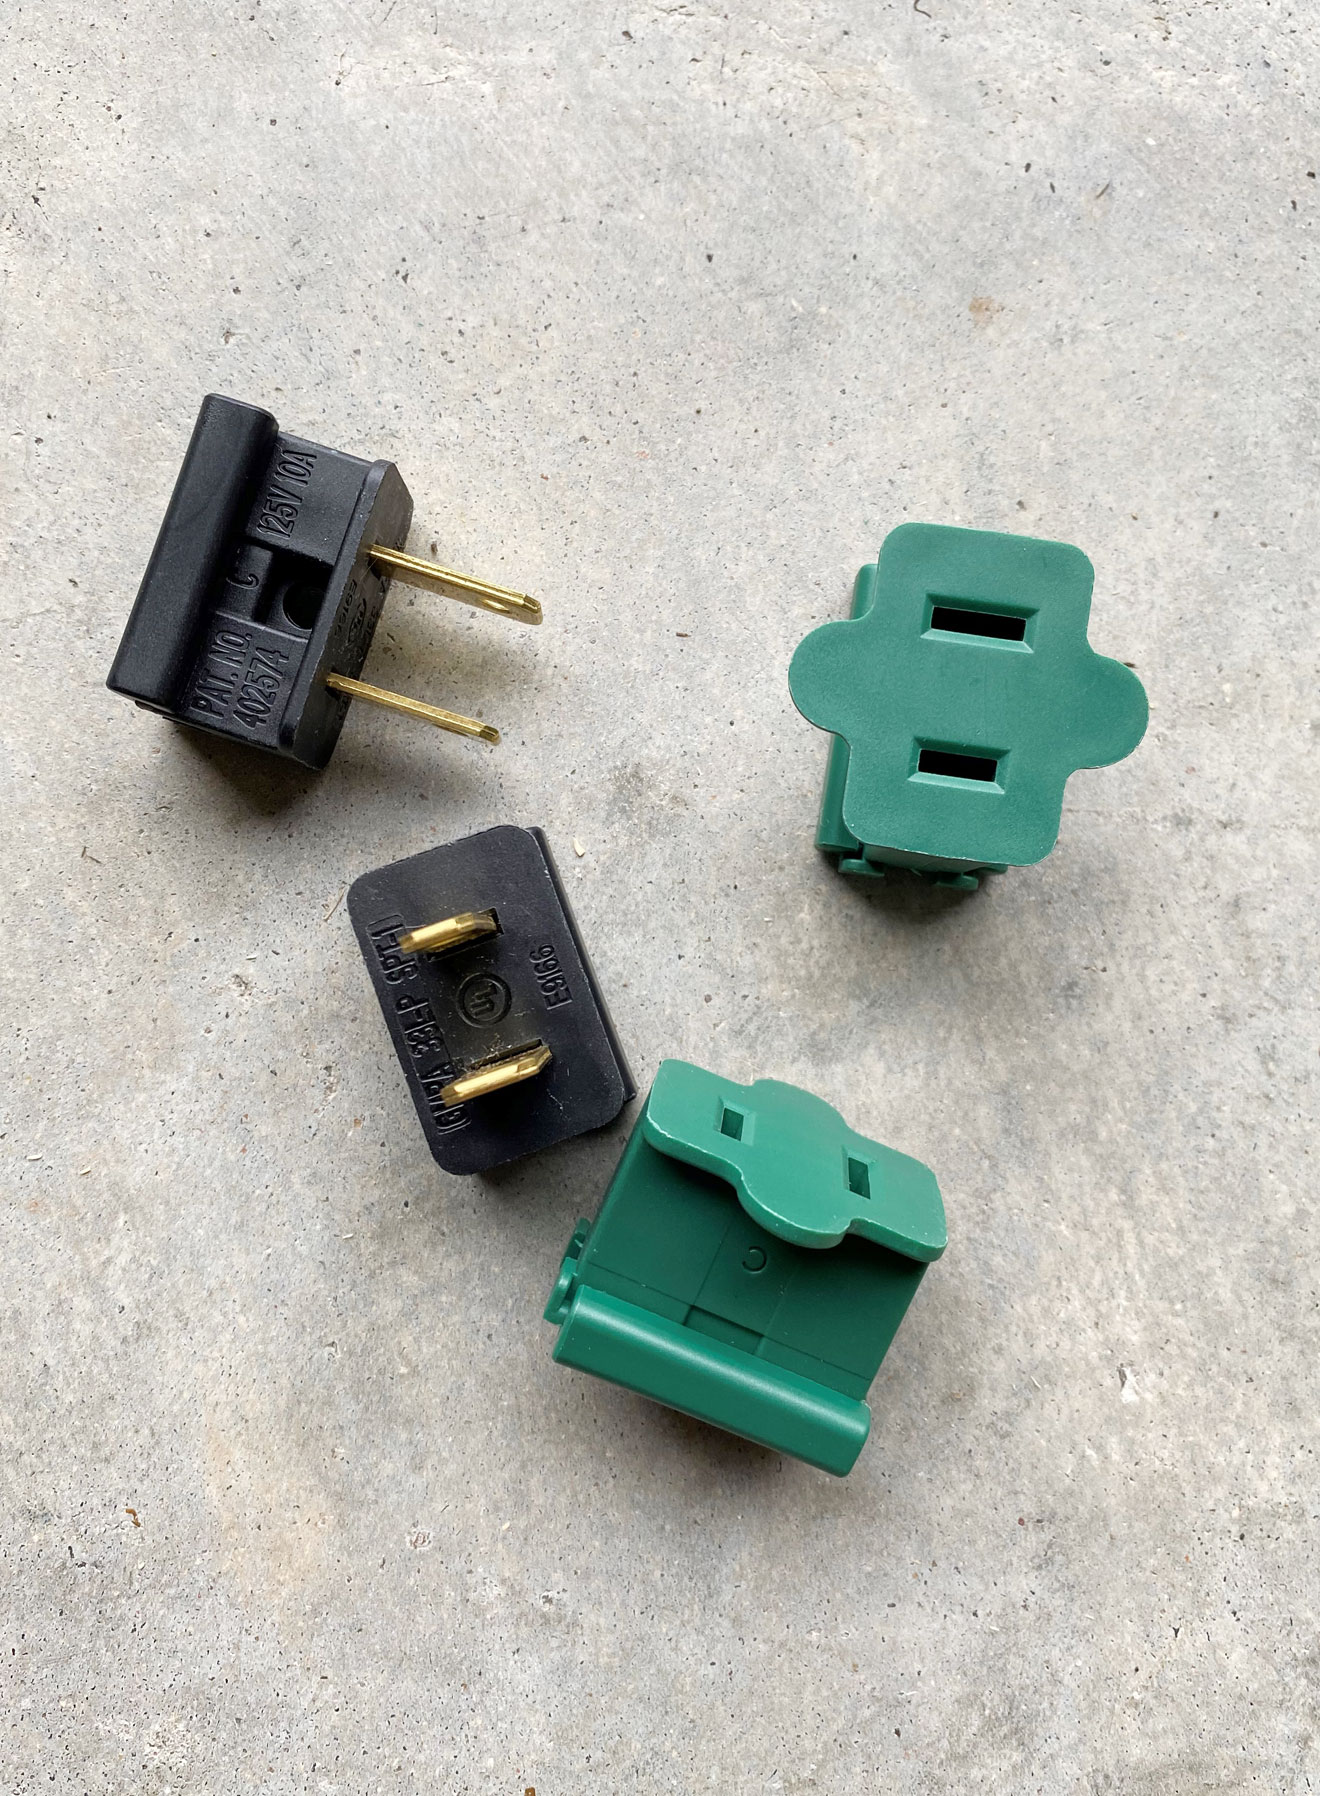
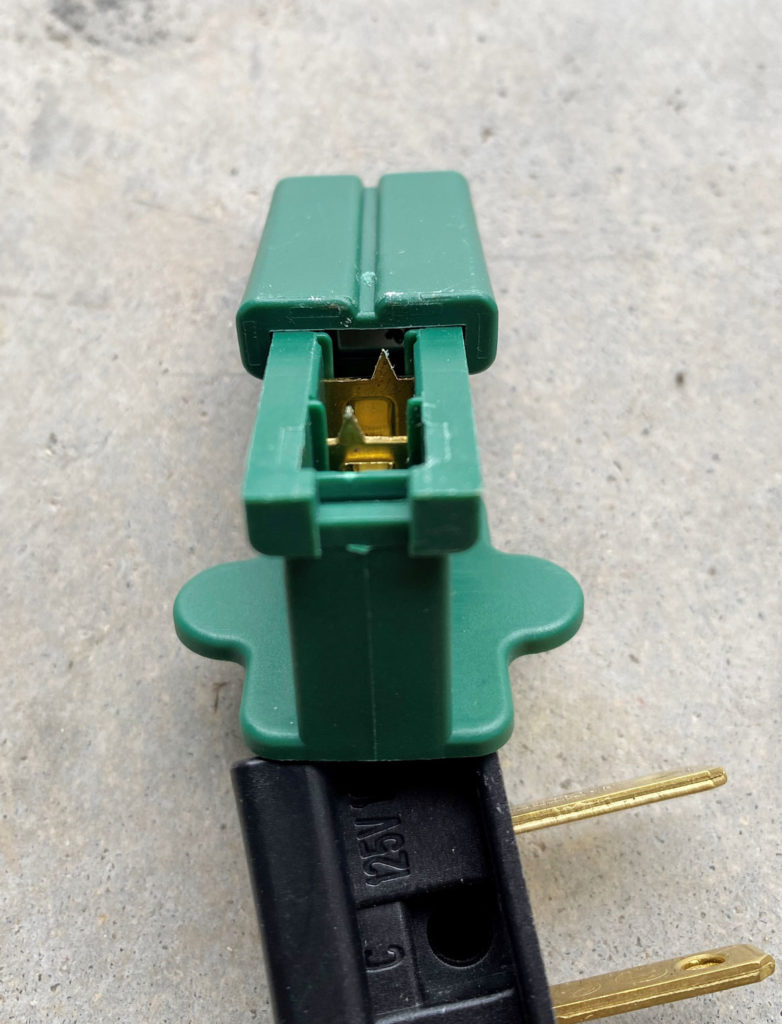
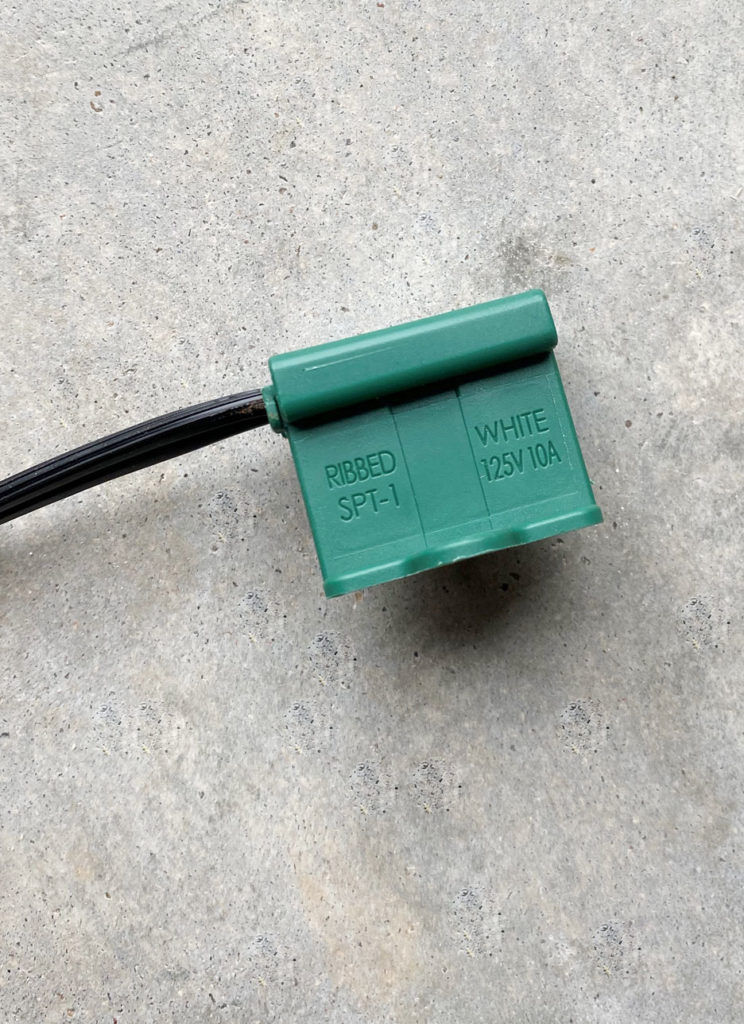
Once mapped out, cut your wire to length and terminate it using a male or female Gilbert plug. The plugs are easy to open with channel pliers. Inside you’ll notice 2 sharp teeth: one teeth will be above the long side of the plug and the other above the short side. This is known as a polarized plug.

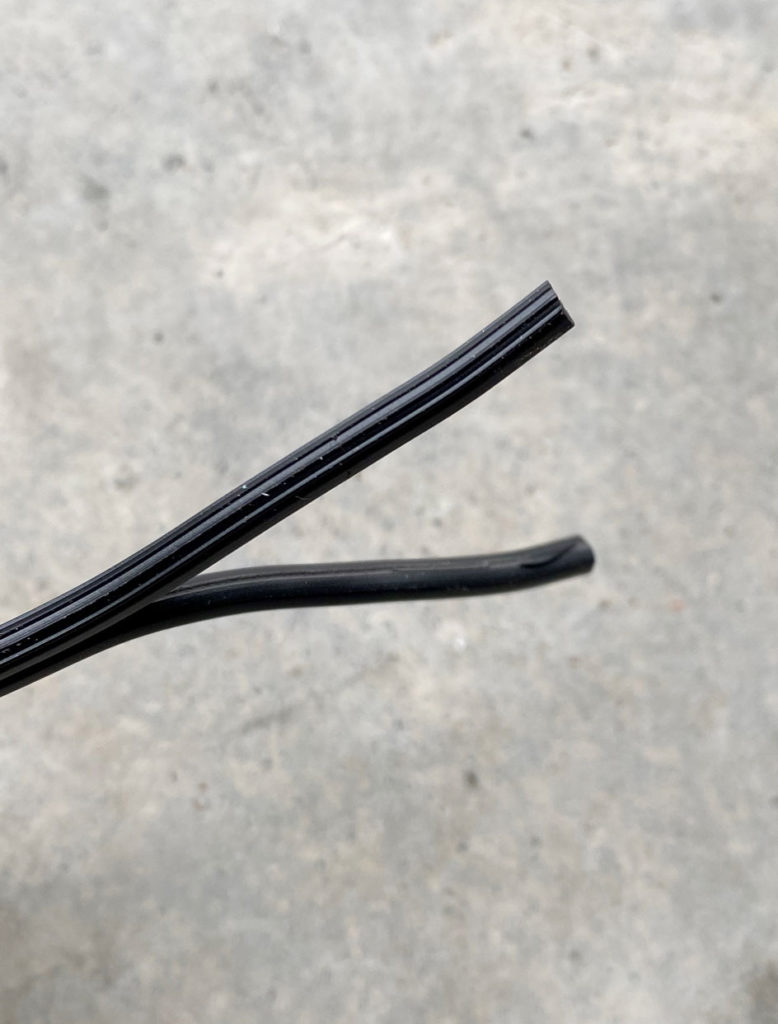
SPT1 wire will actually have two wires – ribbed and smooth jacket. Align the ribbed wire to where the vampire teeth meets the long side of the plug. And the smooth wire to the short side of the plug.
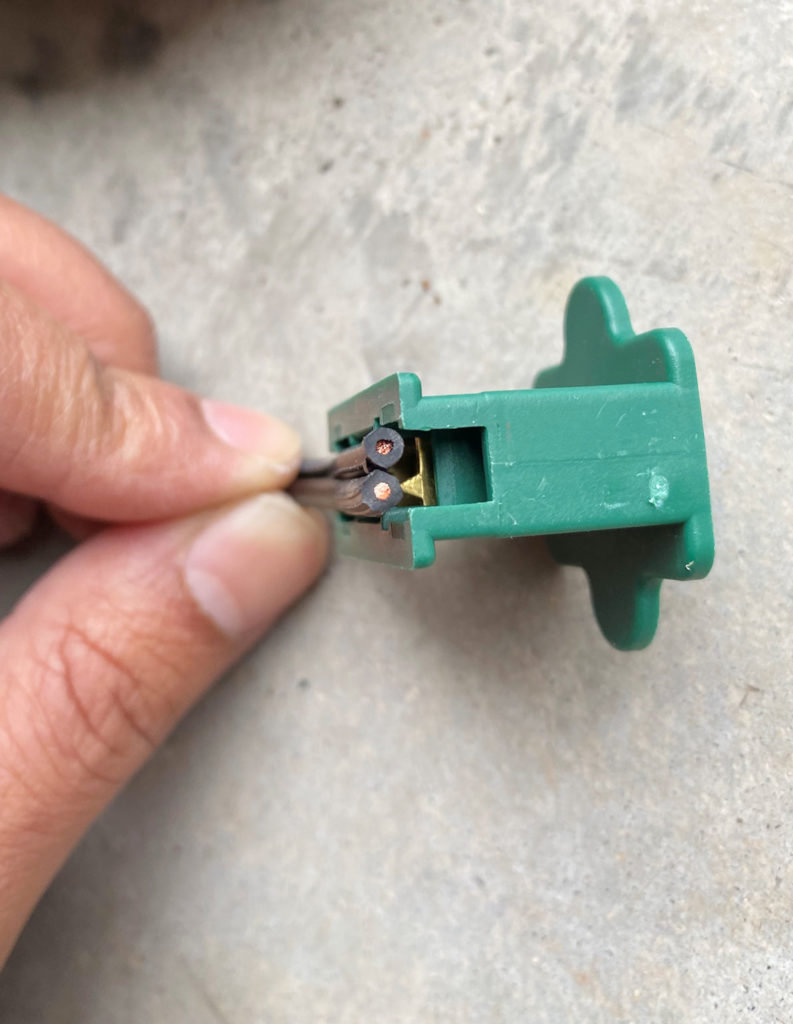
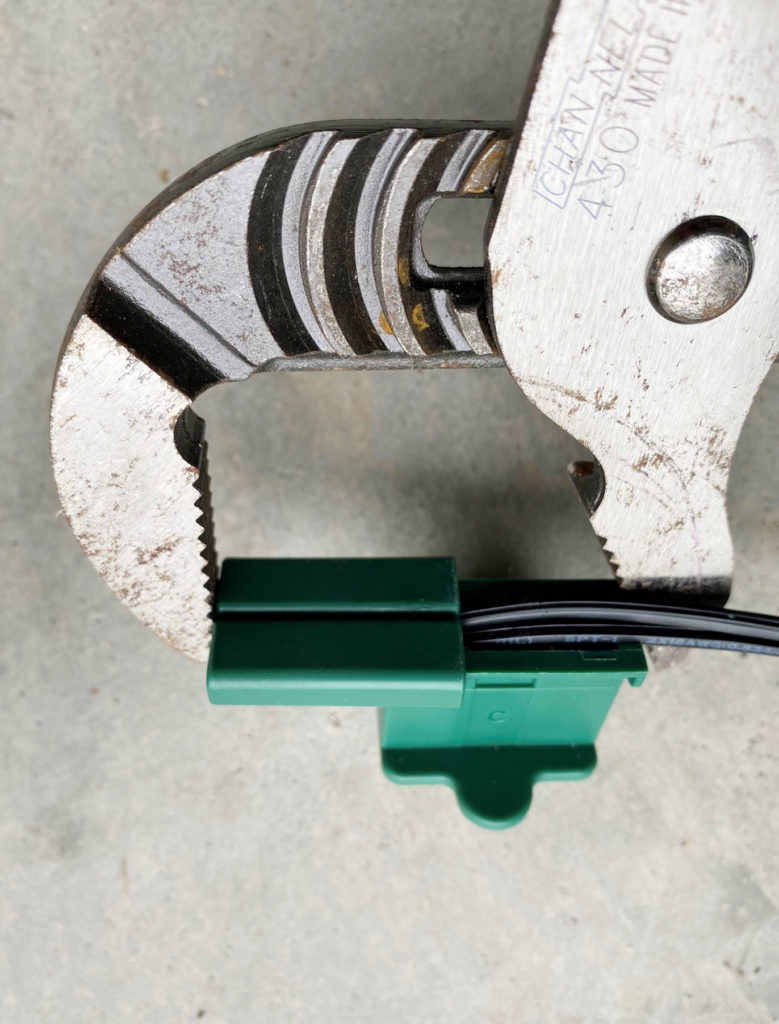
Next, close the lid using the channel pliers. The pressure should force the wire to make contact with the vampire teeth.
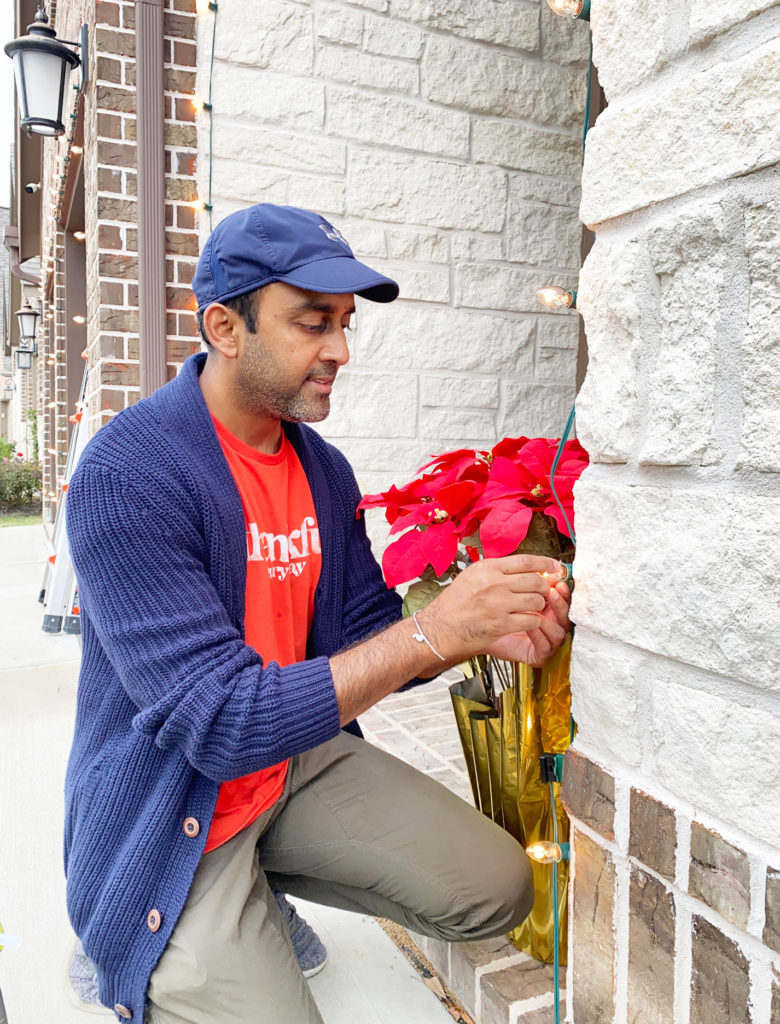
When to use glue gun
Having a brick exterior should not be an obstacle to routing lights along an edge. The secret is using a glue gun to drop a quarter-sized hot glue to the back or side of the light base. The base can then be secured to the brick wall – preferably pressing the base against the wall for 10-15 seconds while the glue dries.
Roof clips can be purchased to attach lights to the roof edge or gutter. Light stakes can be used along a lawn edge. If you have a metal lintel, consider using magnetic clips. They actually save a good amount of time!
(please be careful climbing a roof and use a harness where possible)
As always, send us any questions and don’t forget to follow our Instagram stories for full install videos.