We didn’t think our laundry room would have made it this far. But here we are, the final week of the One Room Challenge. We pushed and pushed. AND FINALLY WE HAVE A REVEAL!
The ORC community made WAVES with AMAZING reveals. Though we are 2 weeks late, we’re excited to finally share our completed laundry room. By the way, AWESOME job guys! We’ve been keeping up on Instagram and it has been jaw dropping.

If you came here from the ORC site, hello! I’m Sanju Patel. By day, I work behind a desk, typically crunching numbers. By night, you can find me in a garage. My wife and I purchased a home in Texas 2 years ago – a quick close without costly bells and whistles. As lifelong fans of DIY, we’ve decided to invest into our home as our family grows with an open invitation to see our process from start to finish.
Wall Cabinets, All Week Long
If you recall from week 7, we started the process of building our 42″ wall cabinets. Getting the cuts right and accurate took up every nightly hour. Nobody wants a wonky cabinet and the extra effort definitely worked out for us.
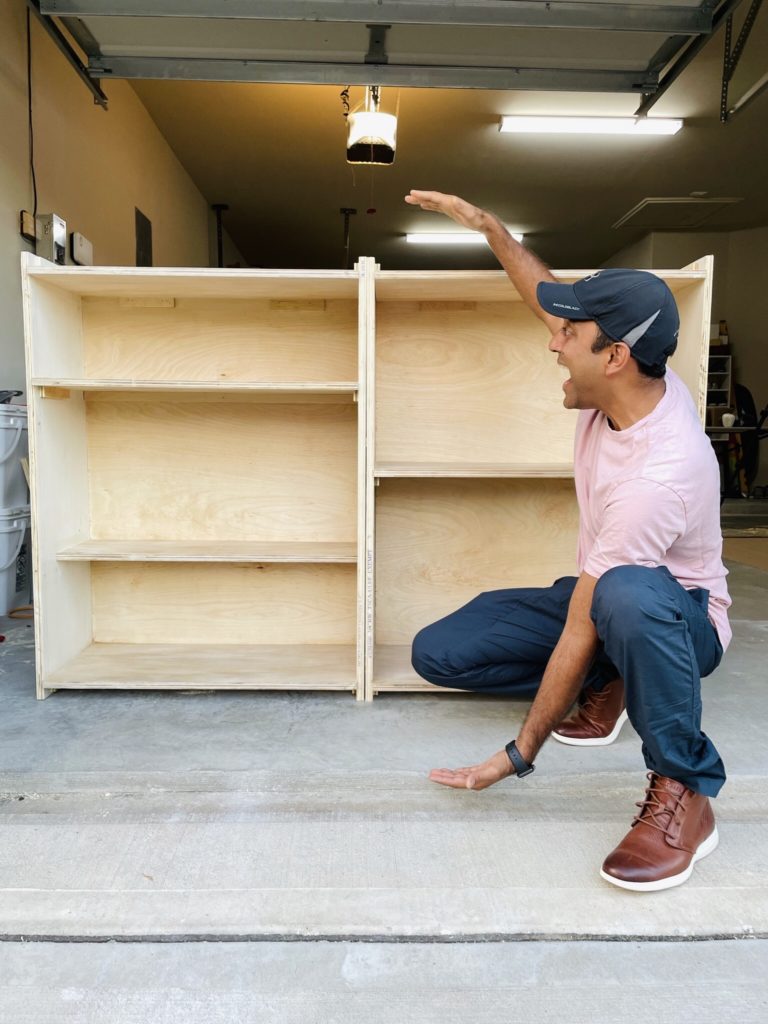
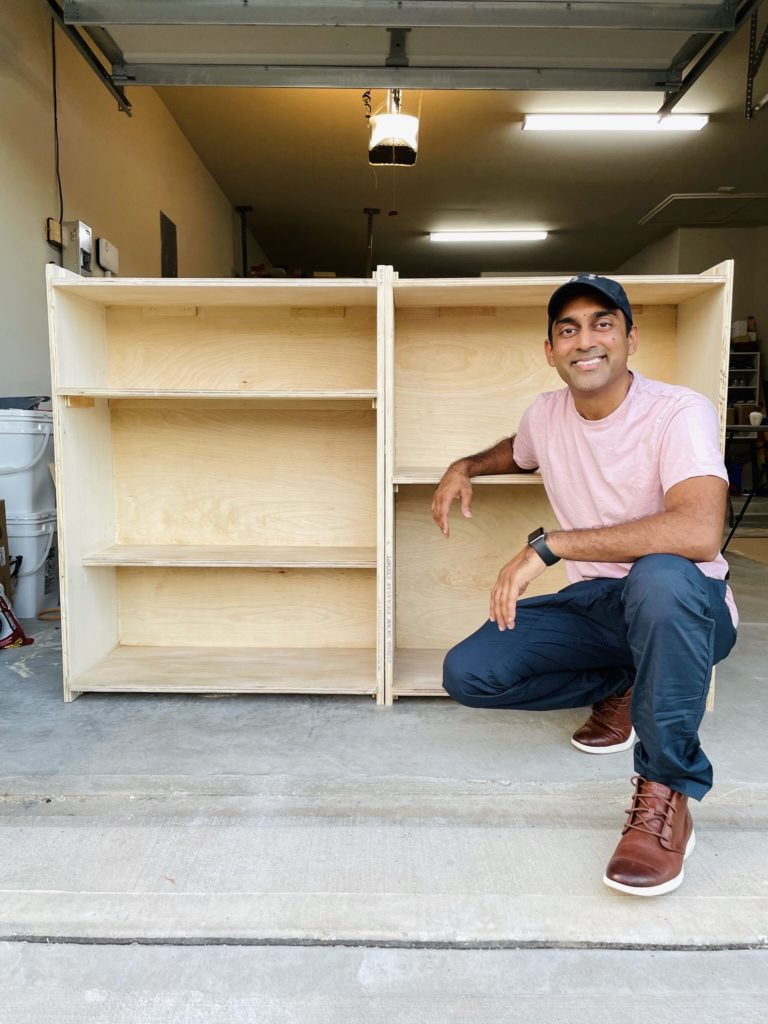
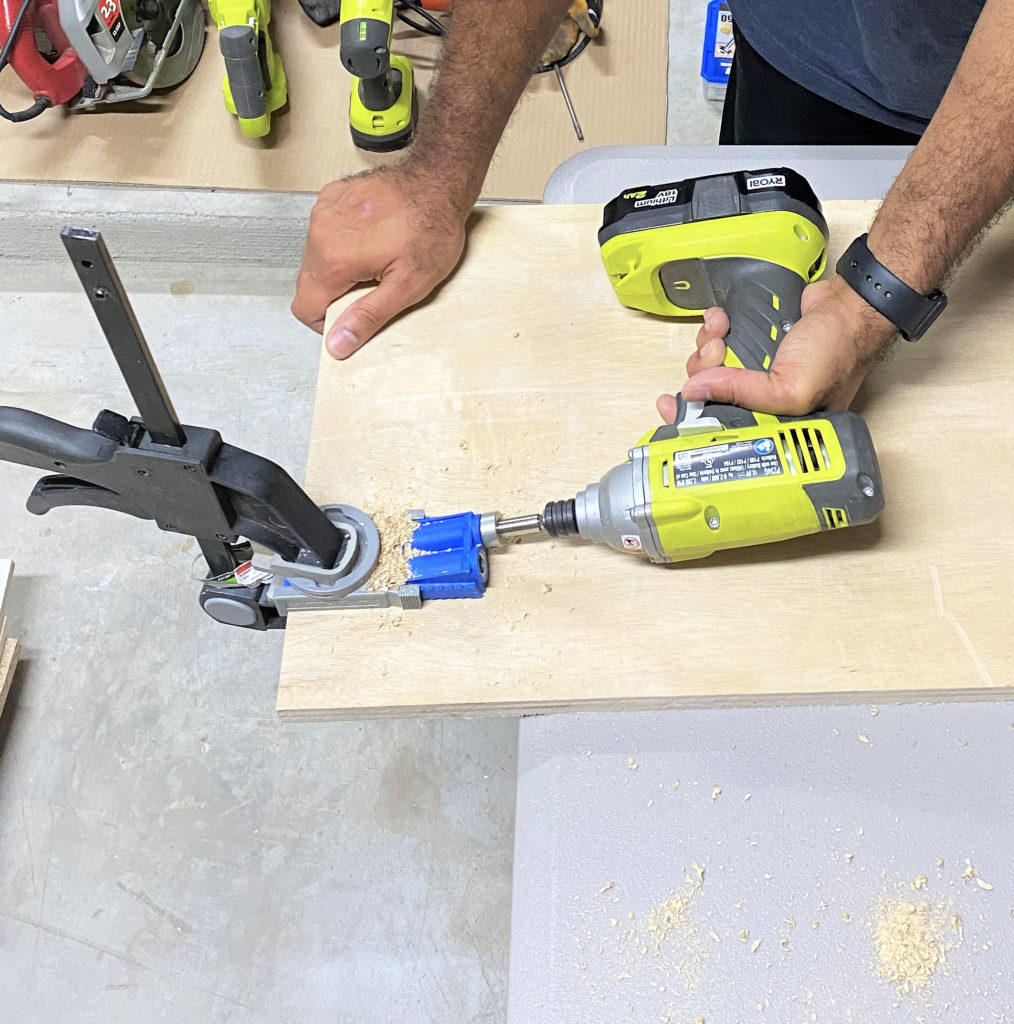
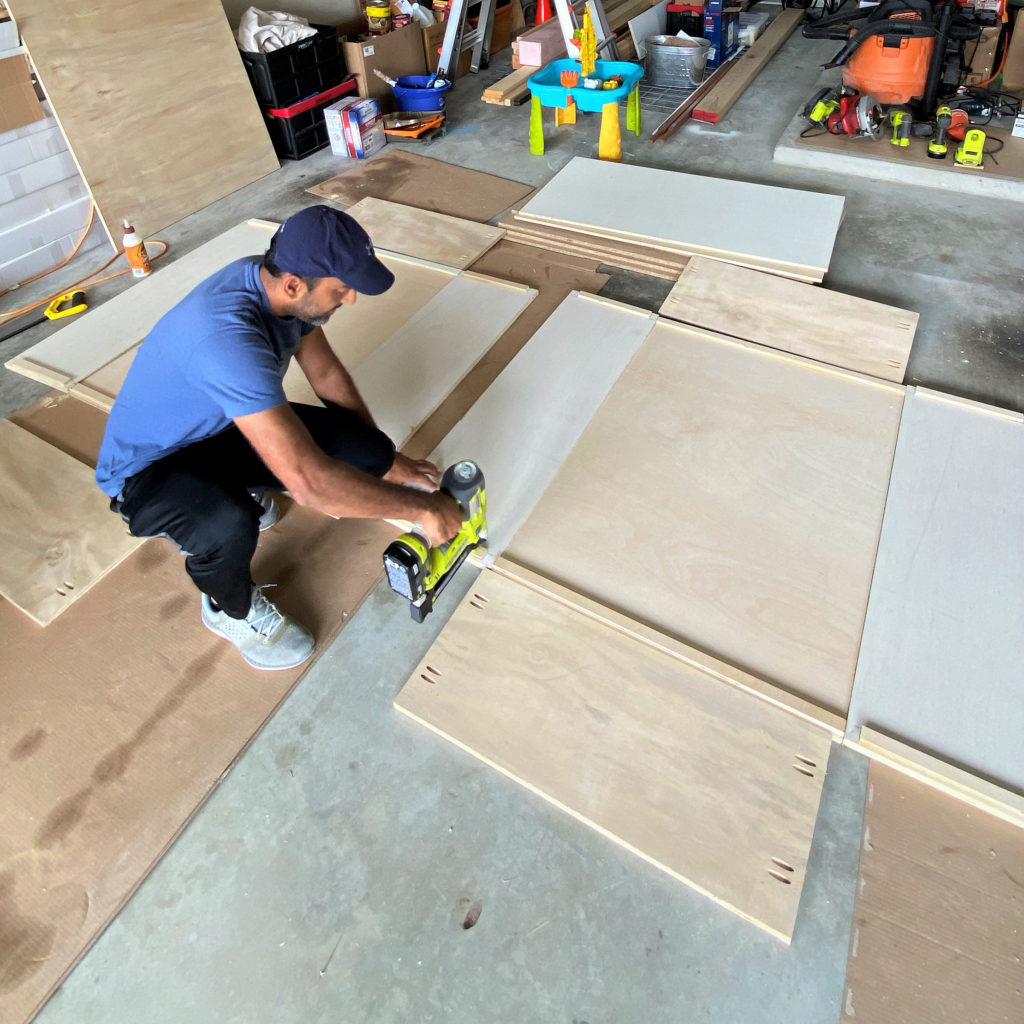
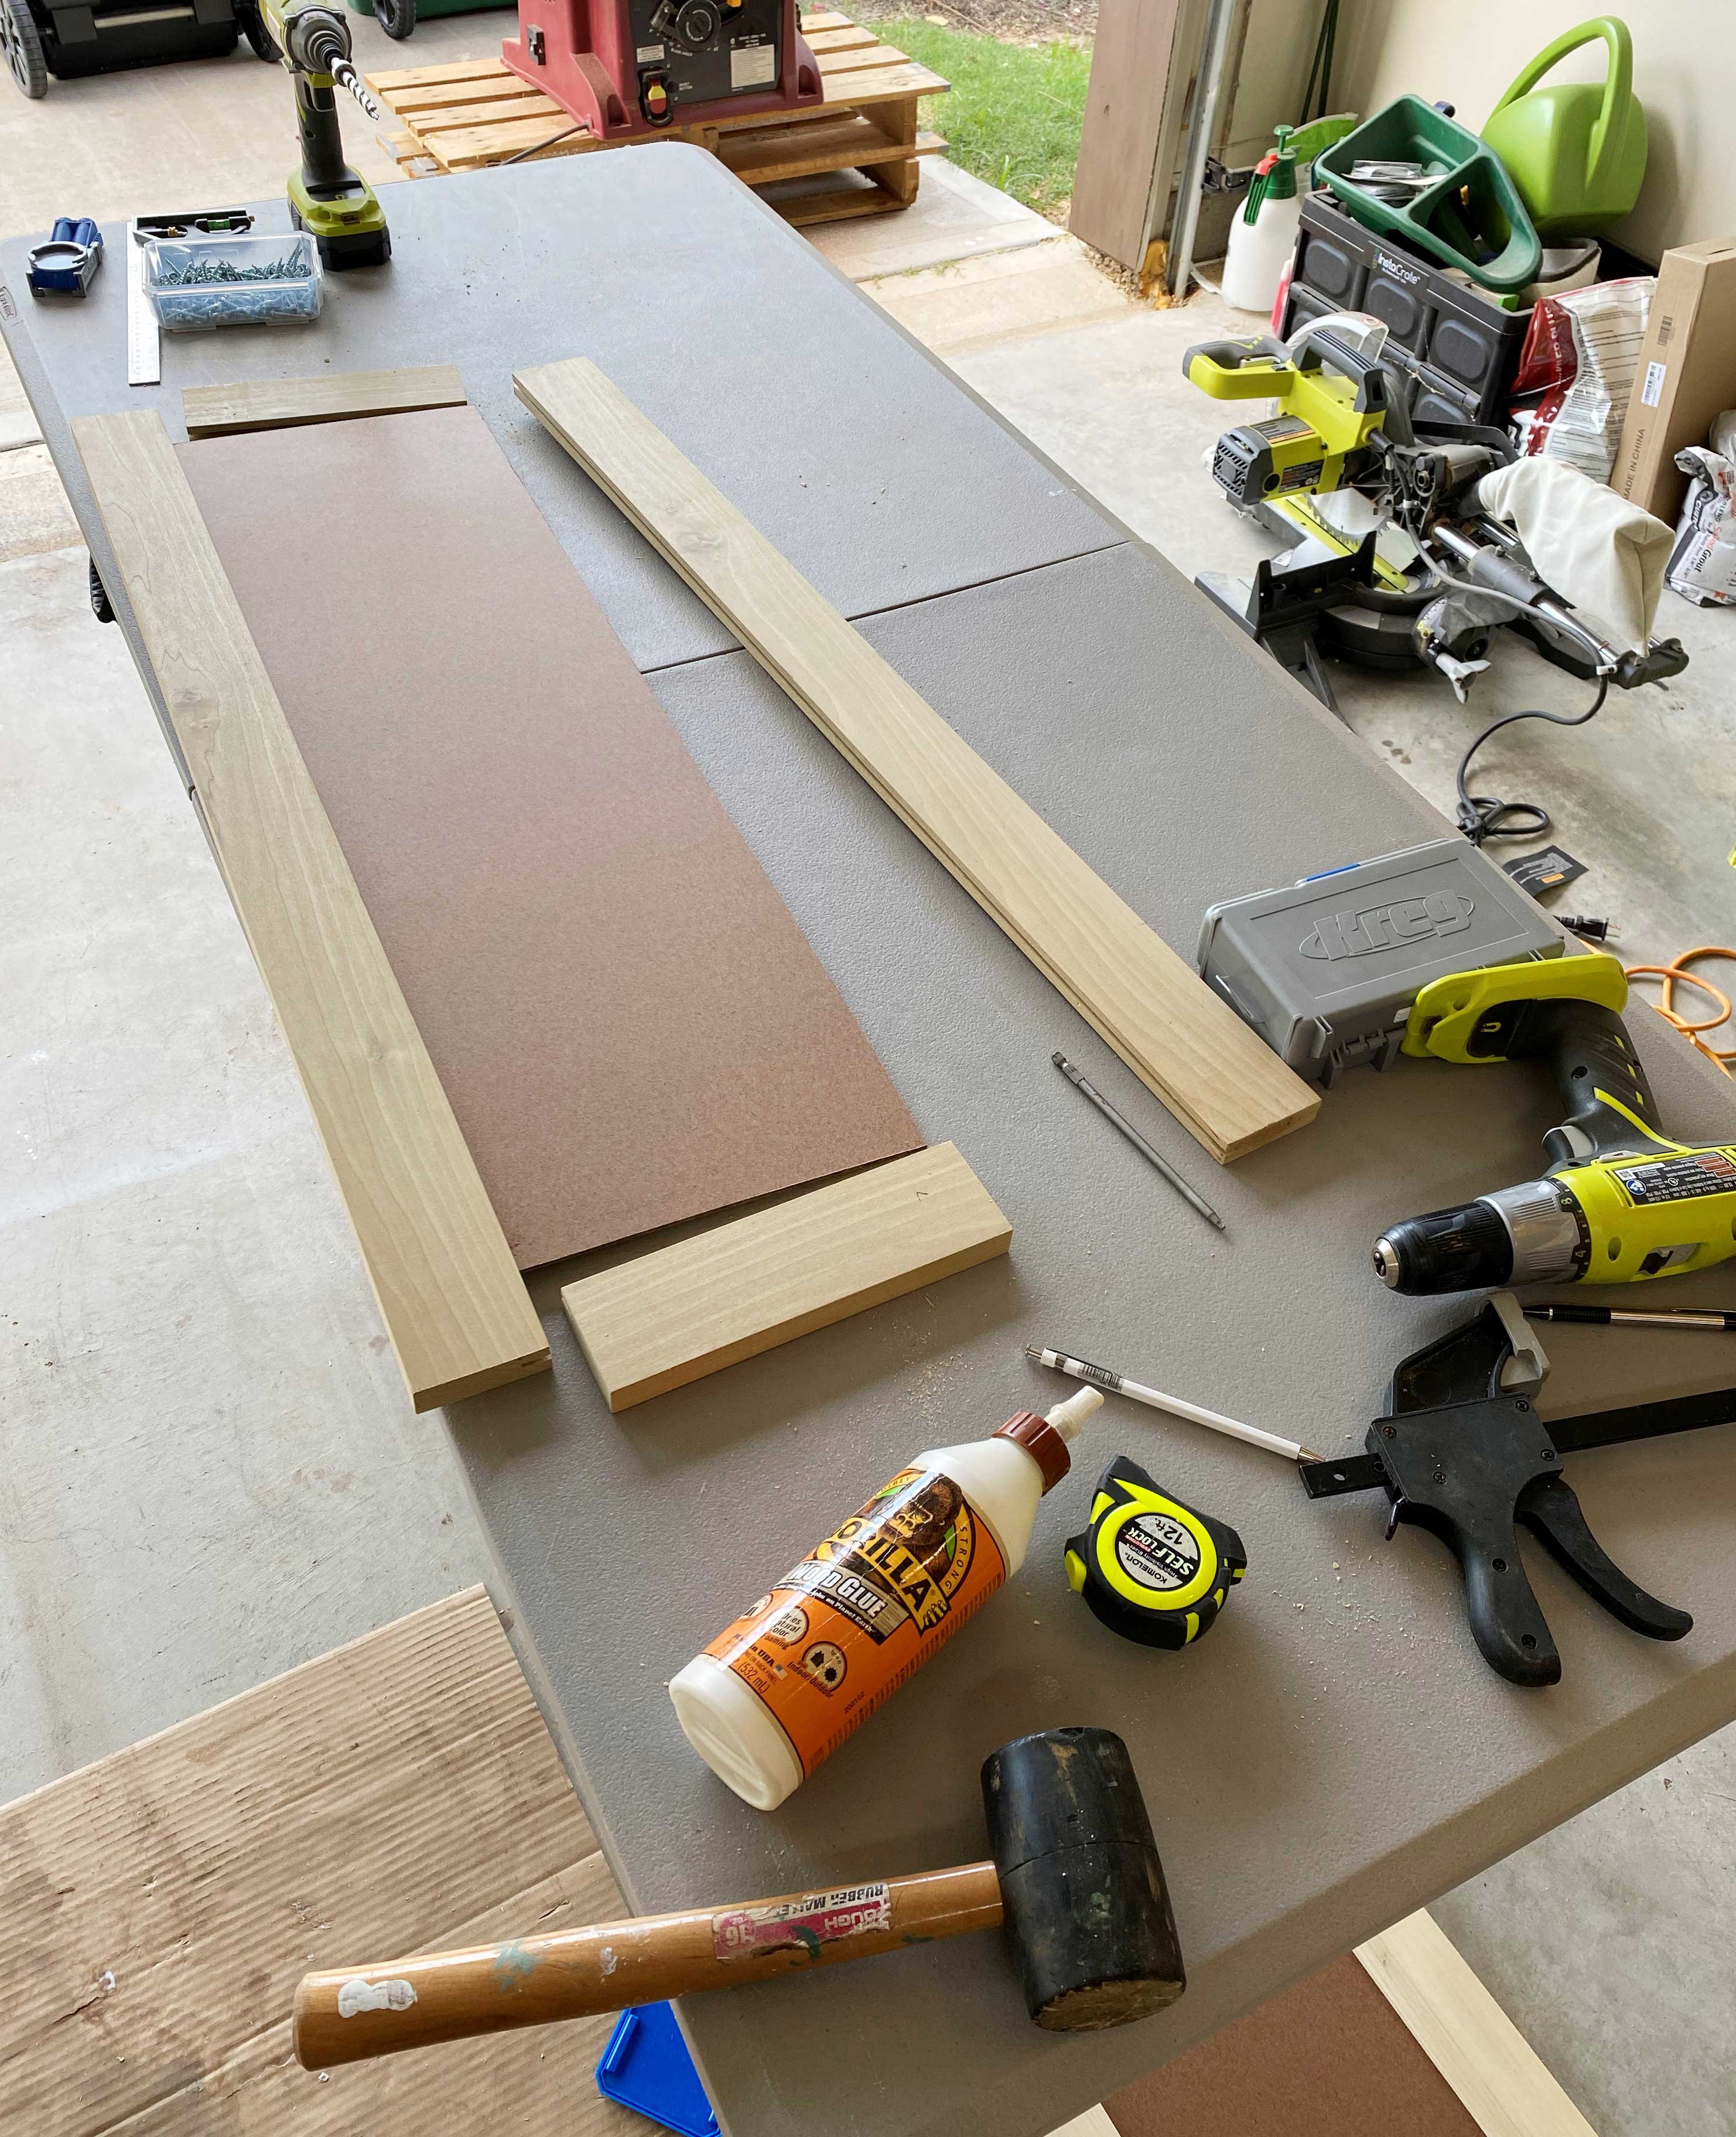
Although we preferred dados, our table saw arbor could not support it. So, we naturally turned to our good friends Kreg and Gorilla Wood Glue. We also constructed face frames out of durable poplar and primed with BIN Shellac. If you’re wondering, a combination of Sande Plywood and Birch Plywood were used for construction of the cabinets (basically whatever we could find at the big box stores due to nationwide shortages). P.S: don’t mind our uber messy garage. That’s real life folks :).
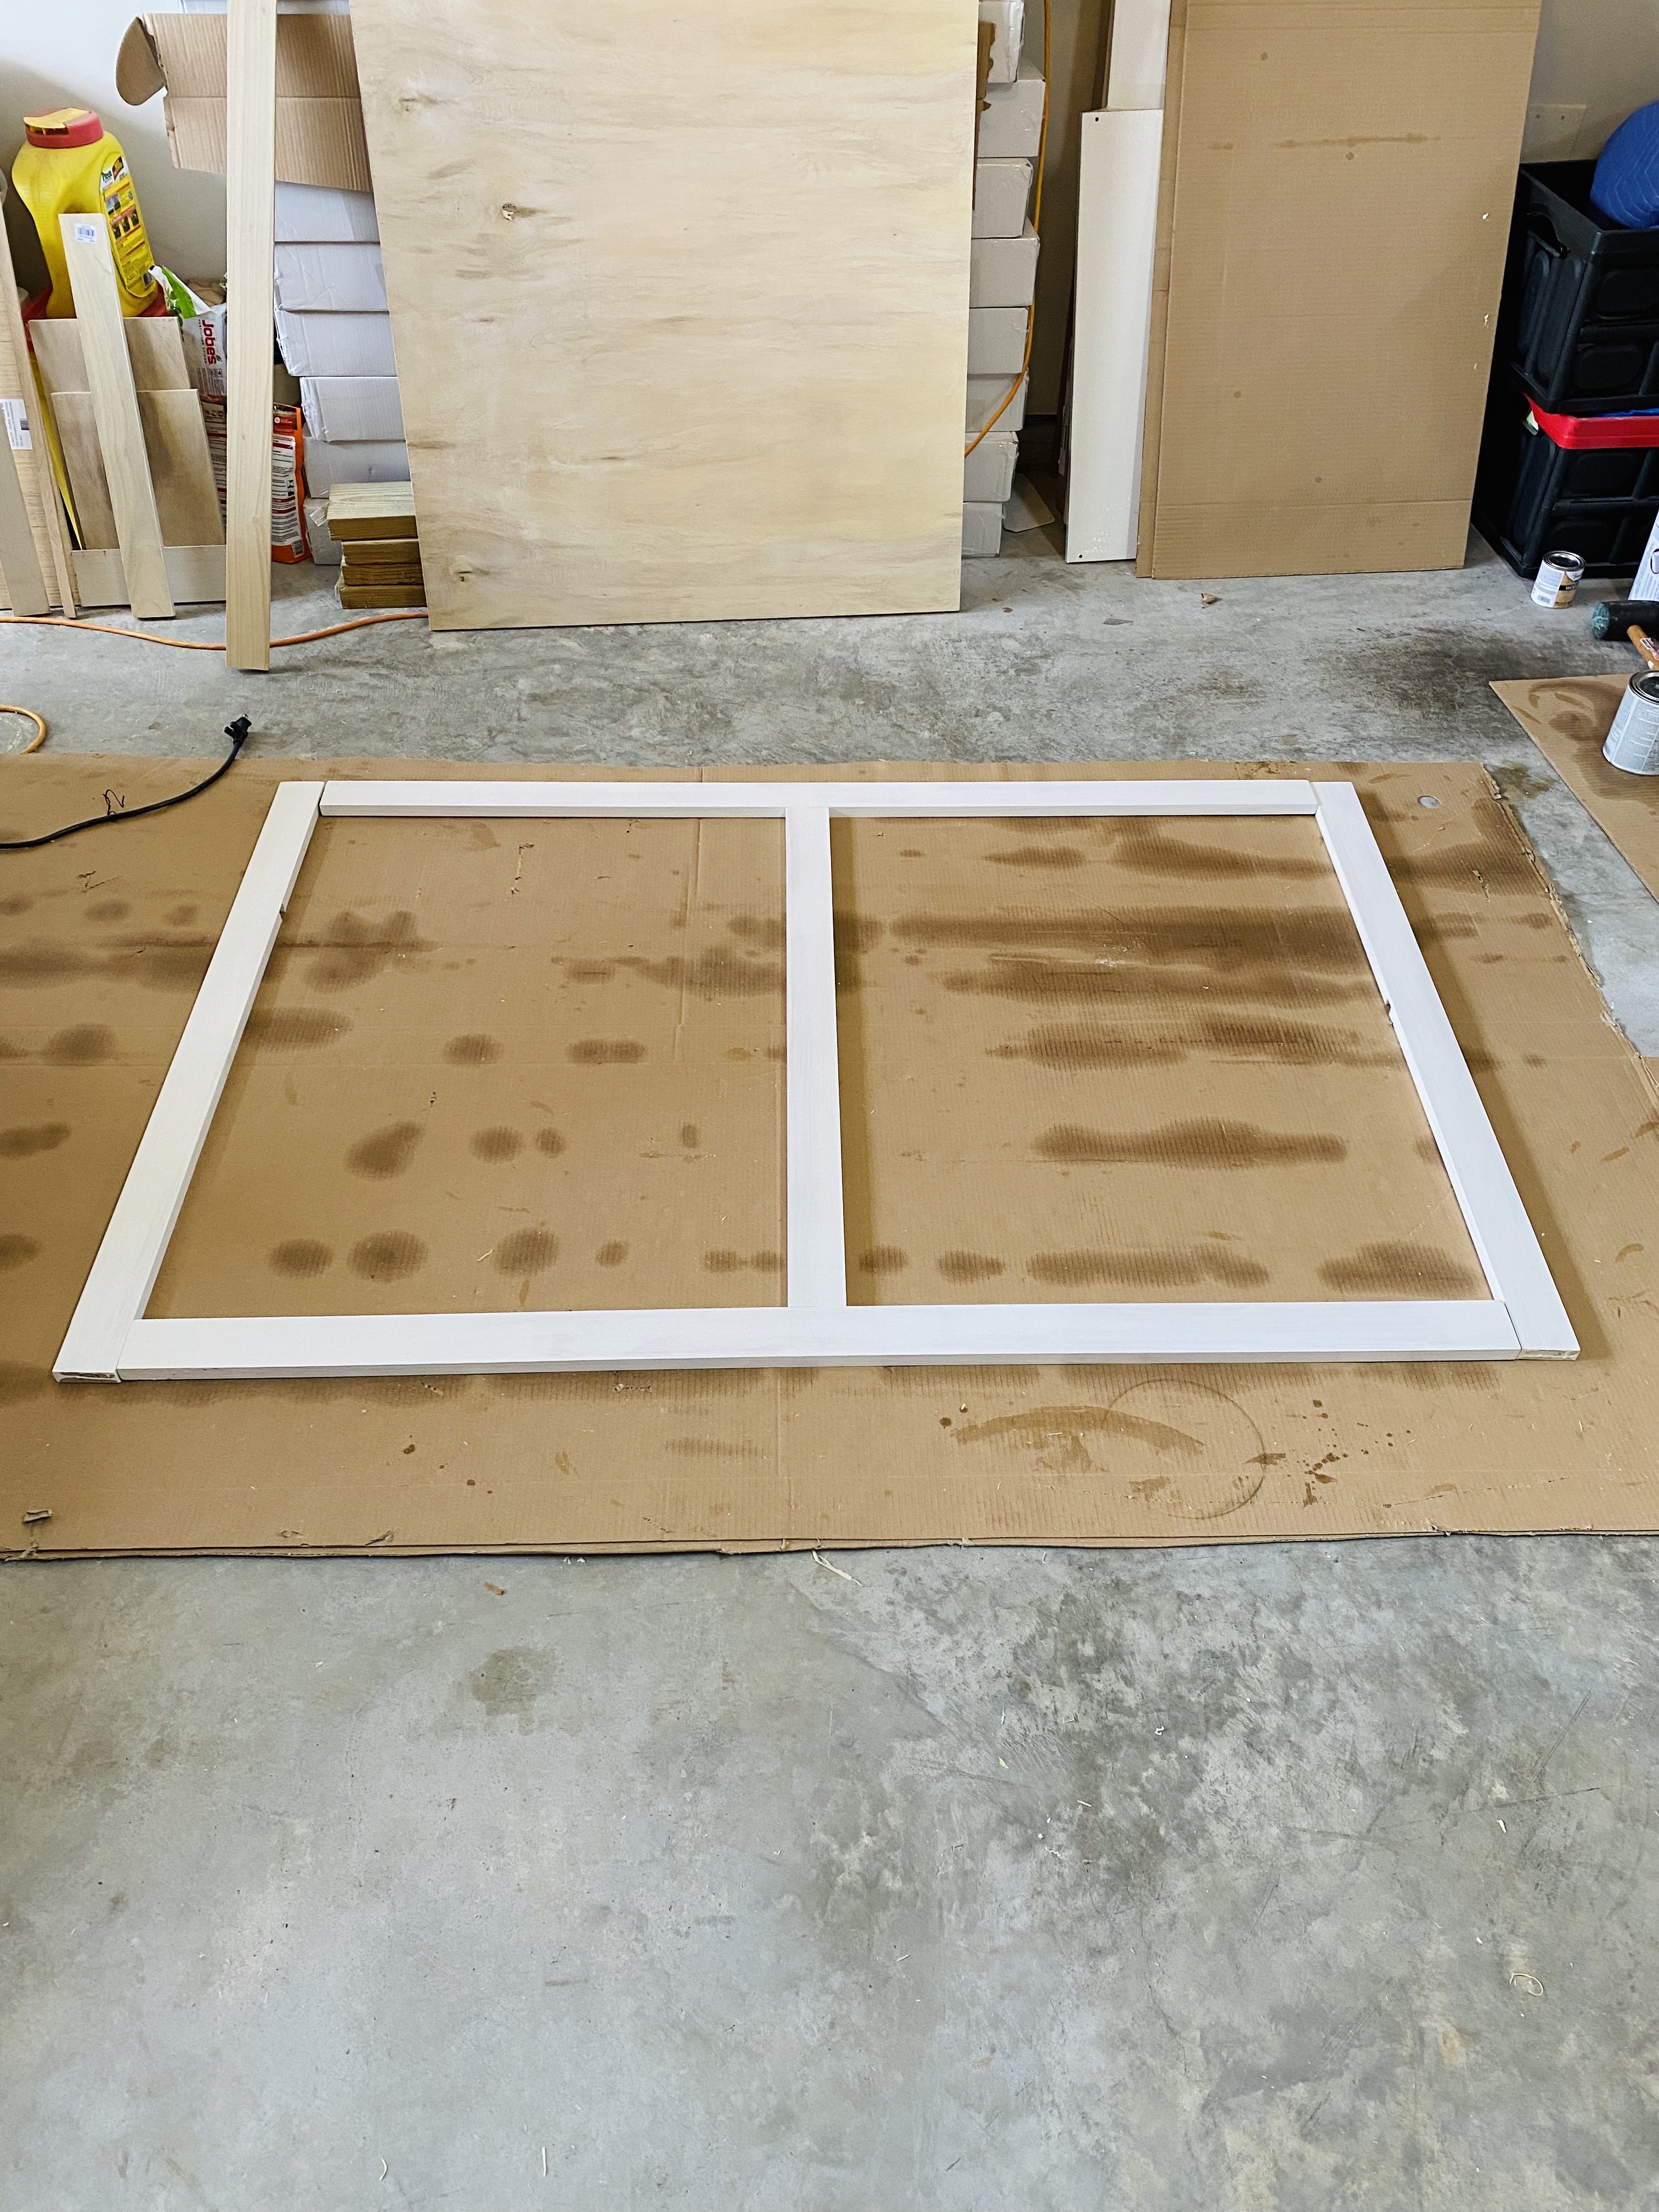
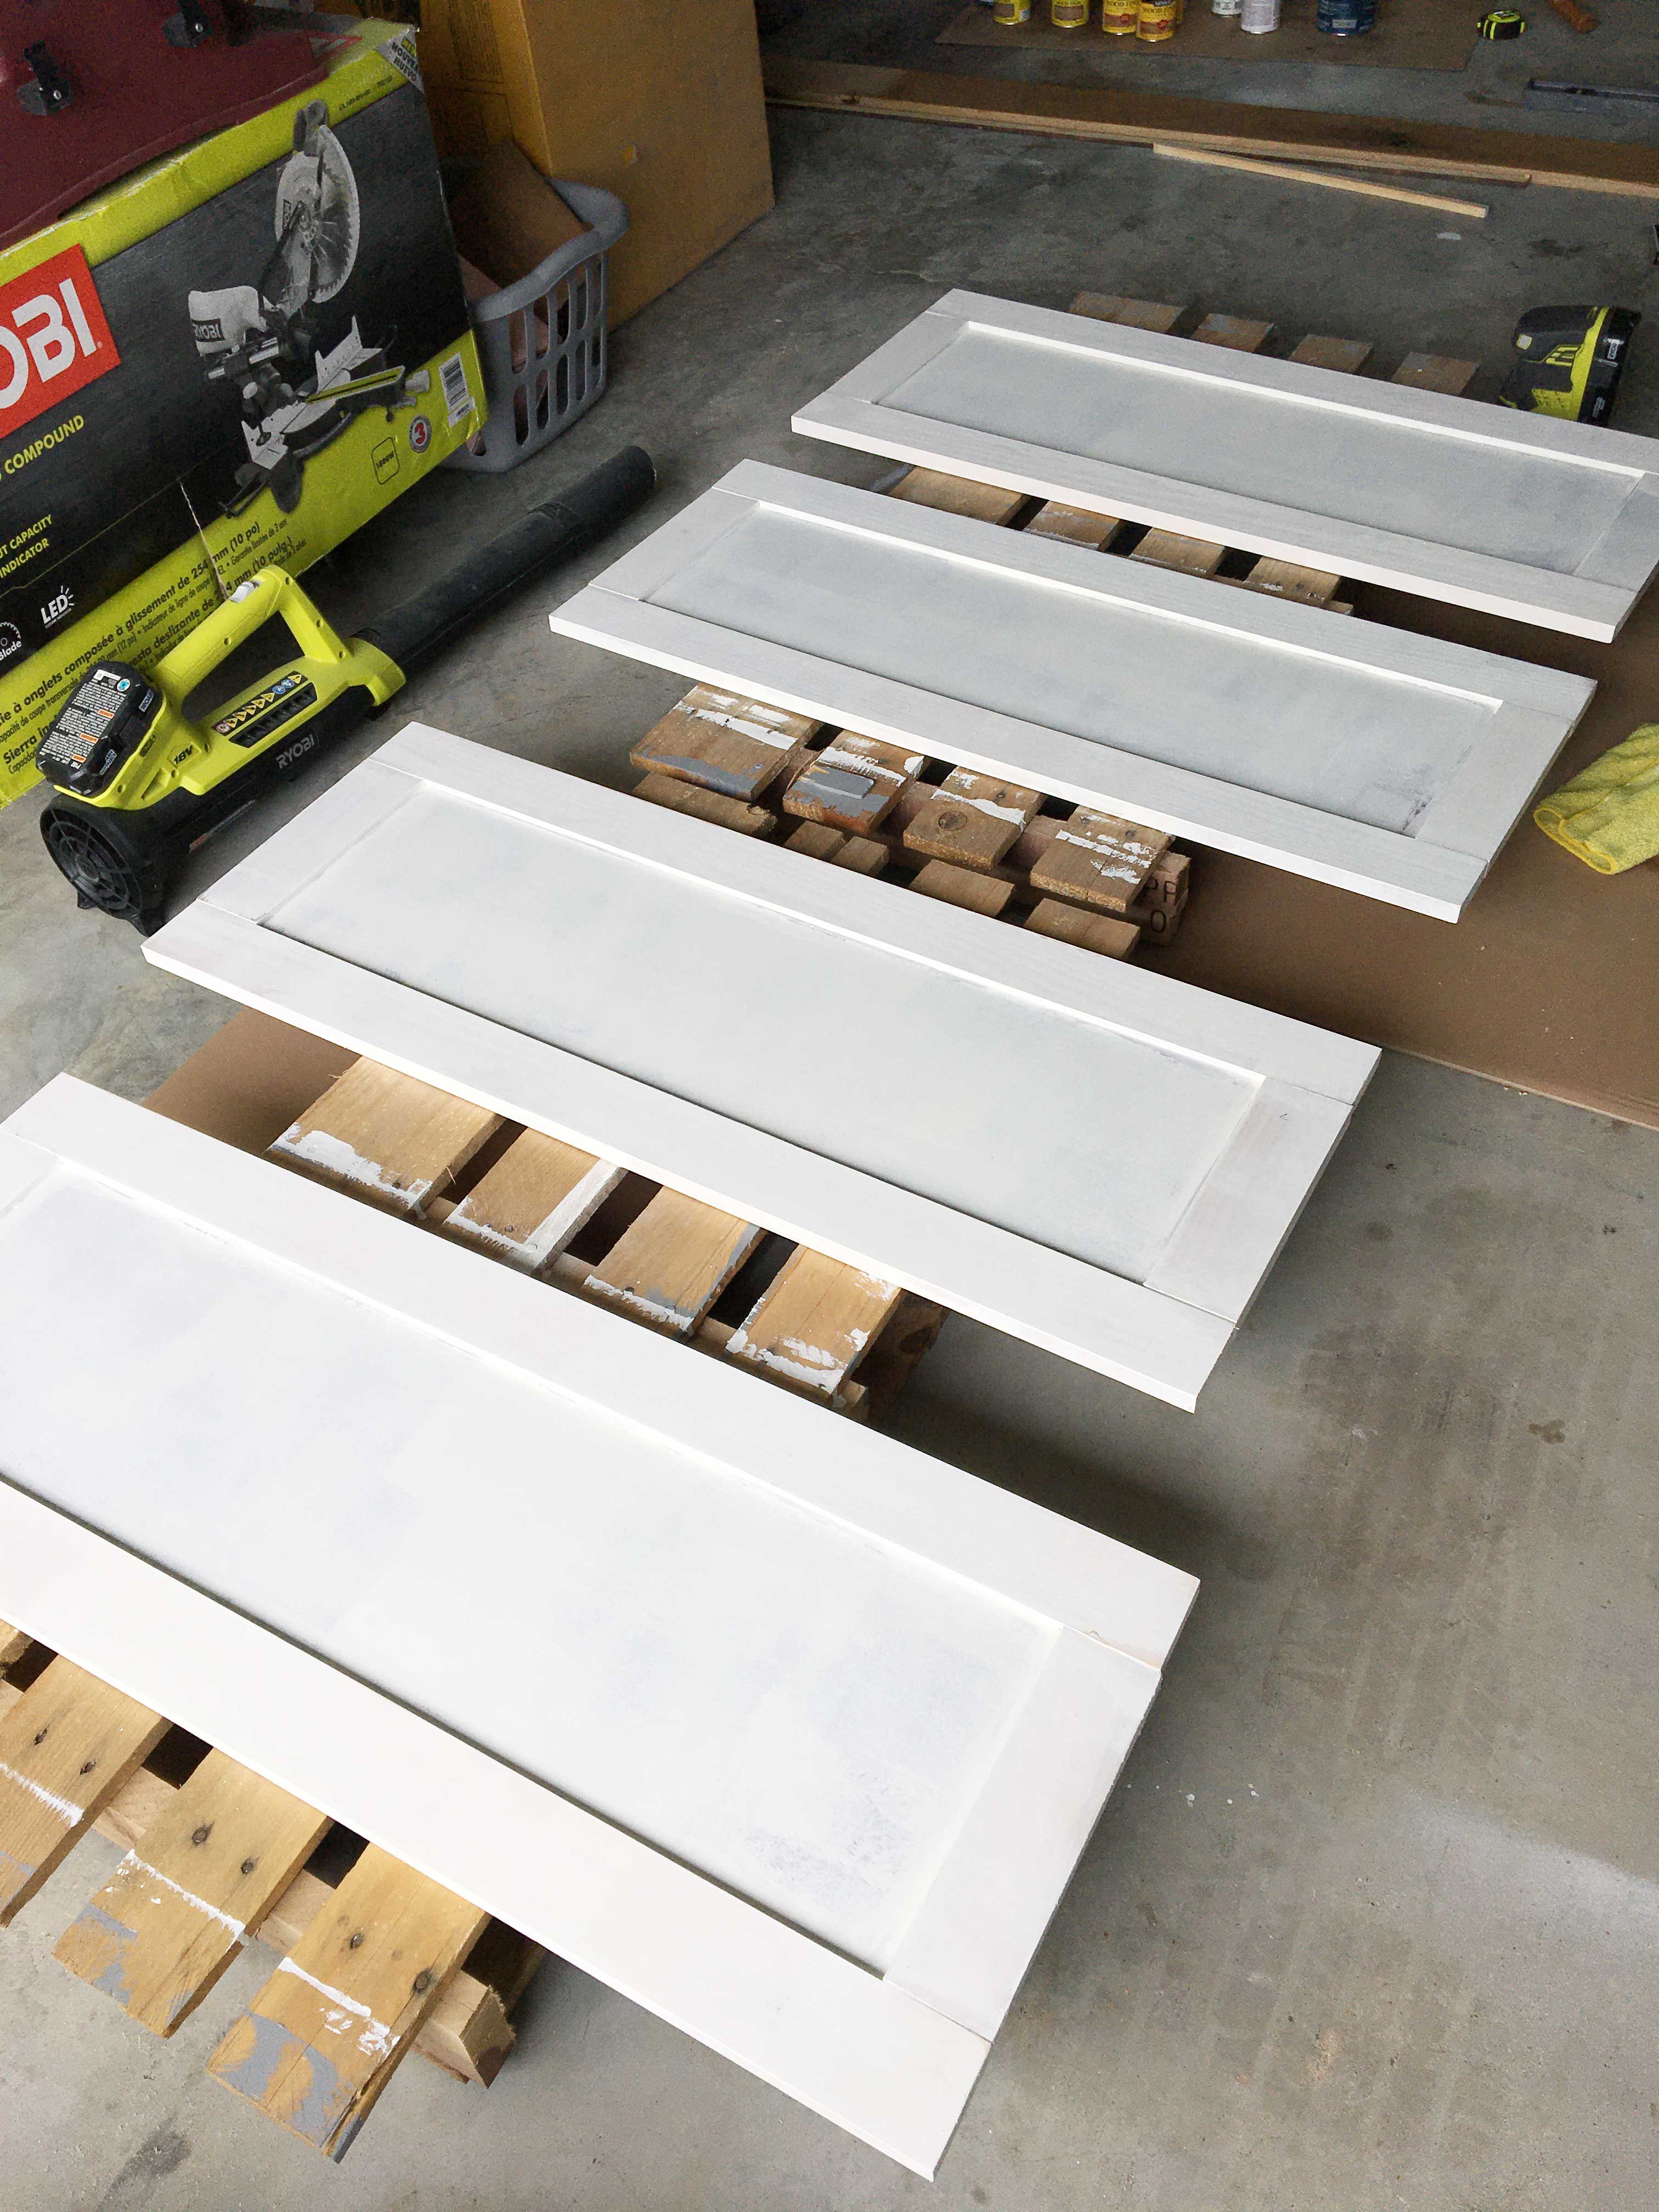
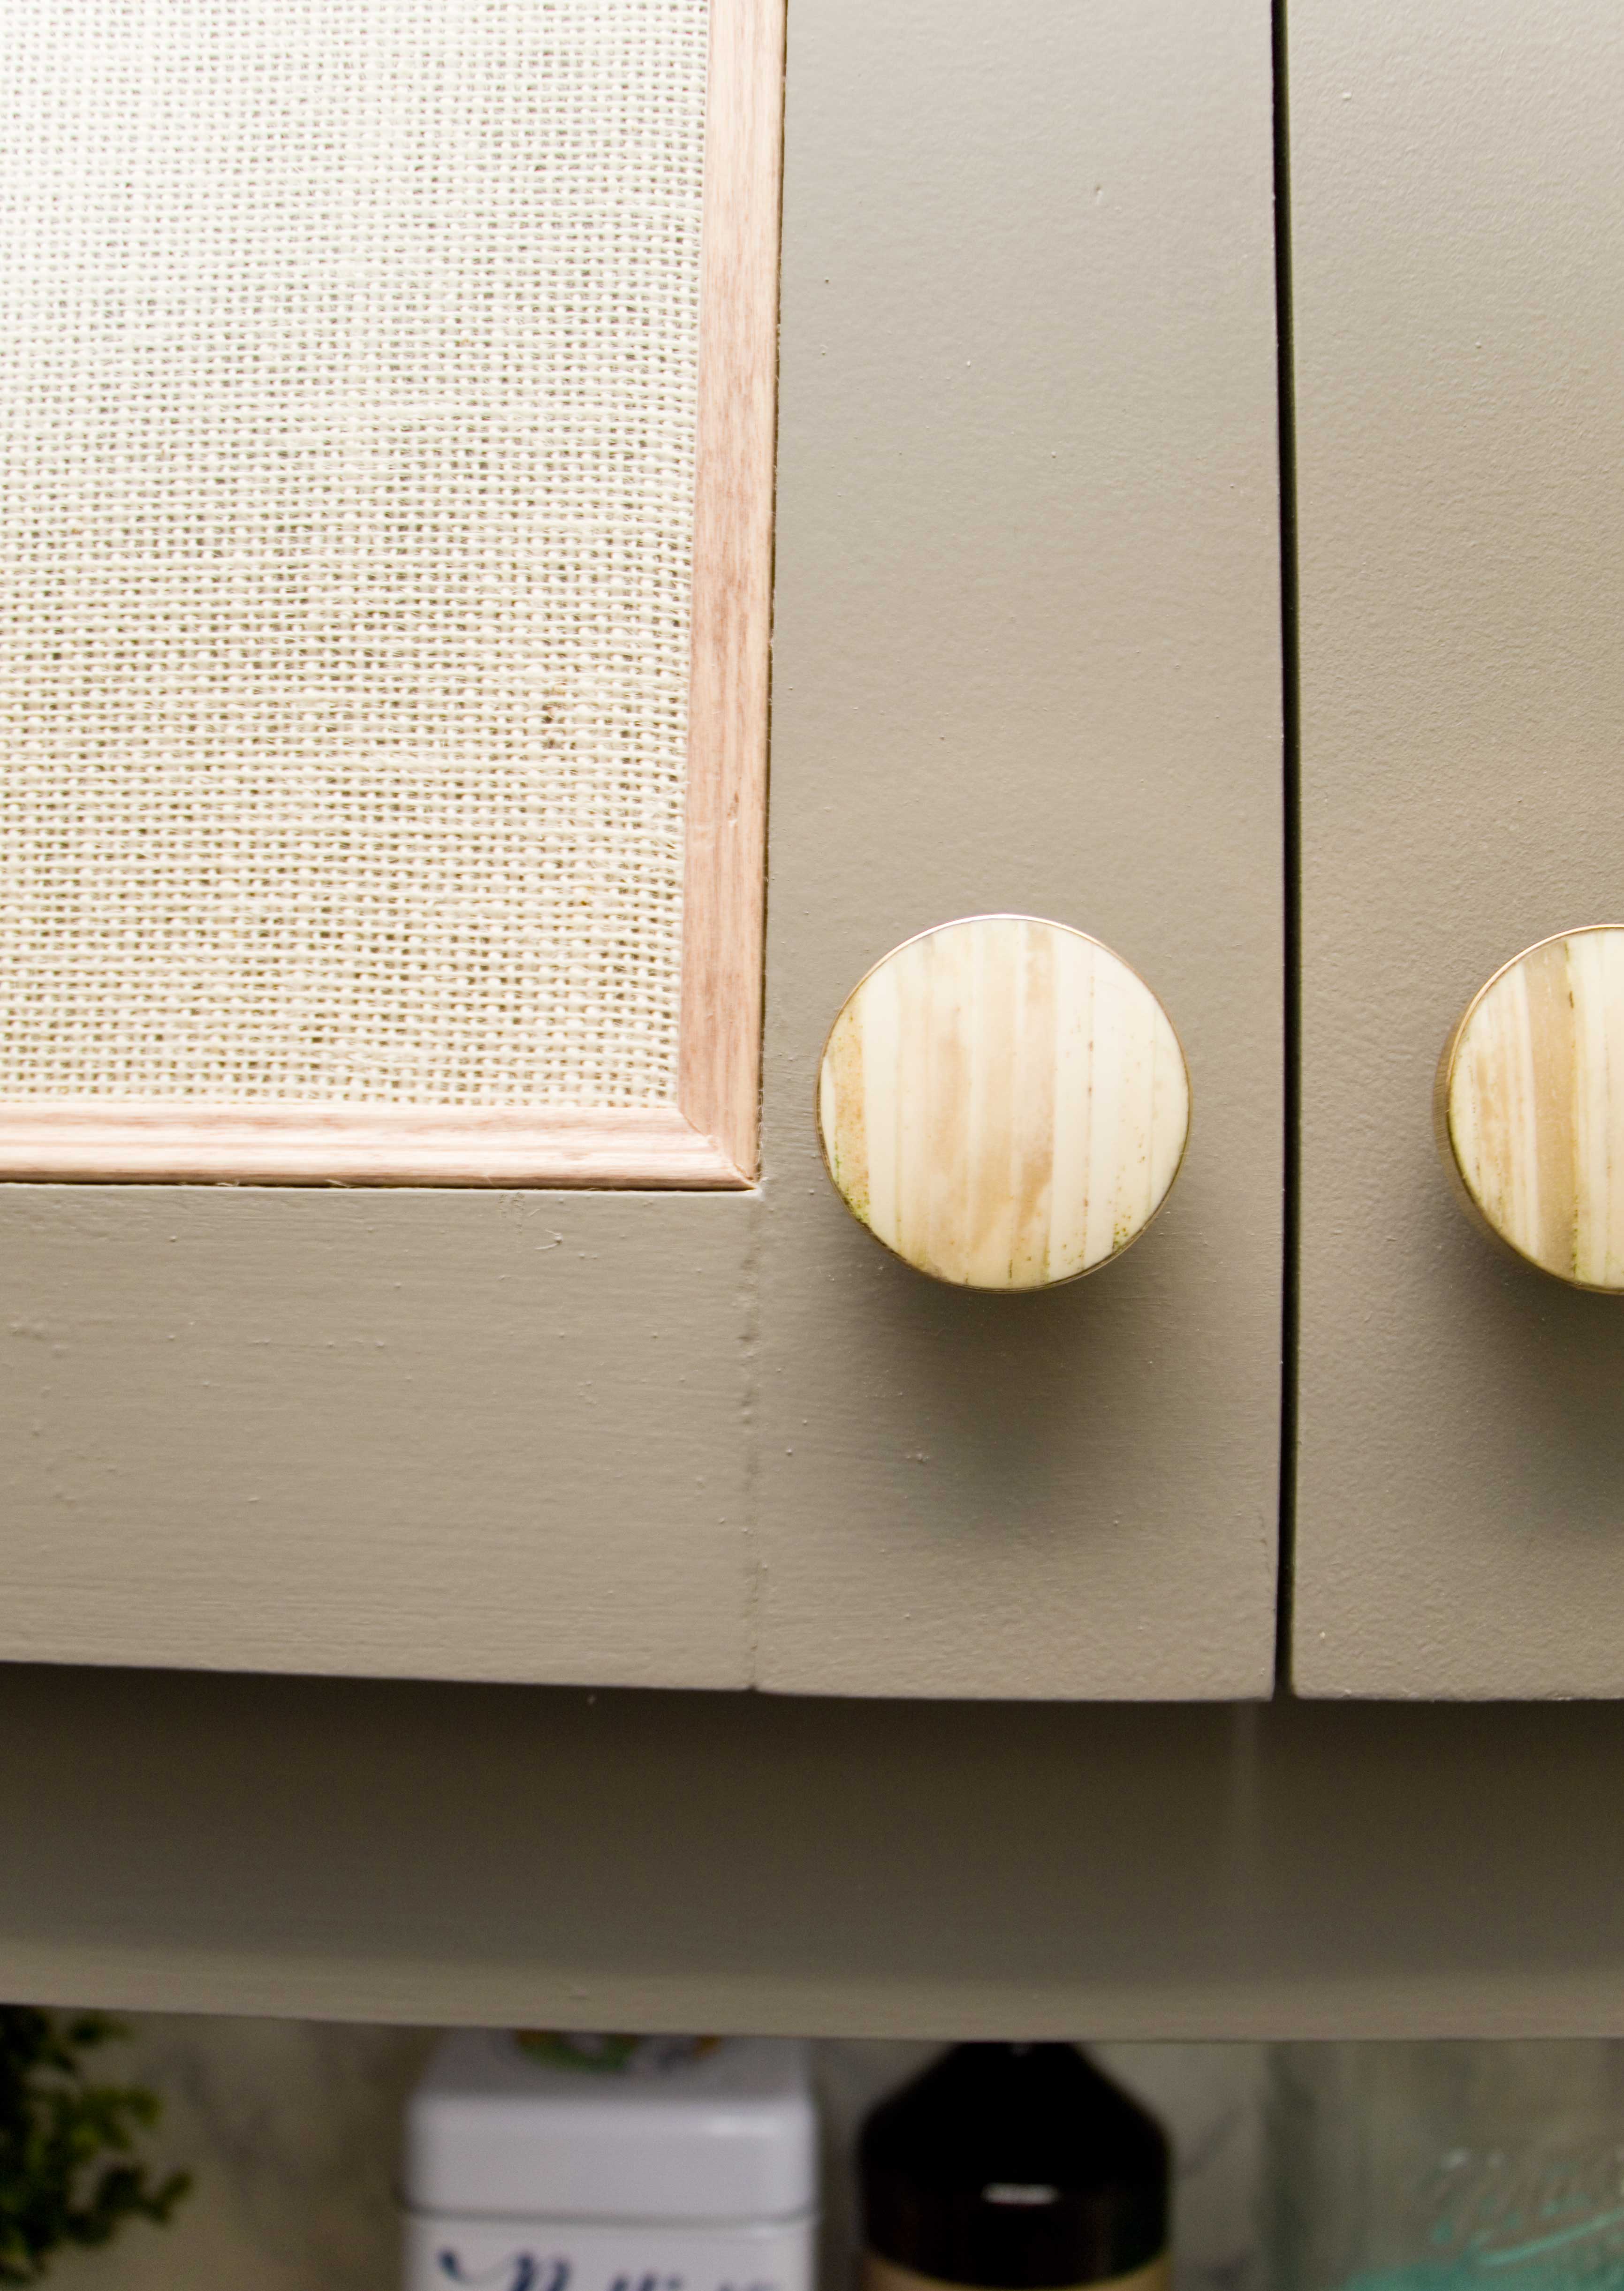
Cabinet Doors
The doors were made from scratch using 3″ Poplar and thin hardboard. Using the thickness of the table saw blade, a groove was created along the edge of the poplar for the hardboard to slide into. The joints were secured with glue and Kregs. Finally topped off with primer. You’ll see later, we added 1/4″ trim along the inside edge of the doors. We really wanted to add radio weave cane webbing, but for a fraction of the price, achieved a similar look with beige burlap. Krylon spray adhesive was used to attach the burlap.
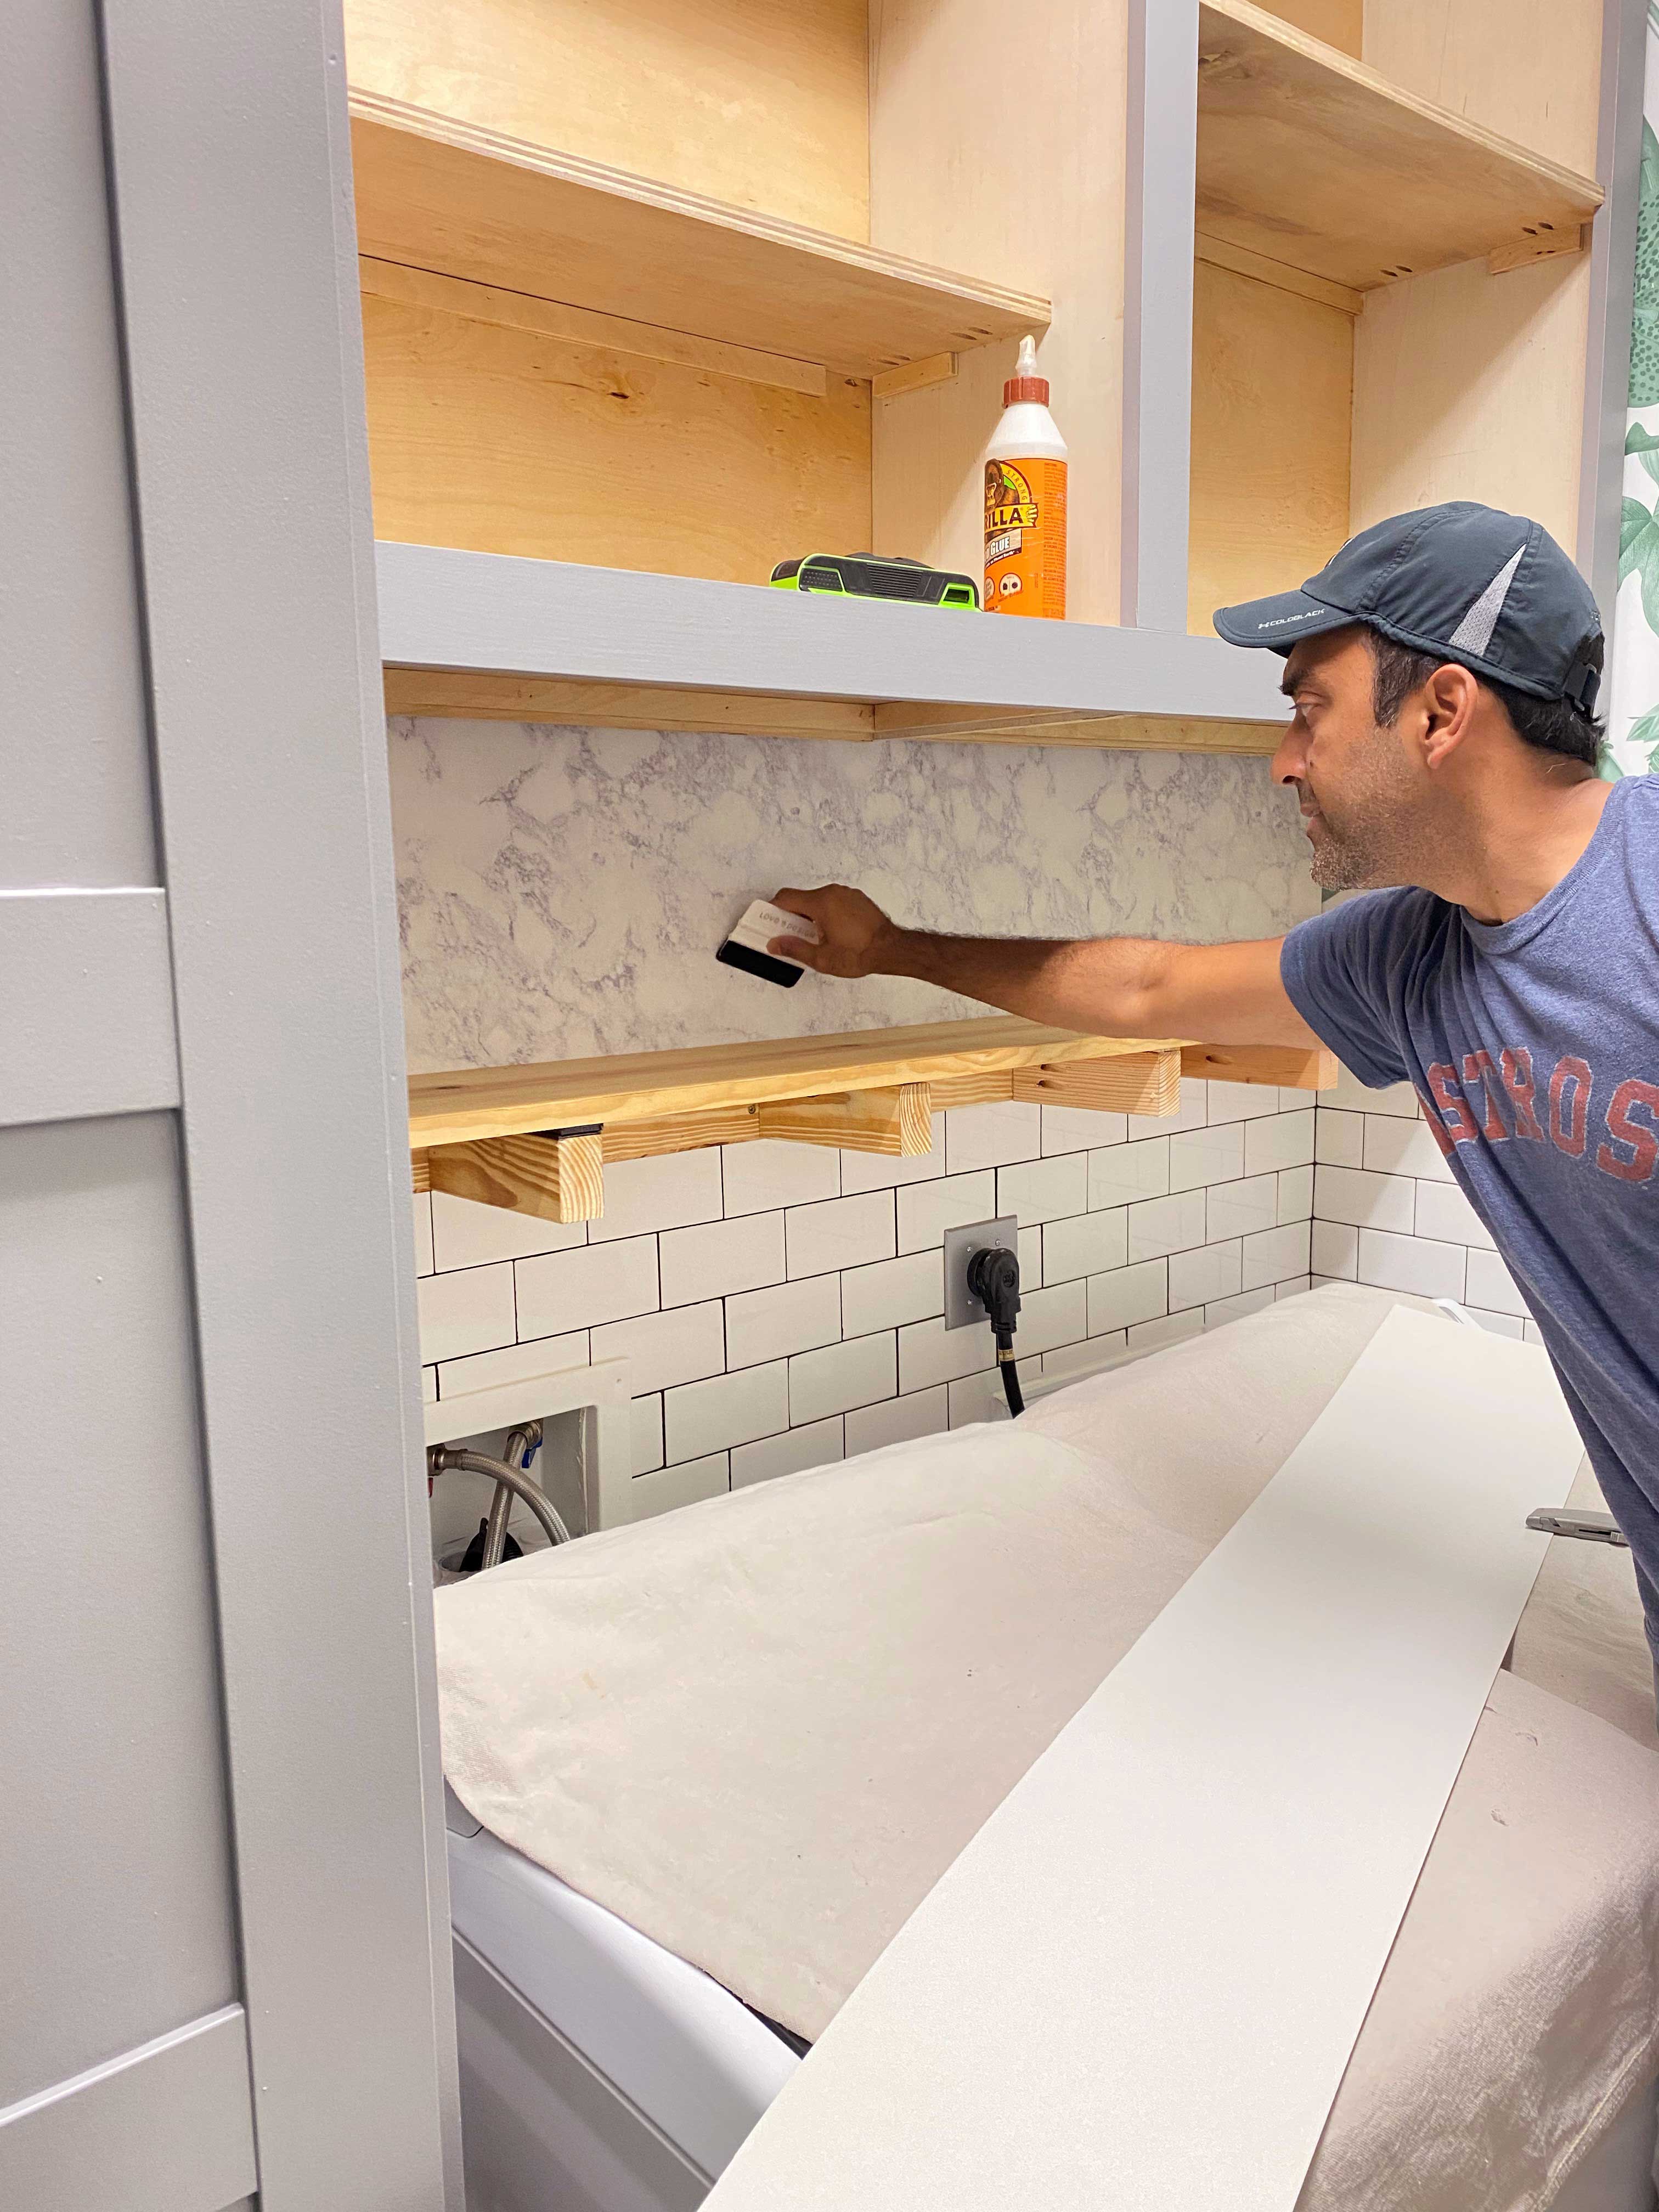
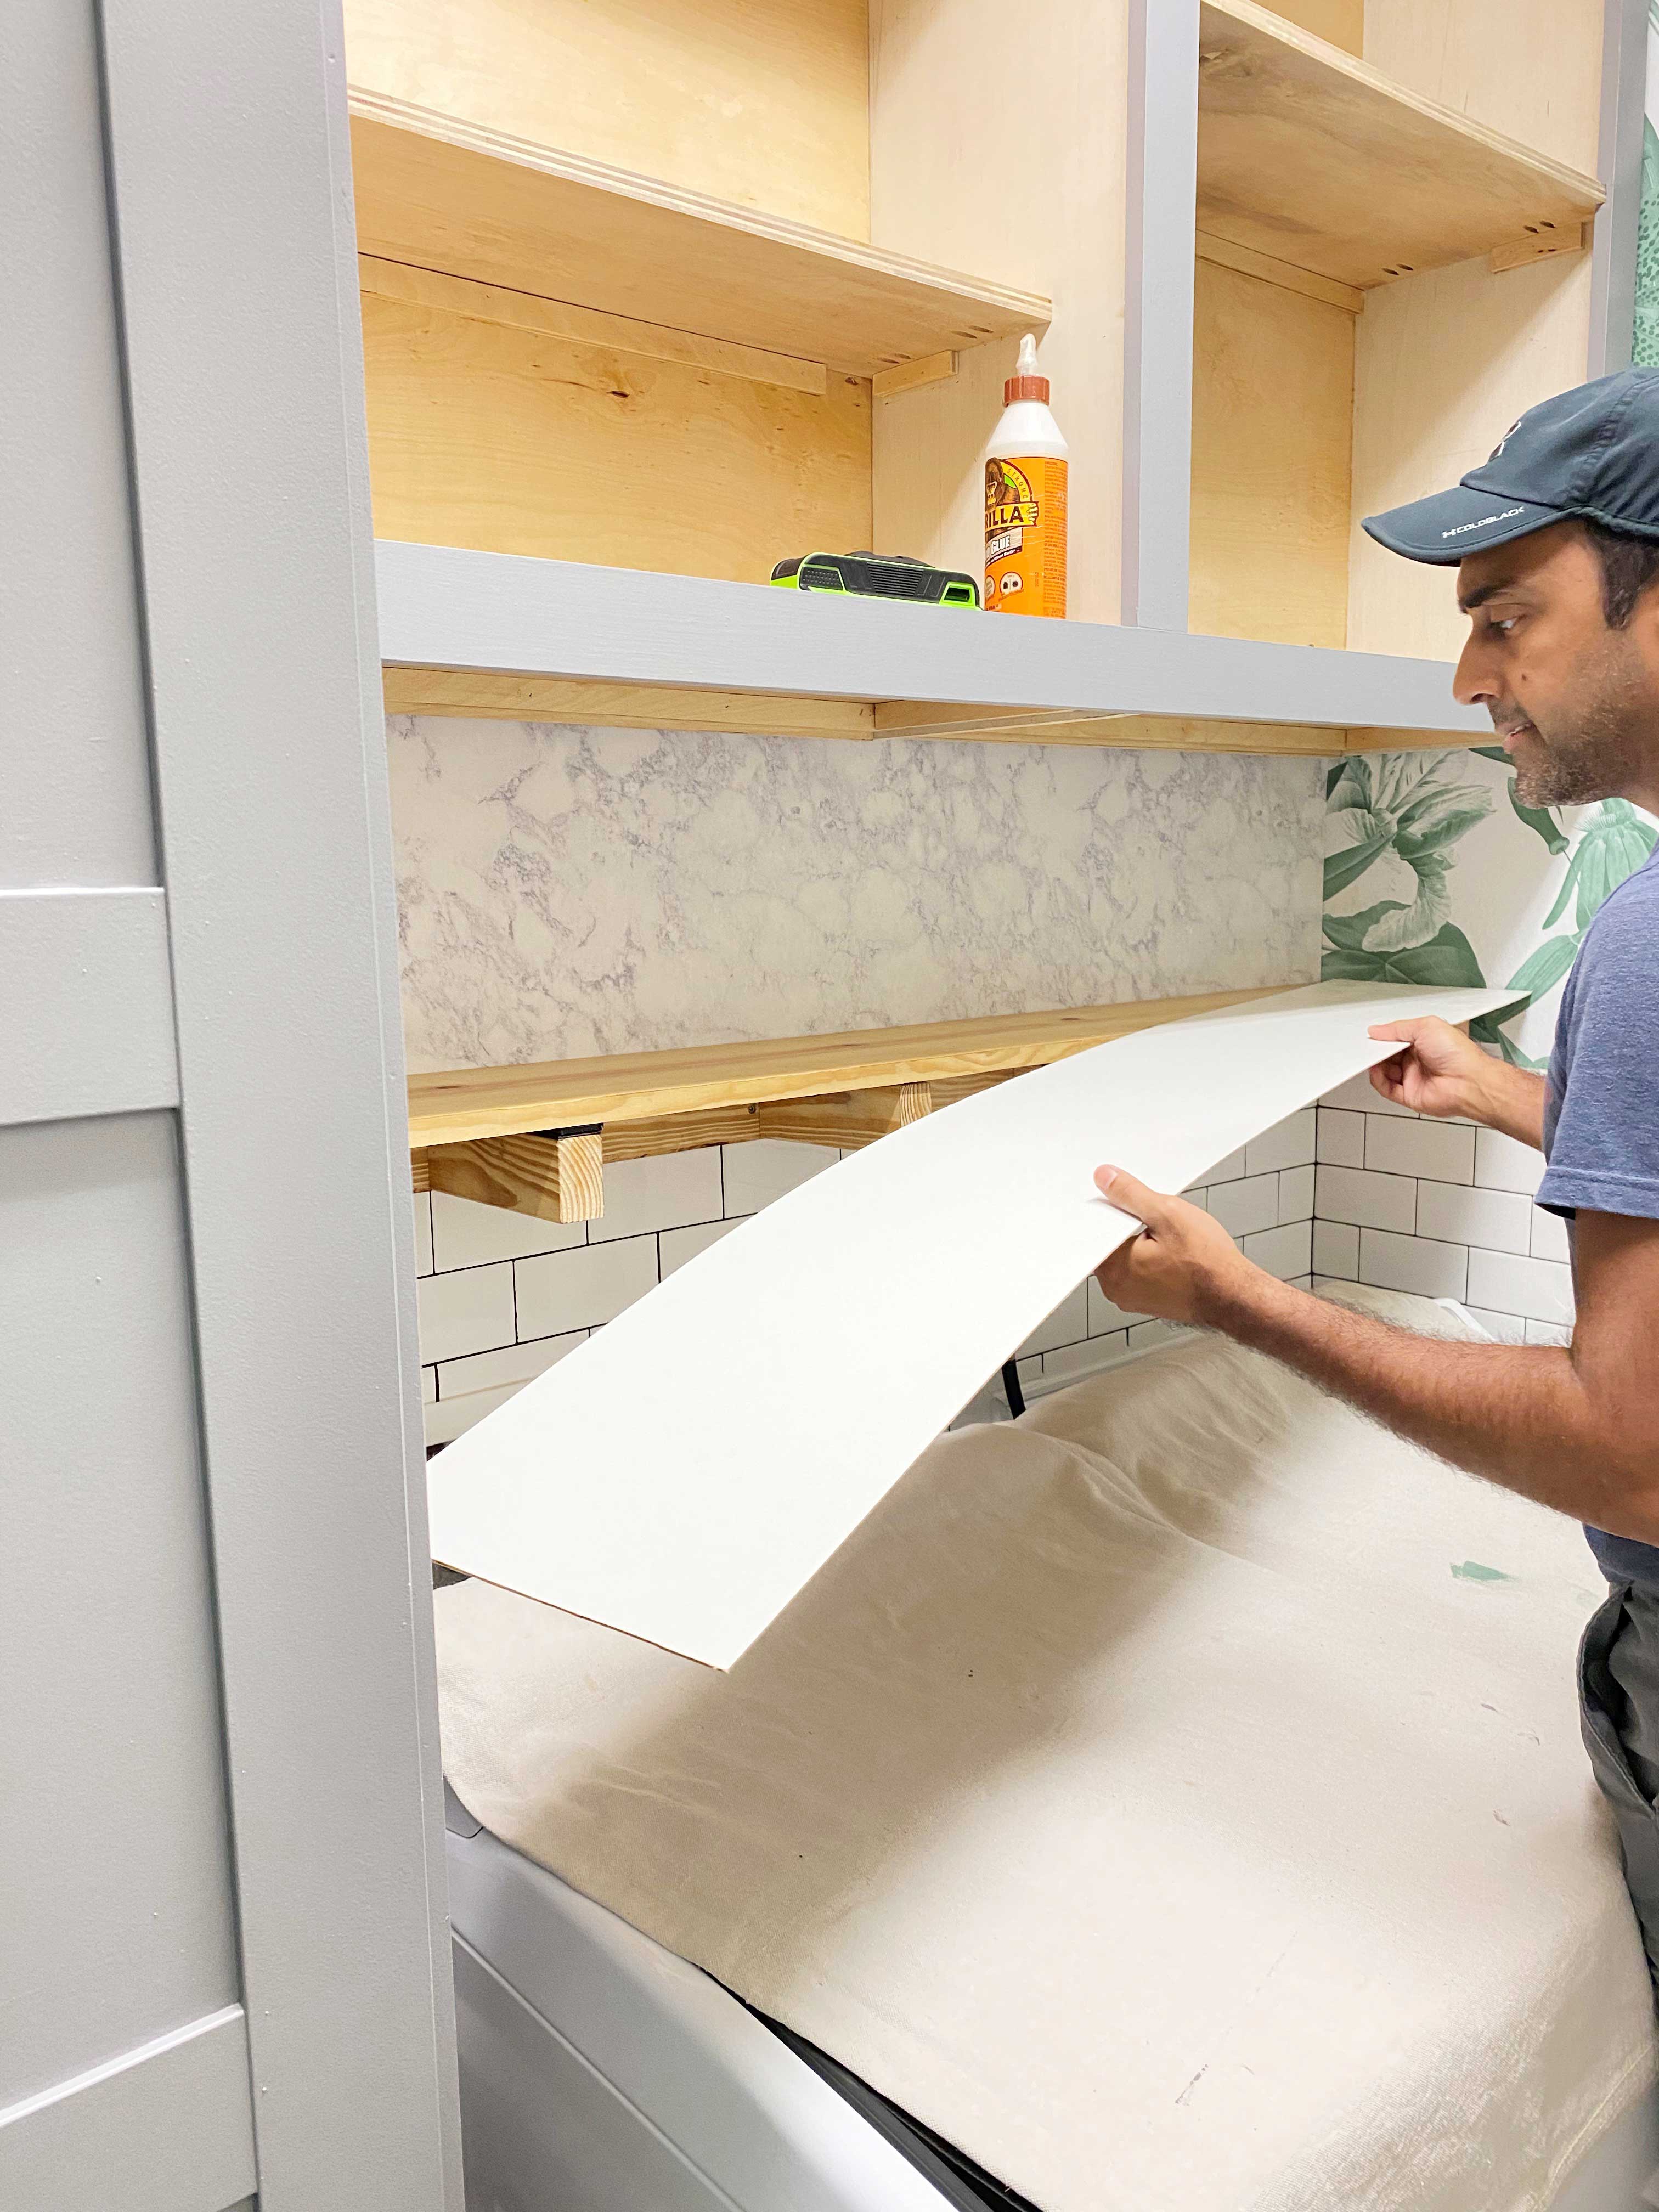
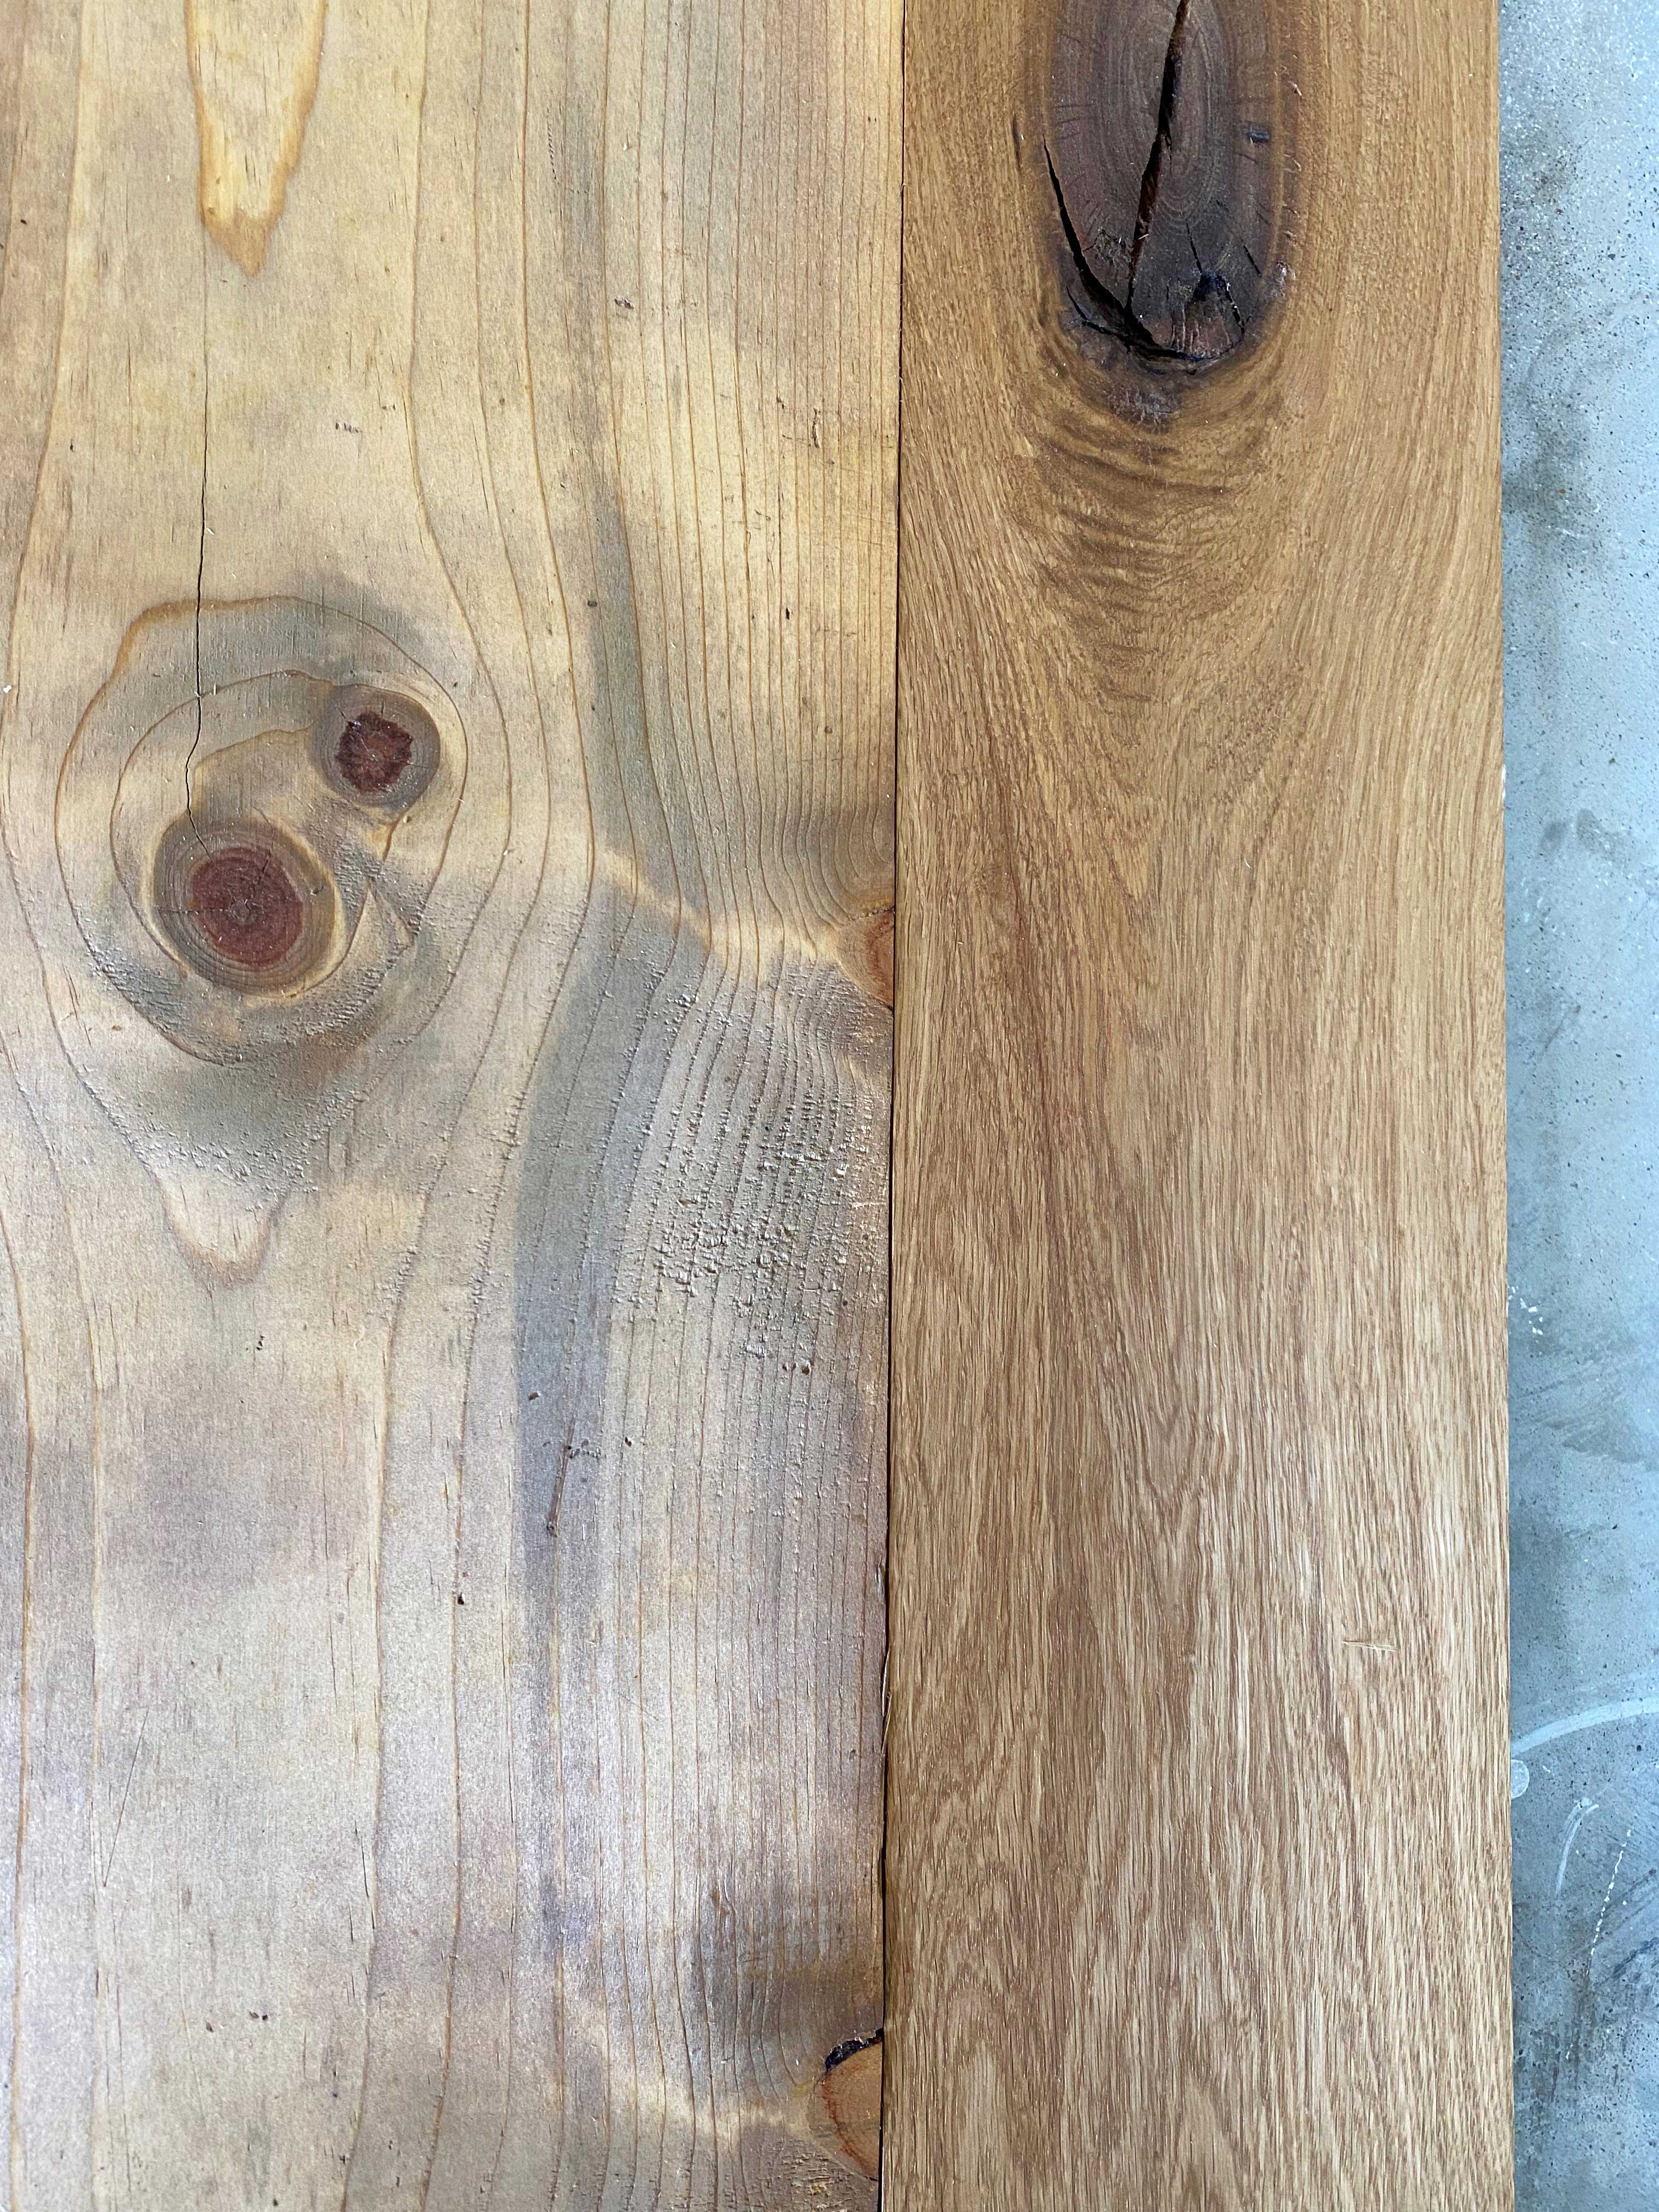
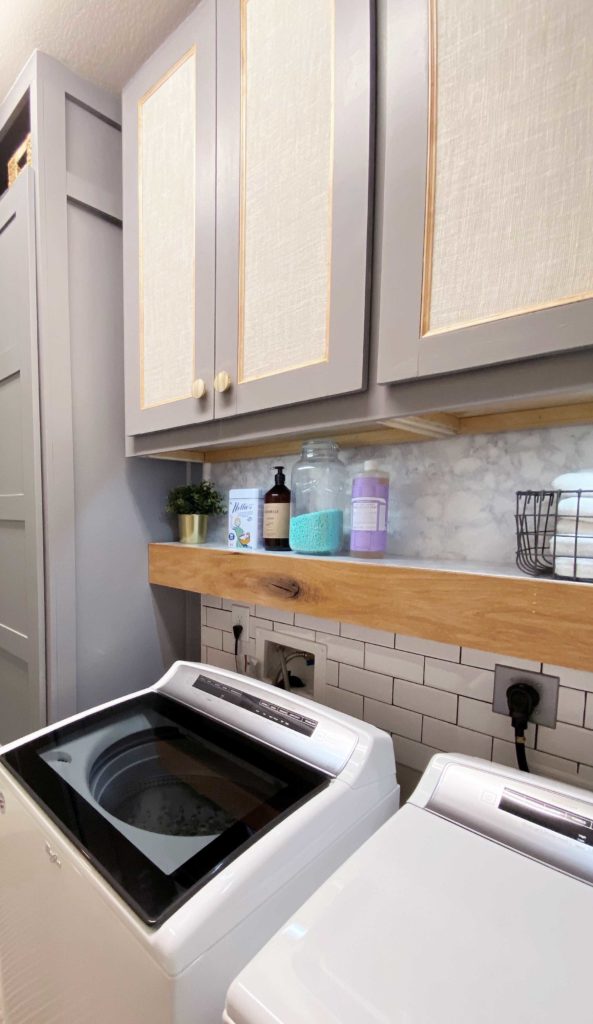
Shelving
We found some beautiful rustic white oak to use for shelving. Though we desired true marble, we used a vinyl liner that looked very similar and trimmed it out with the white oak. We didn’t want to waste the white oak for the bottom of the shelf so we color matched a common board instead (it’s not going to be seen as much anyway).
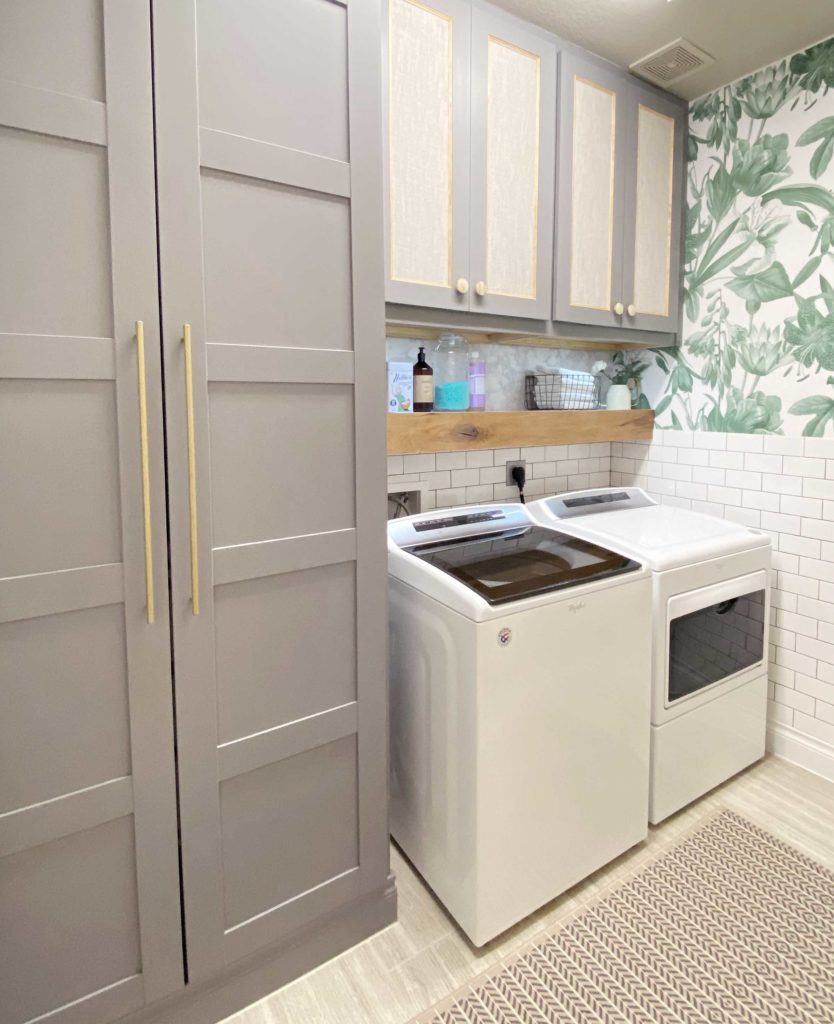
Before and After
The moment we have been waiting for. Do you remember week 1? Goodness gracious…
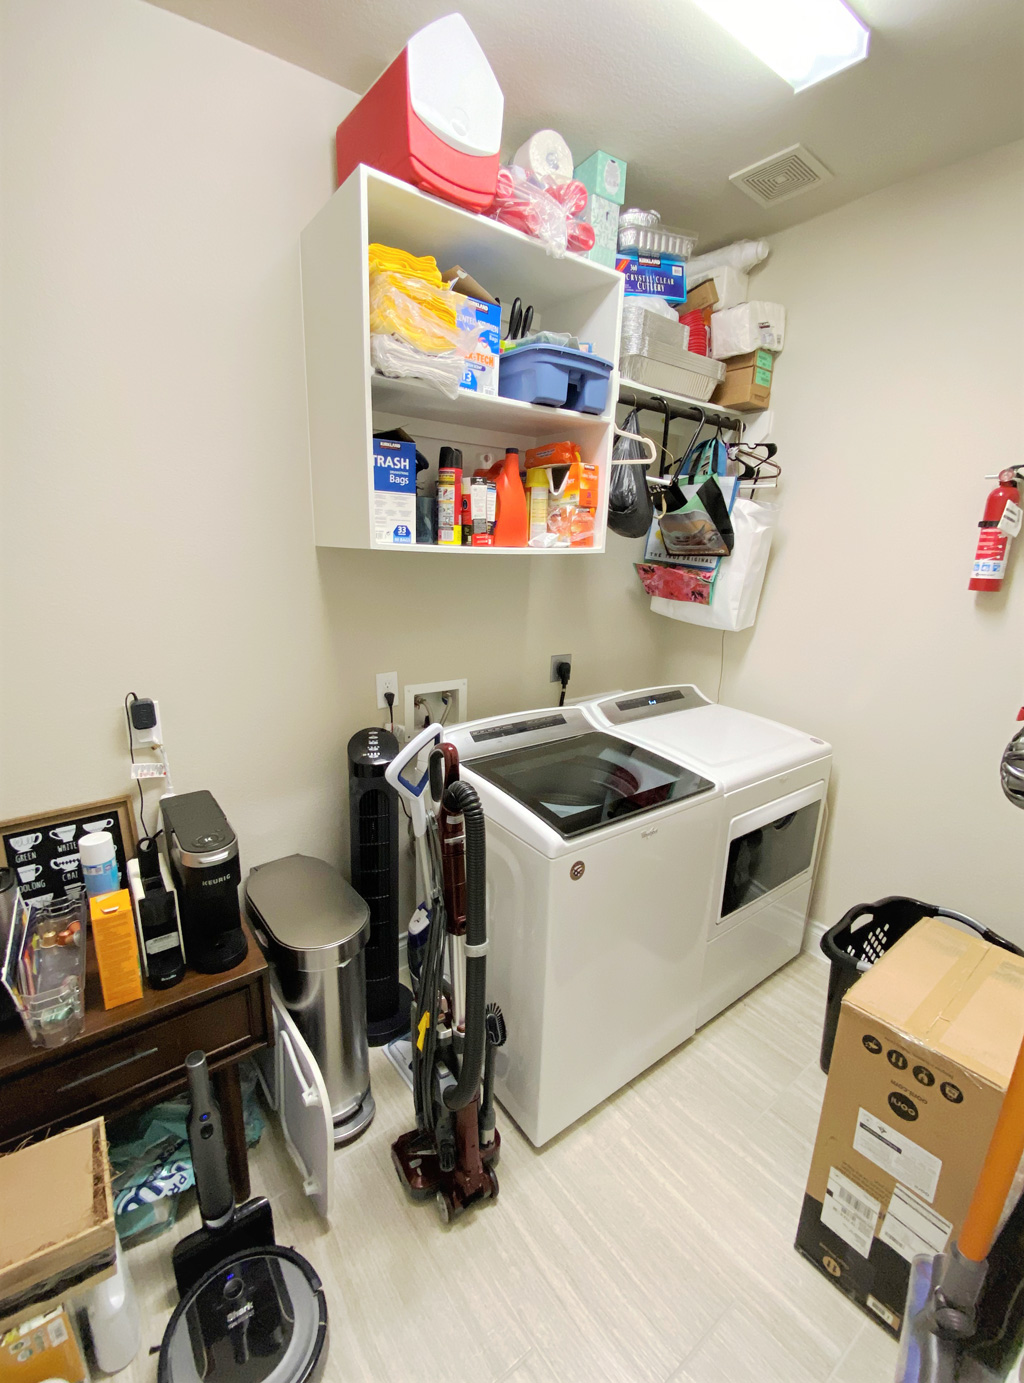
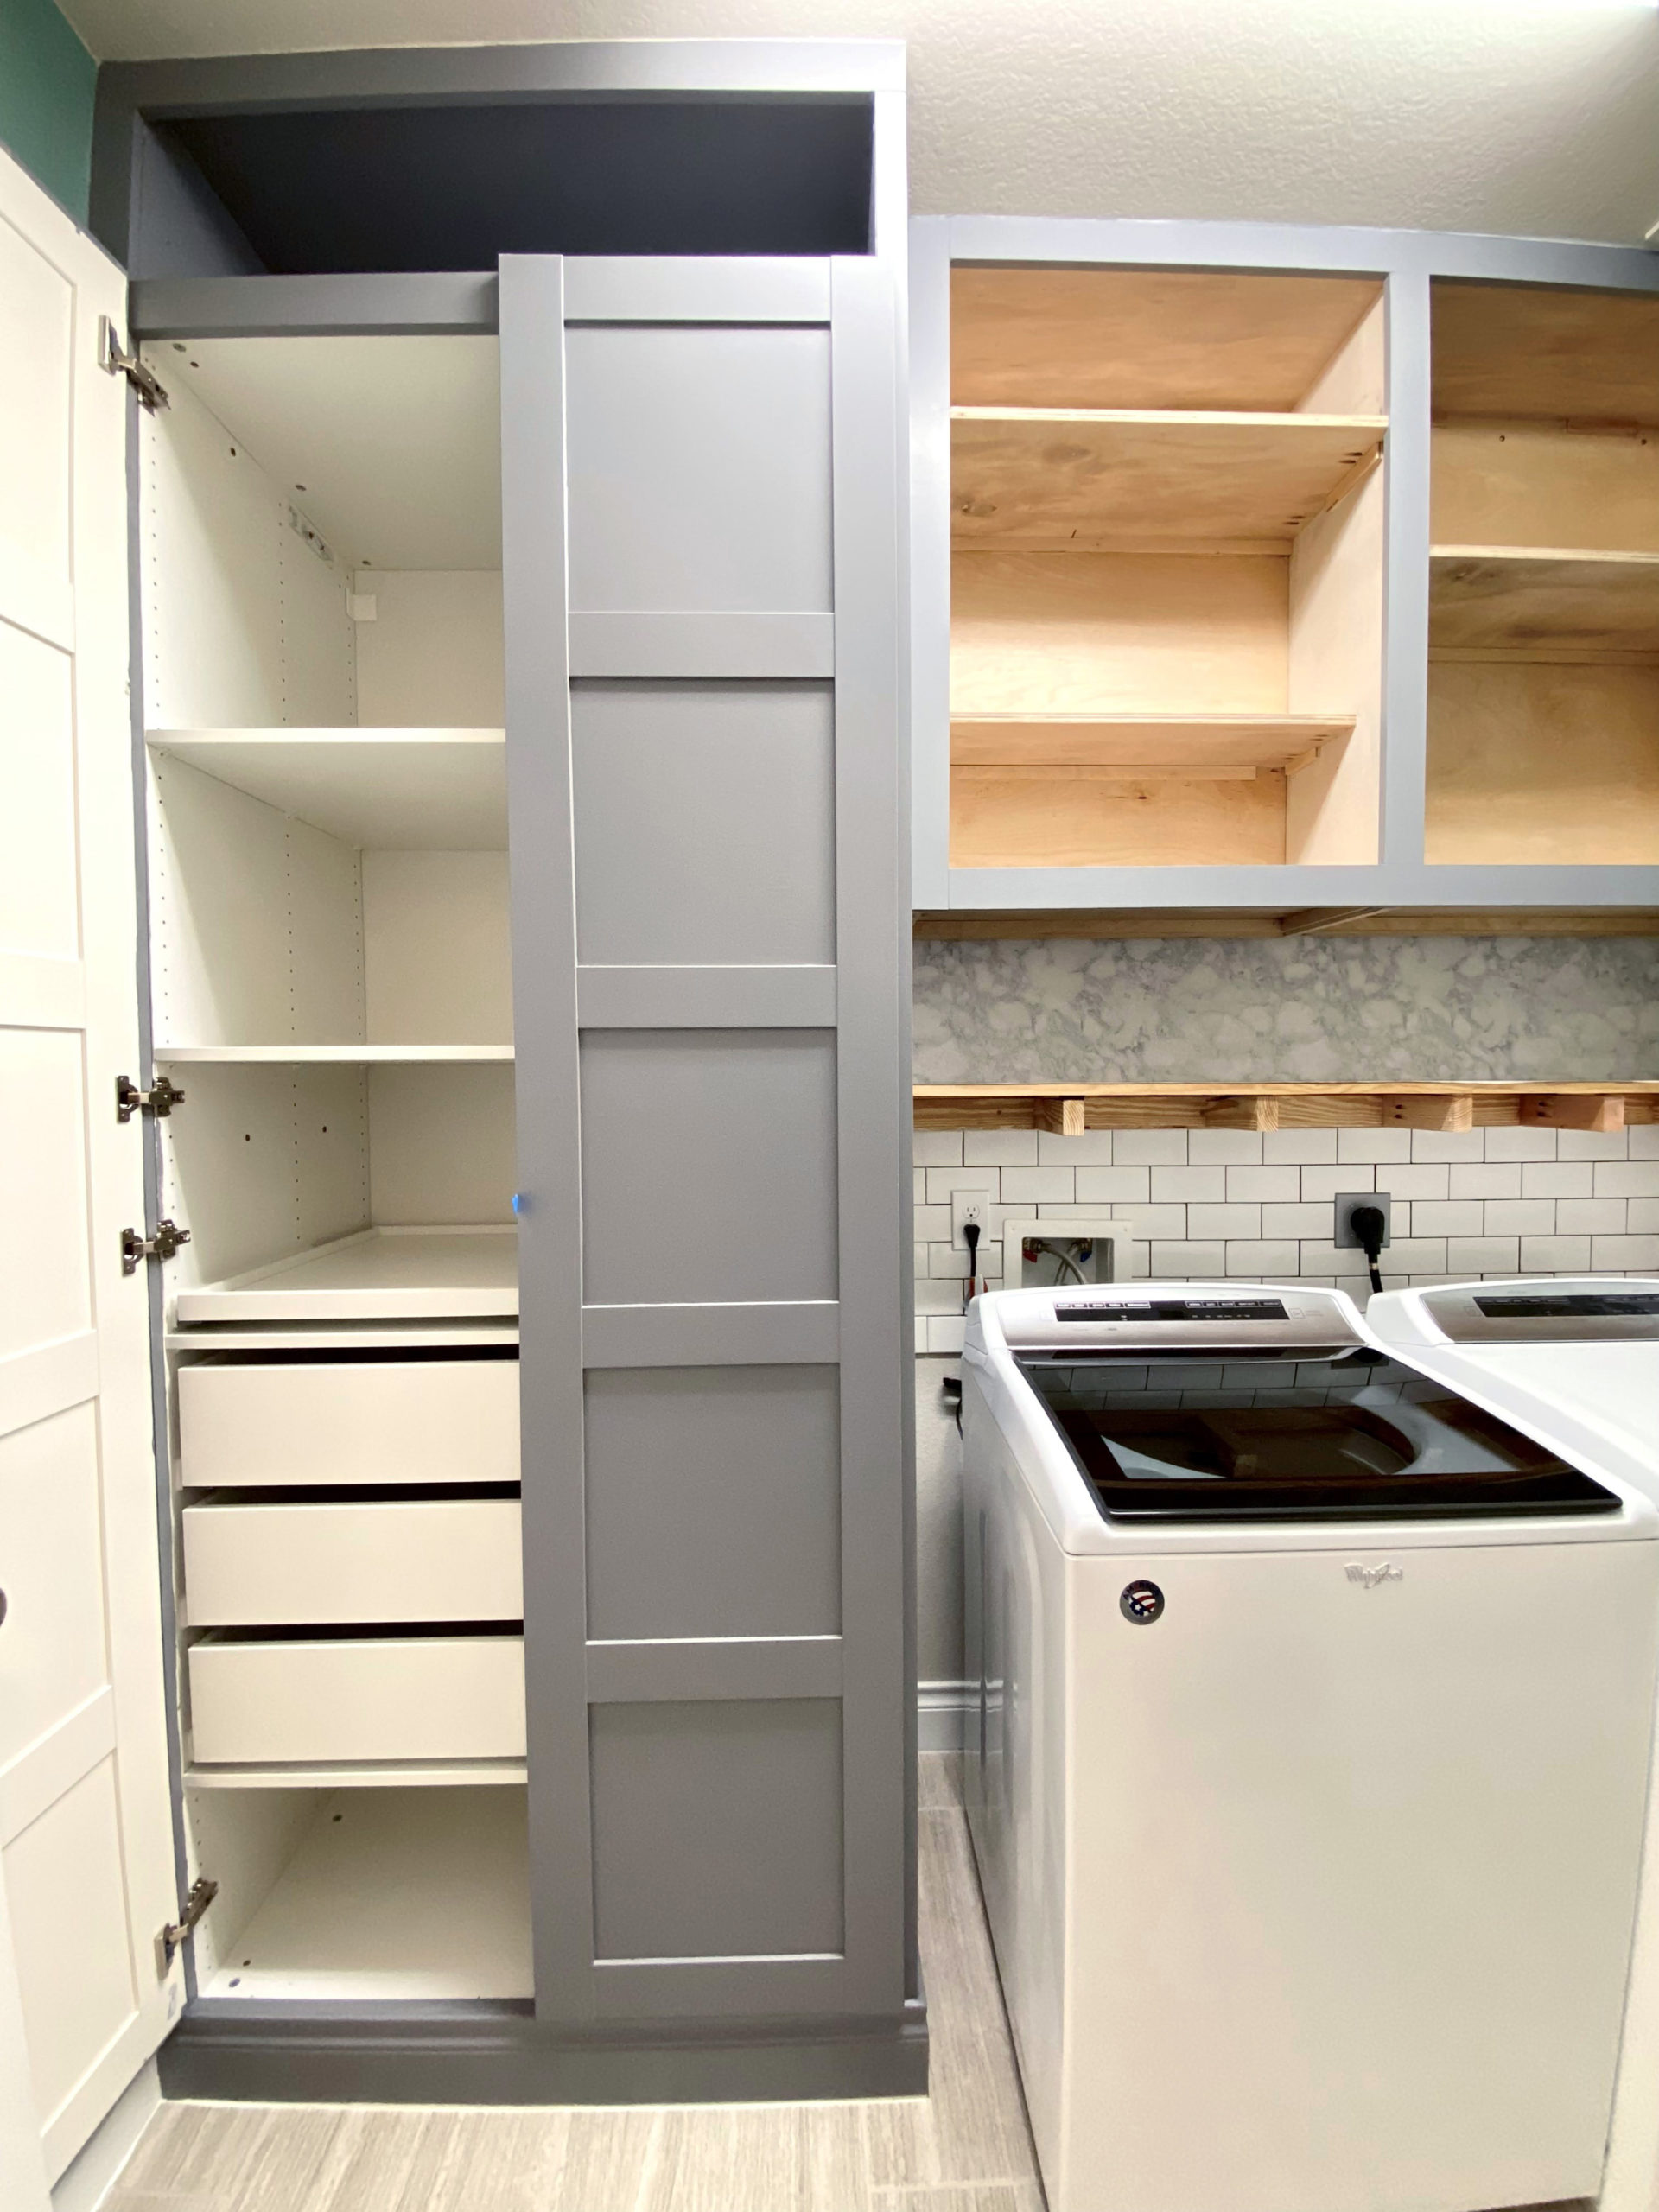
We realized, this wasn’t functional AT ALL. And it felt cramped. So, we added a large Ikea Pax unit, built a custom topper, repainted the doors, and added trim. Next, we tiled some visible areas, complemented by striking, yet botanical wallpaper from Love vs. Design. How fancy? Lastly, of course, our DIY 42″ wall cabinets made from scratch.


What do you think? A BIG, BIG THANK YOU for following and supporting us. It truly means A LOT.
As always, send us any questions and don’t forget to follow our Instagram stories. By the way, there are 20 SUPERB featured designers participating in the One Room Challenge with Better Homes and Gardens as a media partner. These guys and gals totally rock and will not disappoint. Check it out!
SO many DIY projects completed in this space -turned out great!