A thrift store can be a friend when on a tight budget. With a few tools and materials, an old piece of furniture could be rehabbed for a new space.


Where to begin?
Thrift shopping is a journey. When my parents moved into a new house years ago, I contemplated ways to fill each room with function and character. Realizing that my budget would be blown, my mom suggested visiting our Goodwill. I was skeptical, but soon discovered a new world with second-hand furniture.
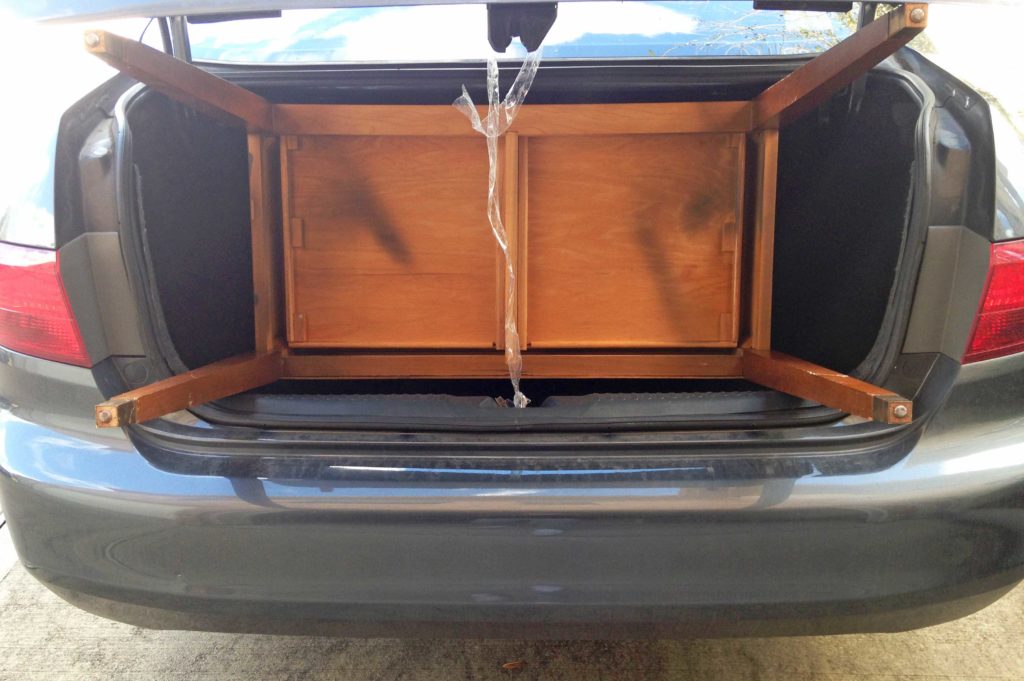
I was ADDICTED! That year, I made 30 trips to local thrift stores and quickly learned to keep an open mind. Arriving with dimensions, I nabbed what I could find and crammed into my sedan.

Tips
- Keep a tape measure handy: measure your space, especially your vehicle. Measure the front seat, back seat, trunk, with the seats down – every inch will be helpful in transporting without having to rent or borrow a larger vehicle. Not every piece will fill space in a room. Surrounding areas could be addressed – for example, adding a planter.
- Avoid mold or termites: furniture may have experienced harsh treatment or been left outside. Although the piece could be saved, skip these items to save yourself time, money, and heartache.
- Search for solid wood: a personal preference, but solid wood can be stripped, sanded, and stained effectively. Of course any piece can be painted, but may not be durable in the long run and pricier bonding paint could blow through a budget. Avoid MDF (heavy) or particle board (delicate). You might come across veneer – if it’s wood, it can be salvaged much better.
- Chat with the manager: thrift-shops may release recently acquired furniture on specific days of the week or near month end.
- Check yourself: if you’re like me, you’ll be addicted. While purchasing many pieces can help decrease the cost of rehabbing (through spread), I had to pause – remind myself that I’m not collecting baseballs cards. You never know who might walk through the door where furniture could be helpful for!
Side table miracle
The French provincial to French country transformation was quite trendy – a combination of ornate curves, perhaps some iron to provide an elegant, yet rustic appearance. I stumbled upon a side table matching the description for under $20.
The table had lots of scratches and water rings, but was made of solid wood! The legs required tightening and the drawer a slight adjustment. Goal: to refinish the top with a walnut stain and paint the legs chalky white.


Overview of steps
A quick Google search pulls up several how-to videos on rehabbing. Below are a few steps to get you started.
- Wipe down furniture with damp cloth: apply a tab of Goof Off to sticky areas (in my case – the drawer was filled with stickers).
- Prep the area (and yourself): you may choose to strip the stain. In my case, the top of the table is where most of the rehab action would occur. Find a well lit ventilated space, like a open garage and drop a tarp. Wear long shirts, pants, and closed-toe shoes.
- Supplies found at most big-box stores (handy Amazon links provided): latex gloves, 2in brush, 2.5 in scraper (while metal can rust, it was the most effective for me), stripping agent (Citristrip or Klean-Strip), mineral spirits, desired primer, paint, and stain (Minwax), pre-stain, clear satin polycrylic finish, respirator mask, steel wool, rags, 120 grit (medium) sandpaper, 240 grit (fine) sandpaper.
- Apply stripper: evenly apply the stripper with a brush onto the surface. Cover the entire surface with a thick layer. Read the chemical label. Let it soak.
- Begin scrapping: start with an edge and push across. A sticky grime will begin to accumulate that you can push onto the tarp or wipe clean with a rag. This will take several attempts (LOTS) until down to the a fine layer of stain or wood. Use a steel wool for ornate, hard to reach places. Once complete, wipe down the surface and let it dry for about a day.
- Apply mineral spirits: optional wipe everything.
- Begin sanding: my first project was sanded by hand, but an electric orbital sander will expedite the process for large surfaces. Start sanding in the direction of the grain with medium grit sandpaper, followed fine grit. Wood should start to expose. Wipe and dry.
- Apply pre-stain conditioner and begin staining: Minwax has an excellent step-by-step video on staining and applying a protective coat (I prefer polycrylic to polyurethane – Minwax carries both).
- Prime and paint the legs: prefer to sand with fine paper between coats to minimize streaks. Prop the furniture on top of a piece of wood to prevent sticking to the tarp.
