It’s week 4 of the Spring ORC 2022. This year marks the 10th anniversary with an amazing partner in Apartment Therapy. We have some updates, yay! Finally!

If you came here from the ORC site, hello! I’m Sanju Patel. By day, I work behind a desk, typically crunching numbers. By night, you can find me in a garage. My wife and I purchased a home in Texas 4 years ago – a quick close without costly bells and whistles. As lifelong fans of DIY, we’ve decided to invest into our home as our family grows with an open invitation to see our process from start to finish.
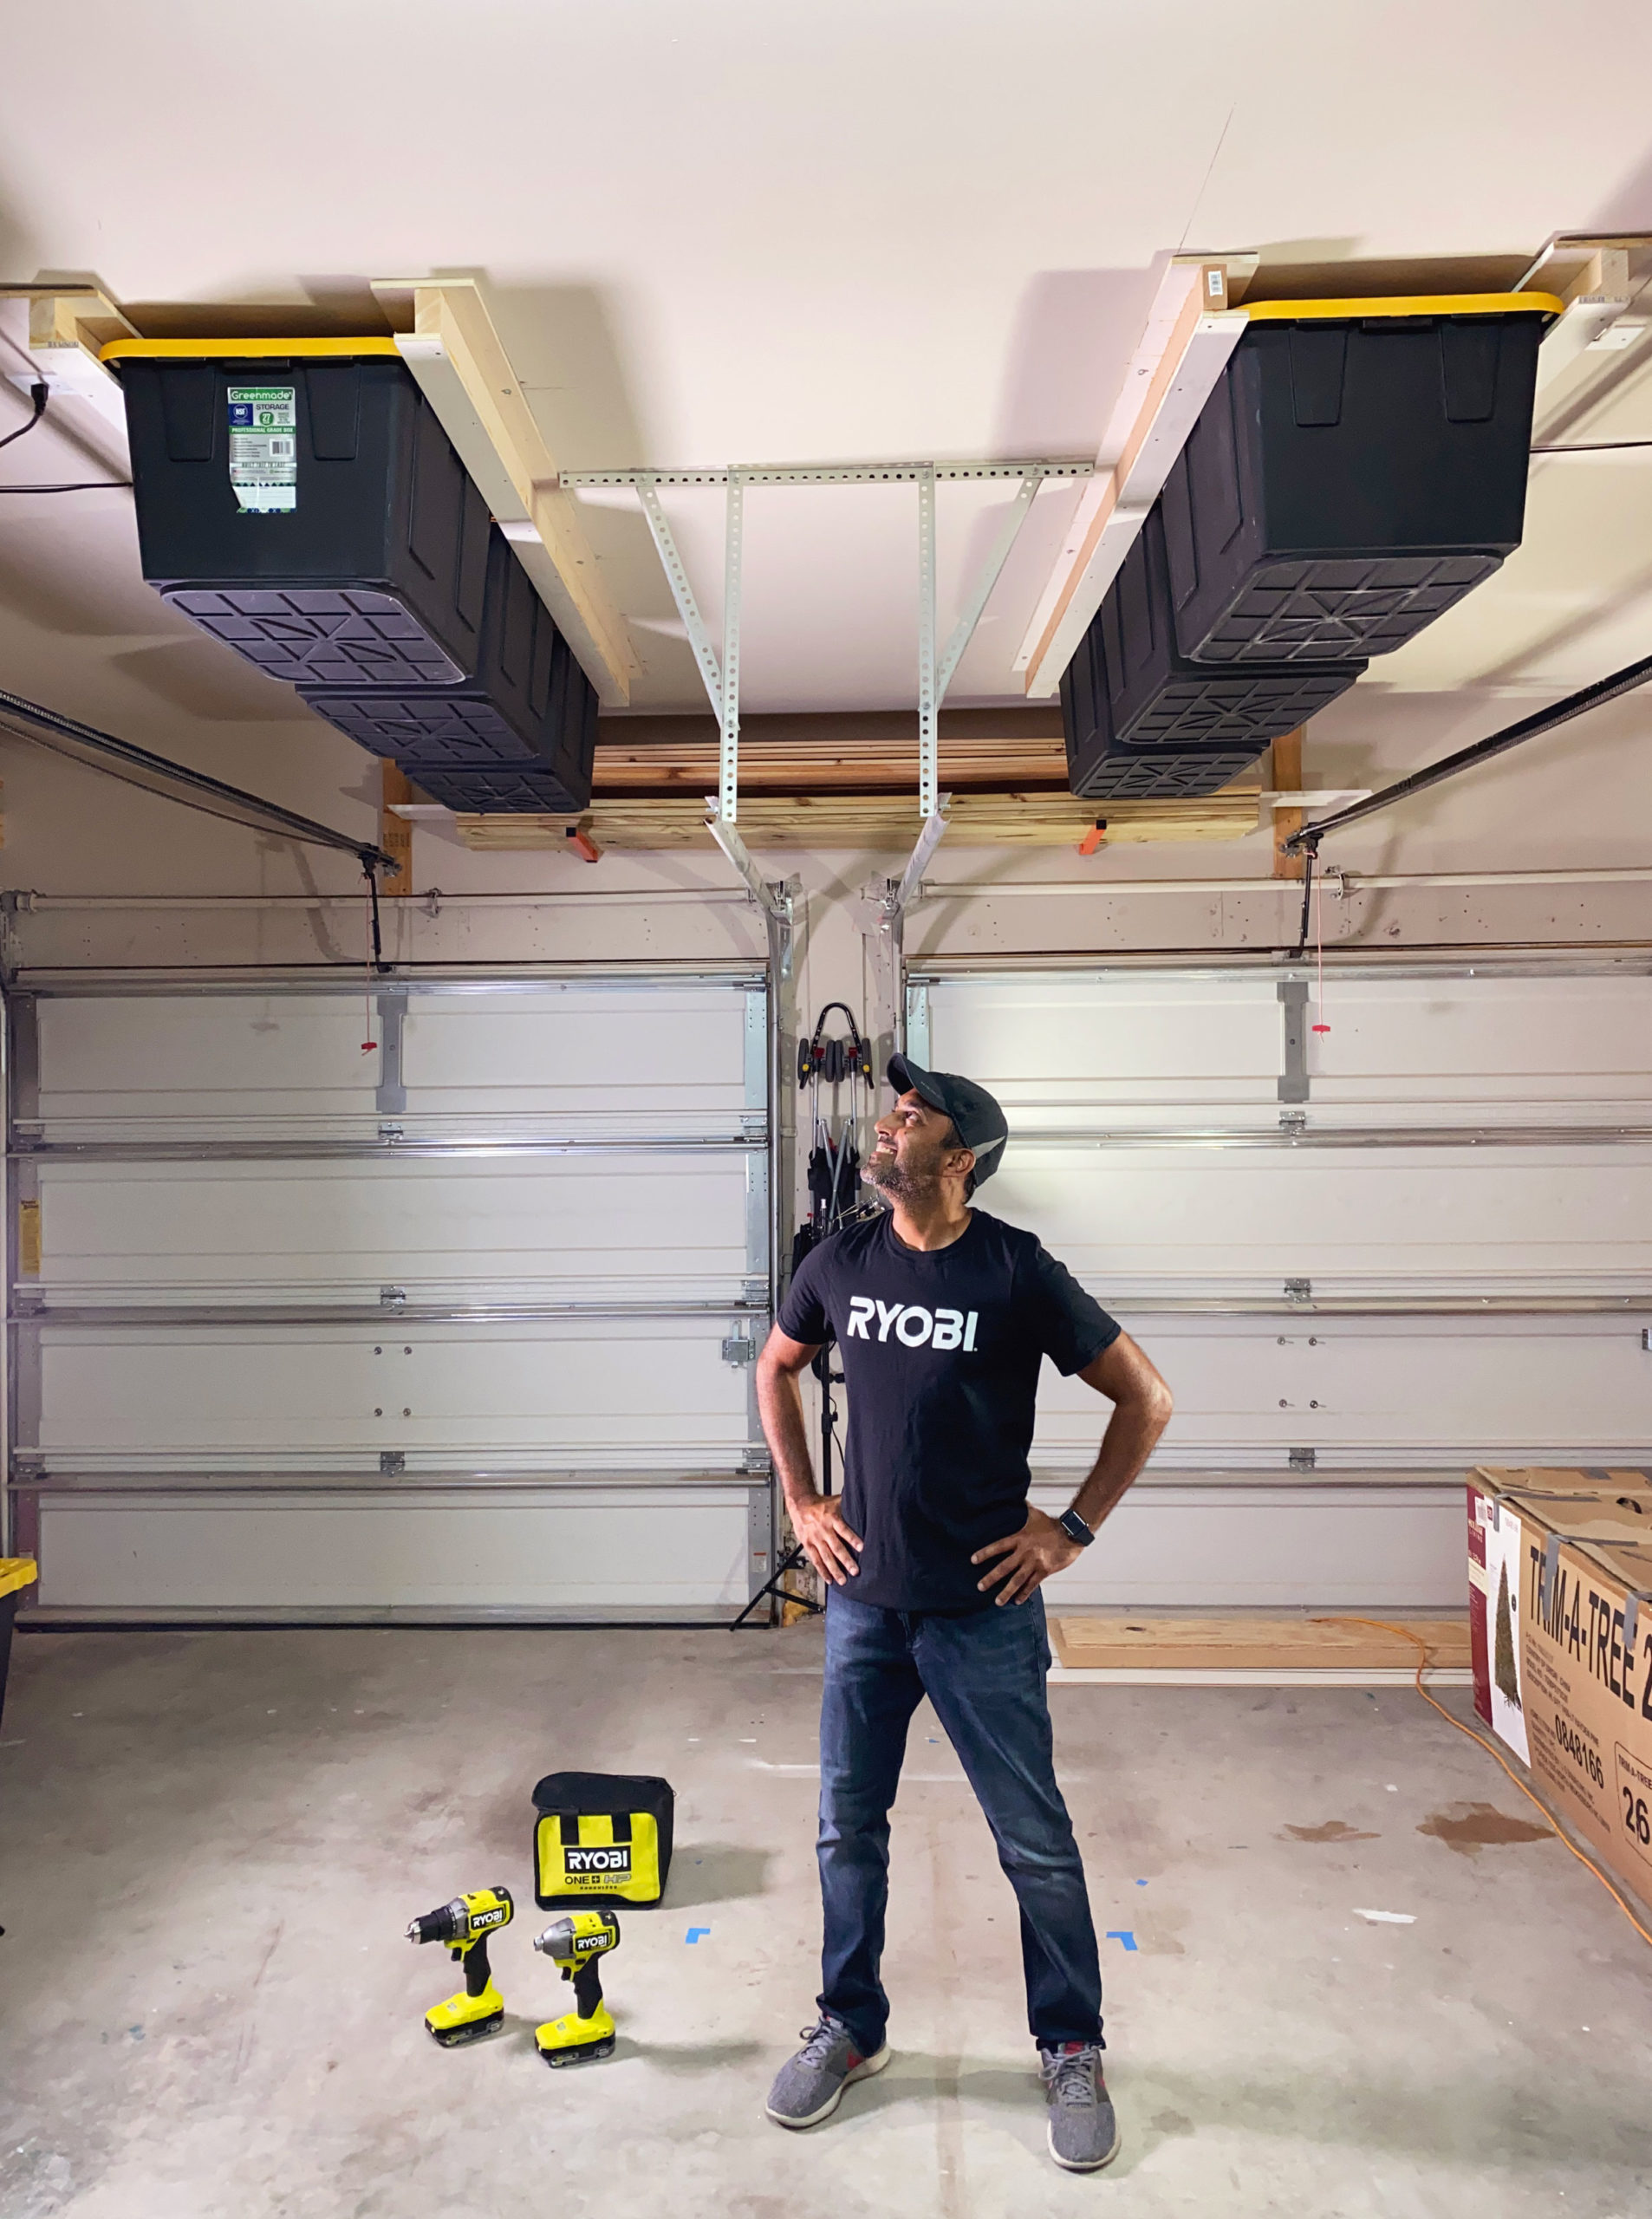
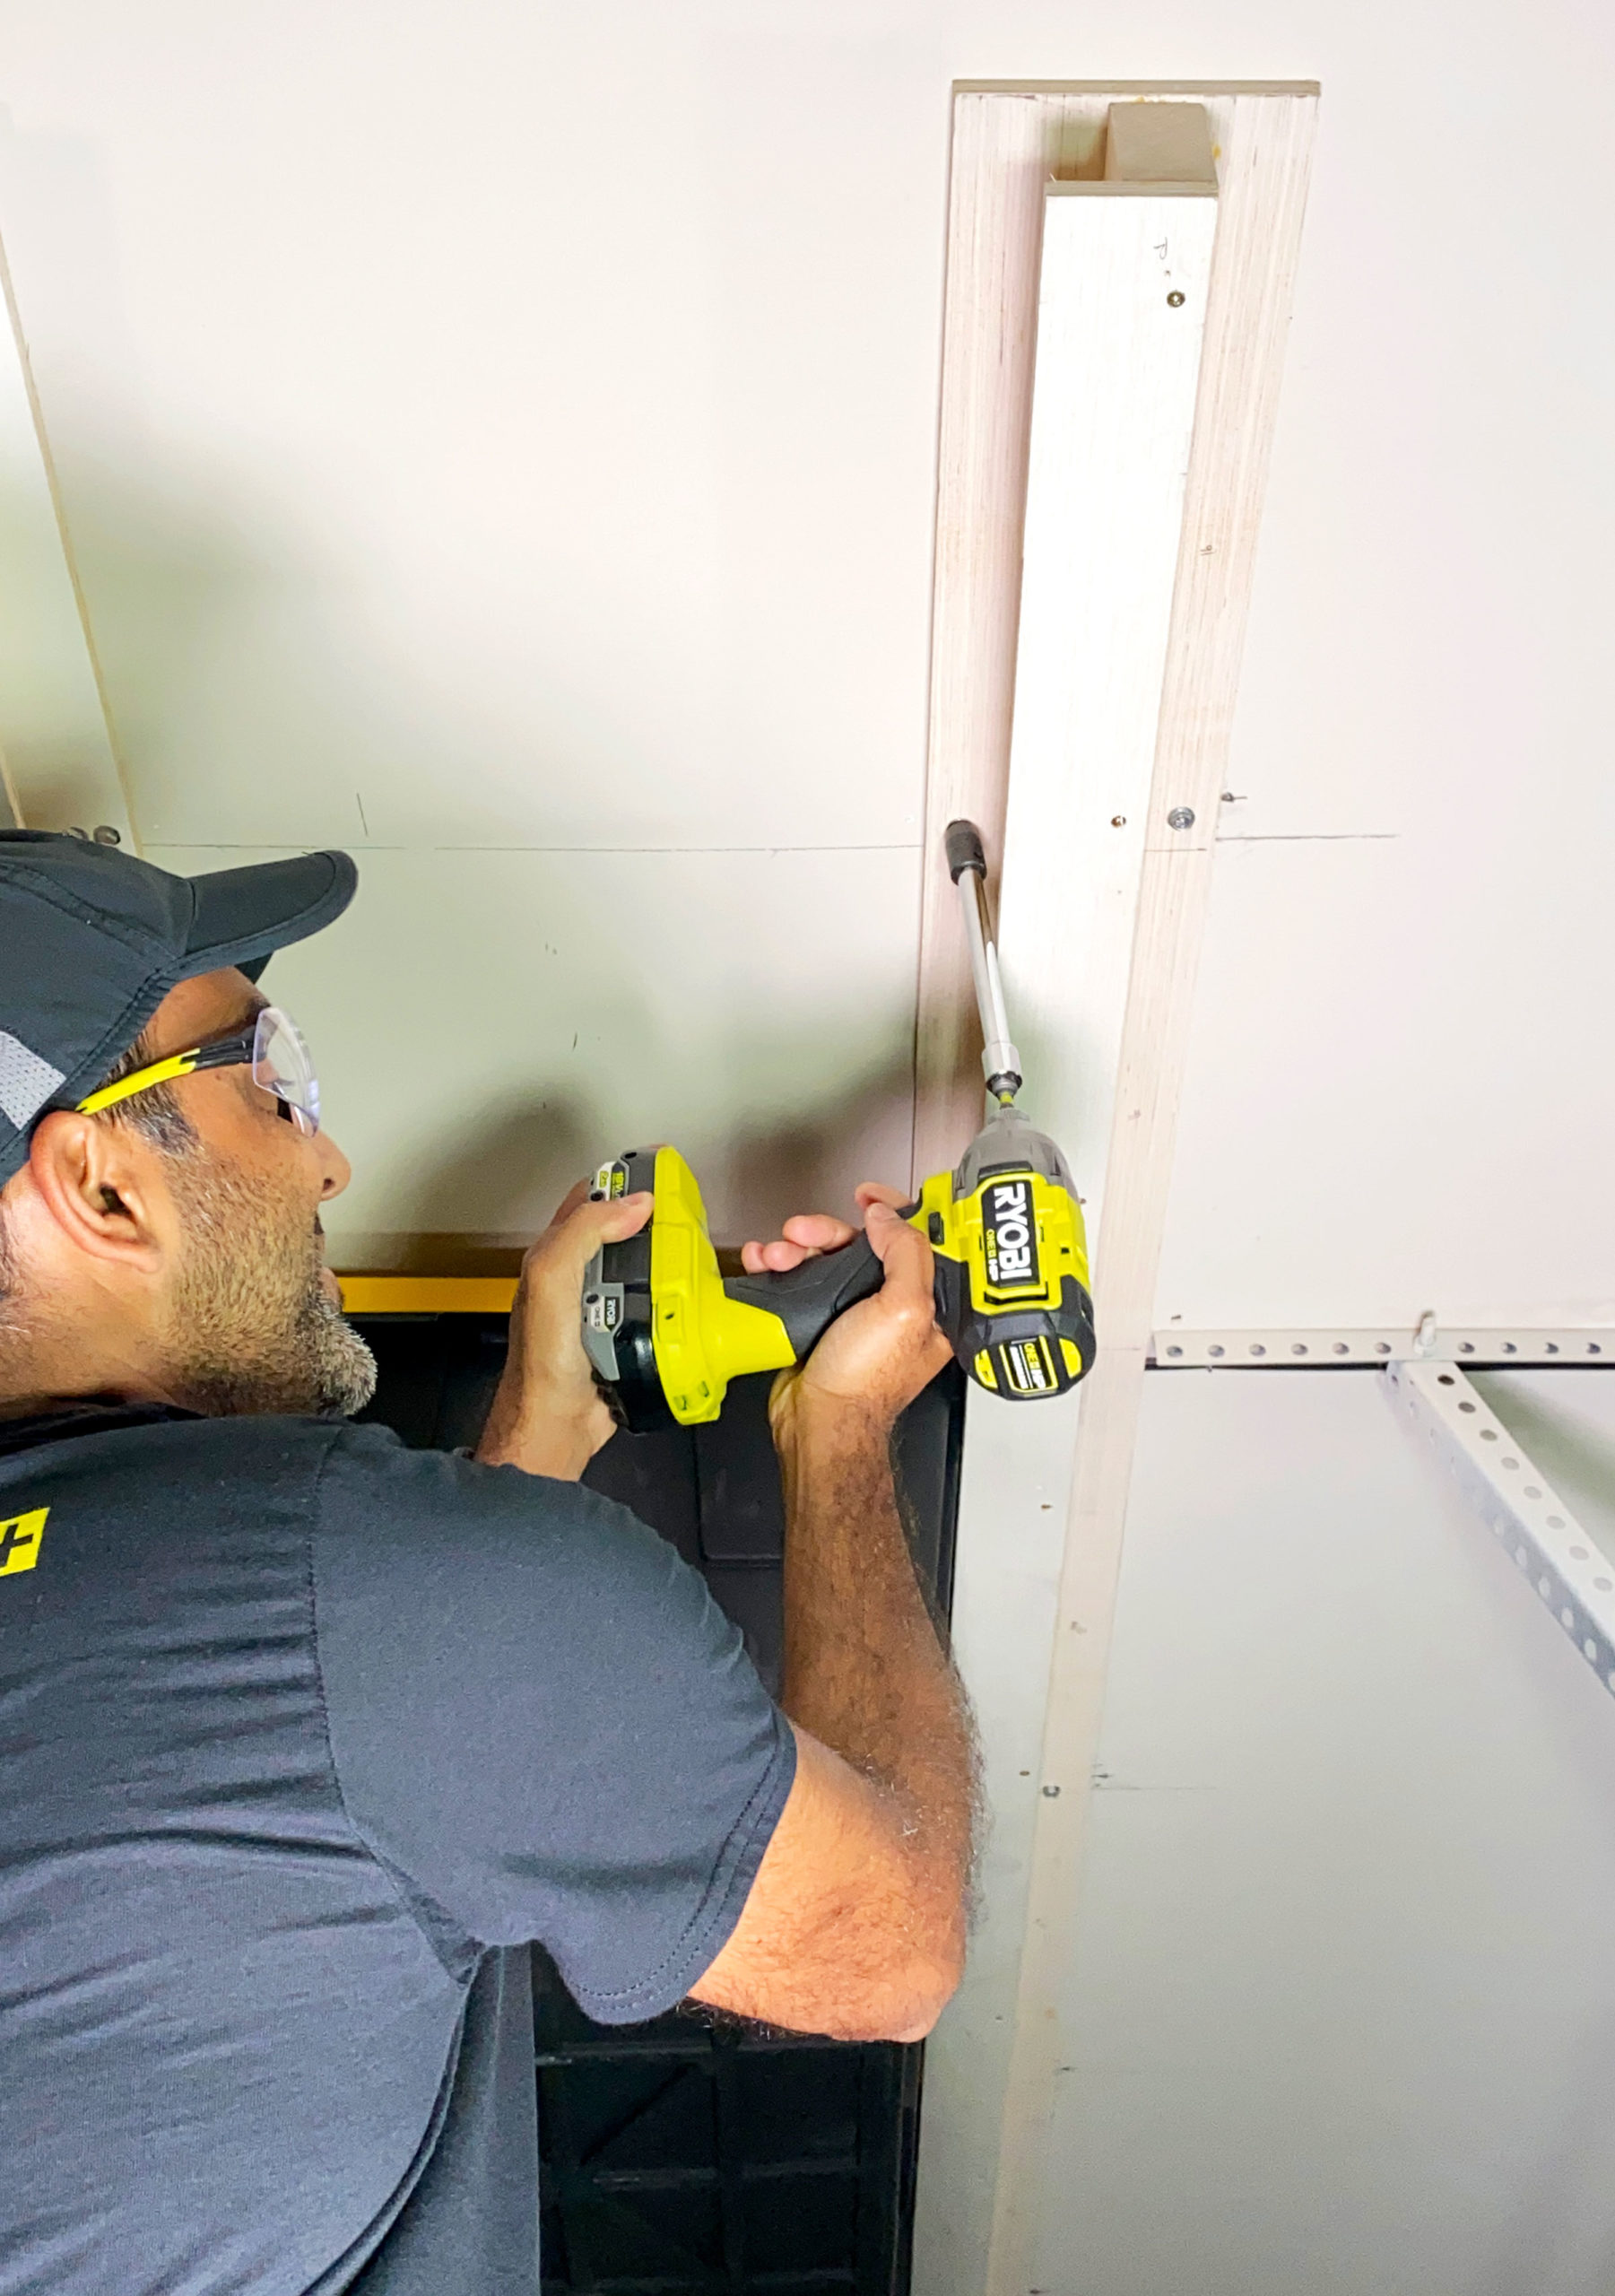
Ceiling rail finale
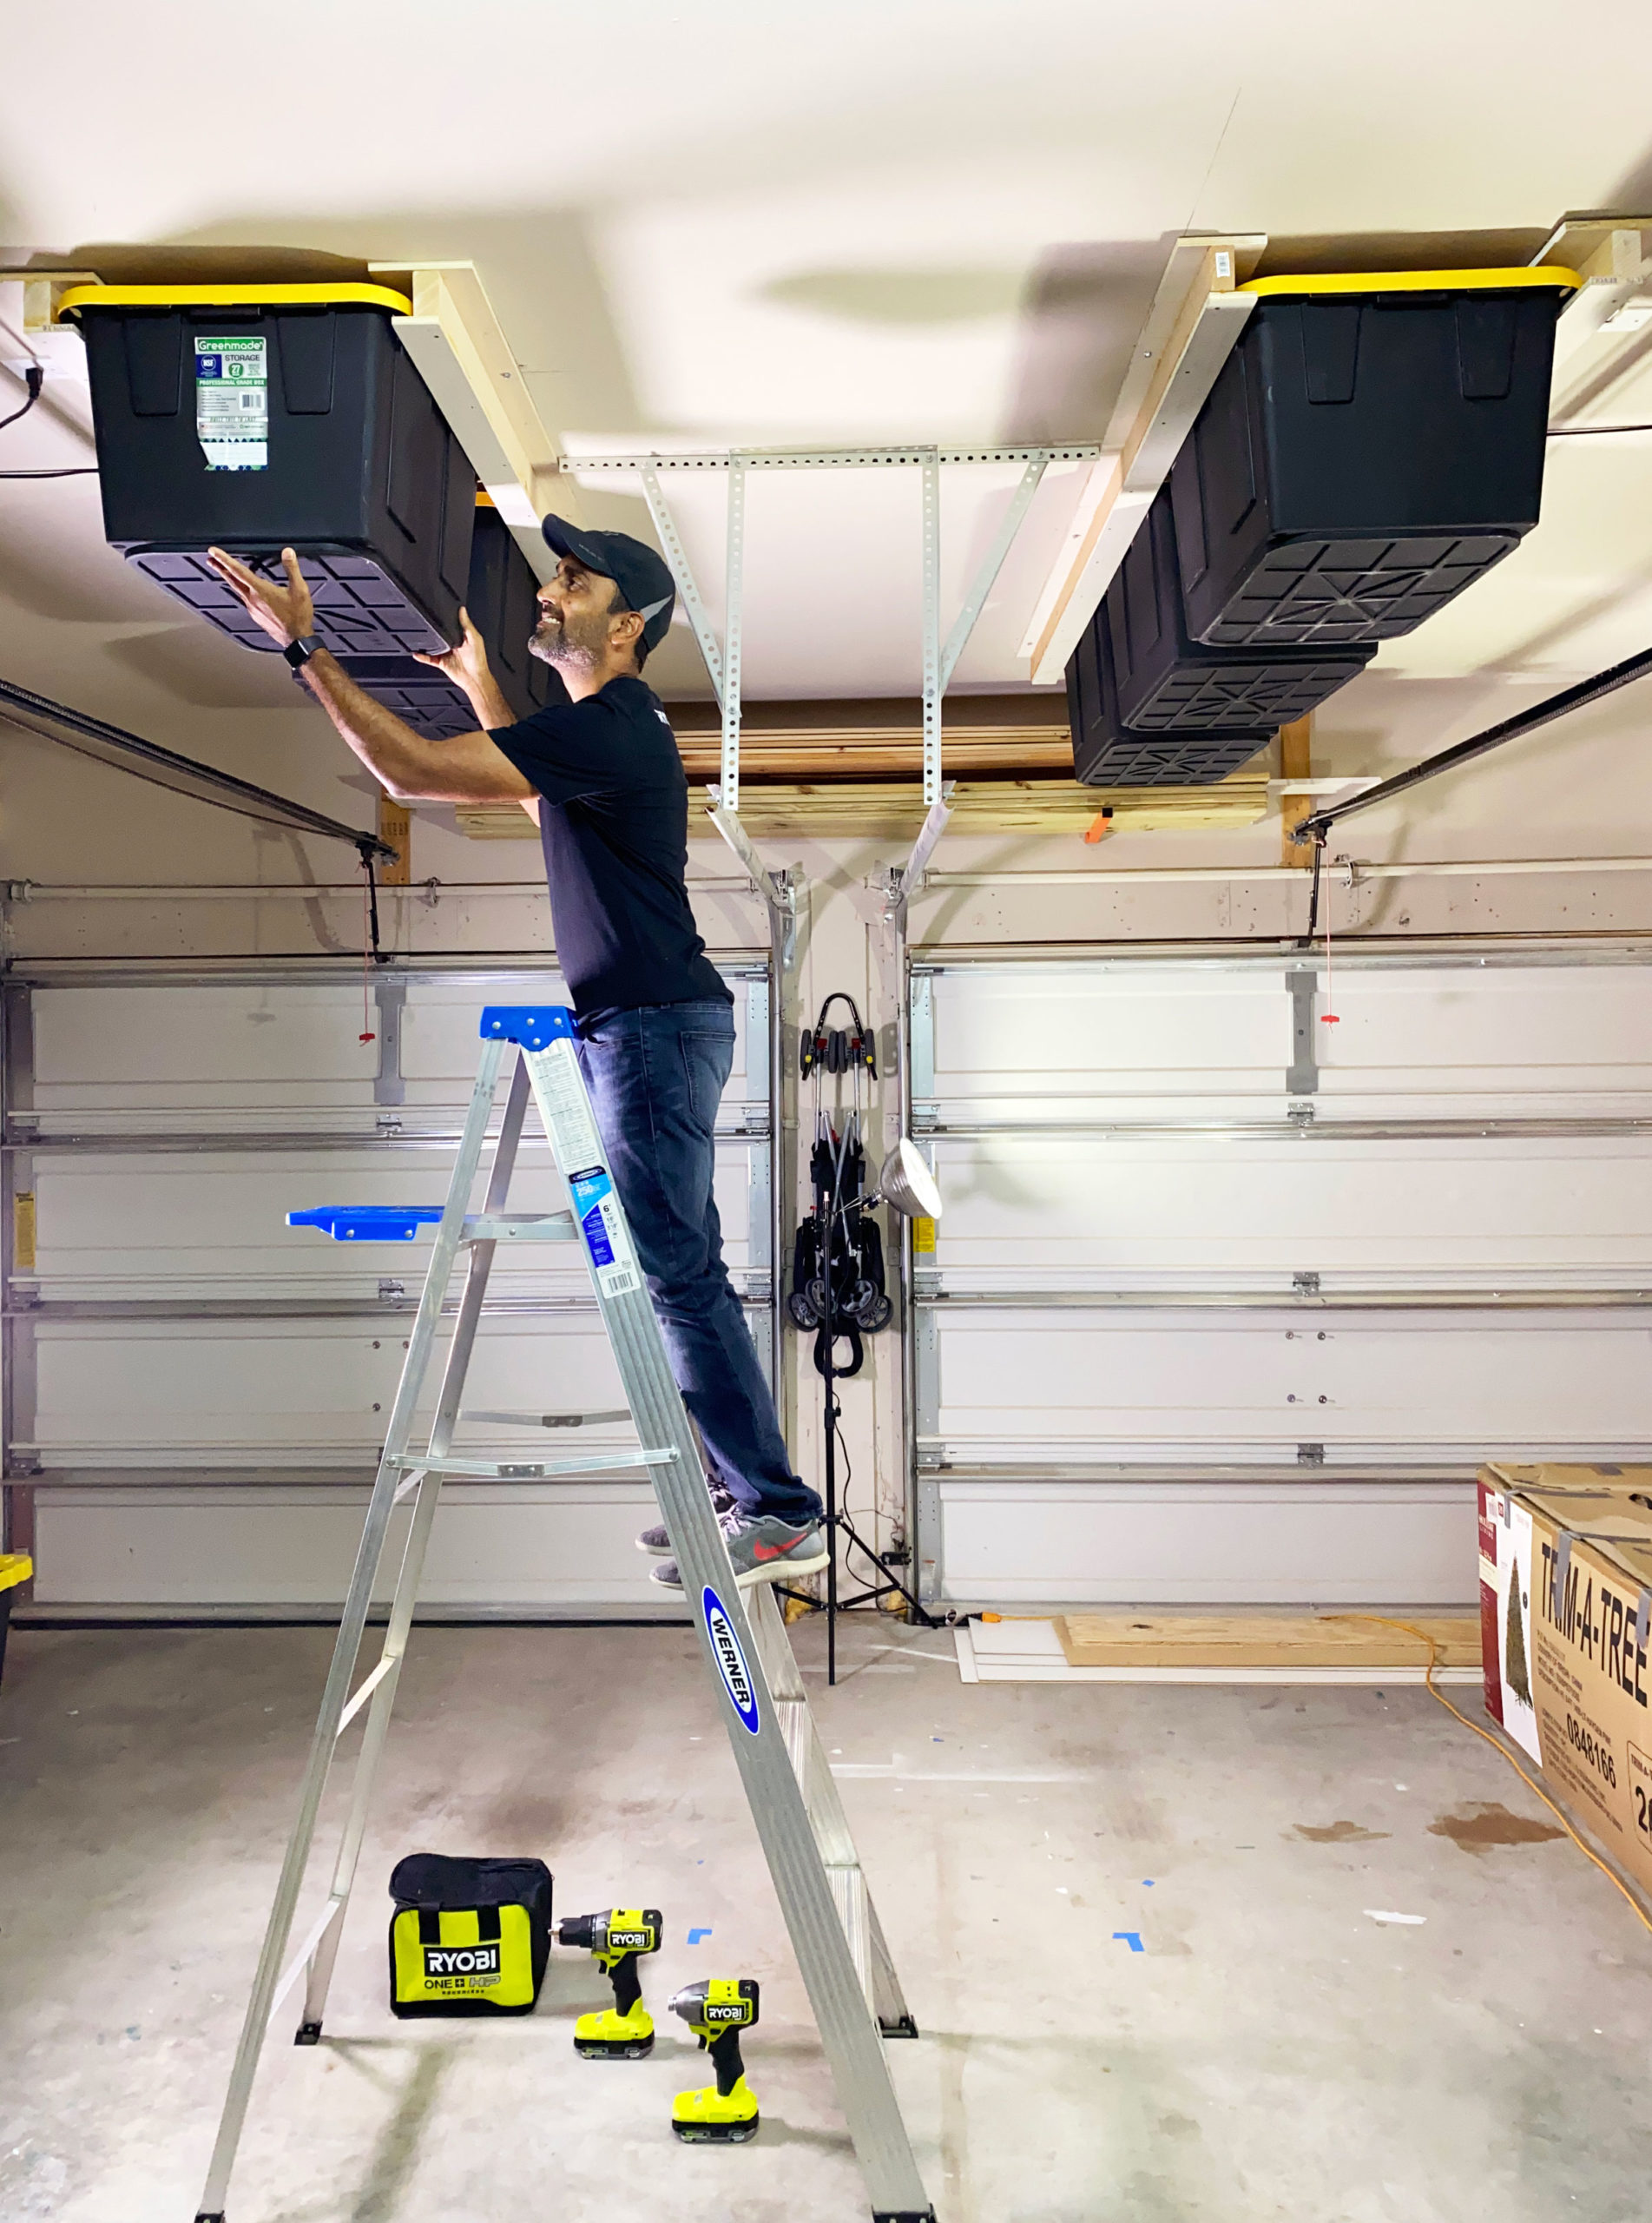
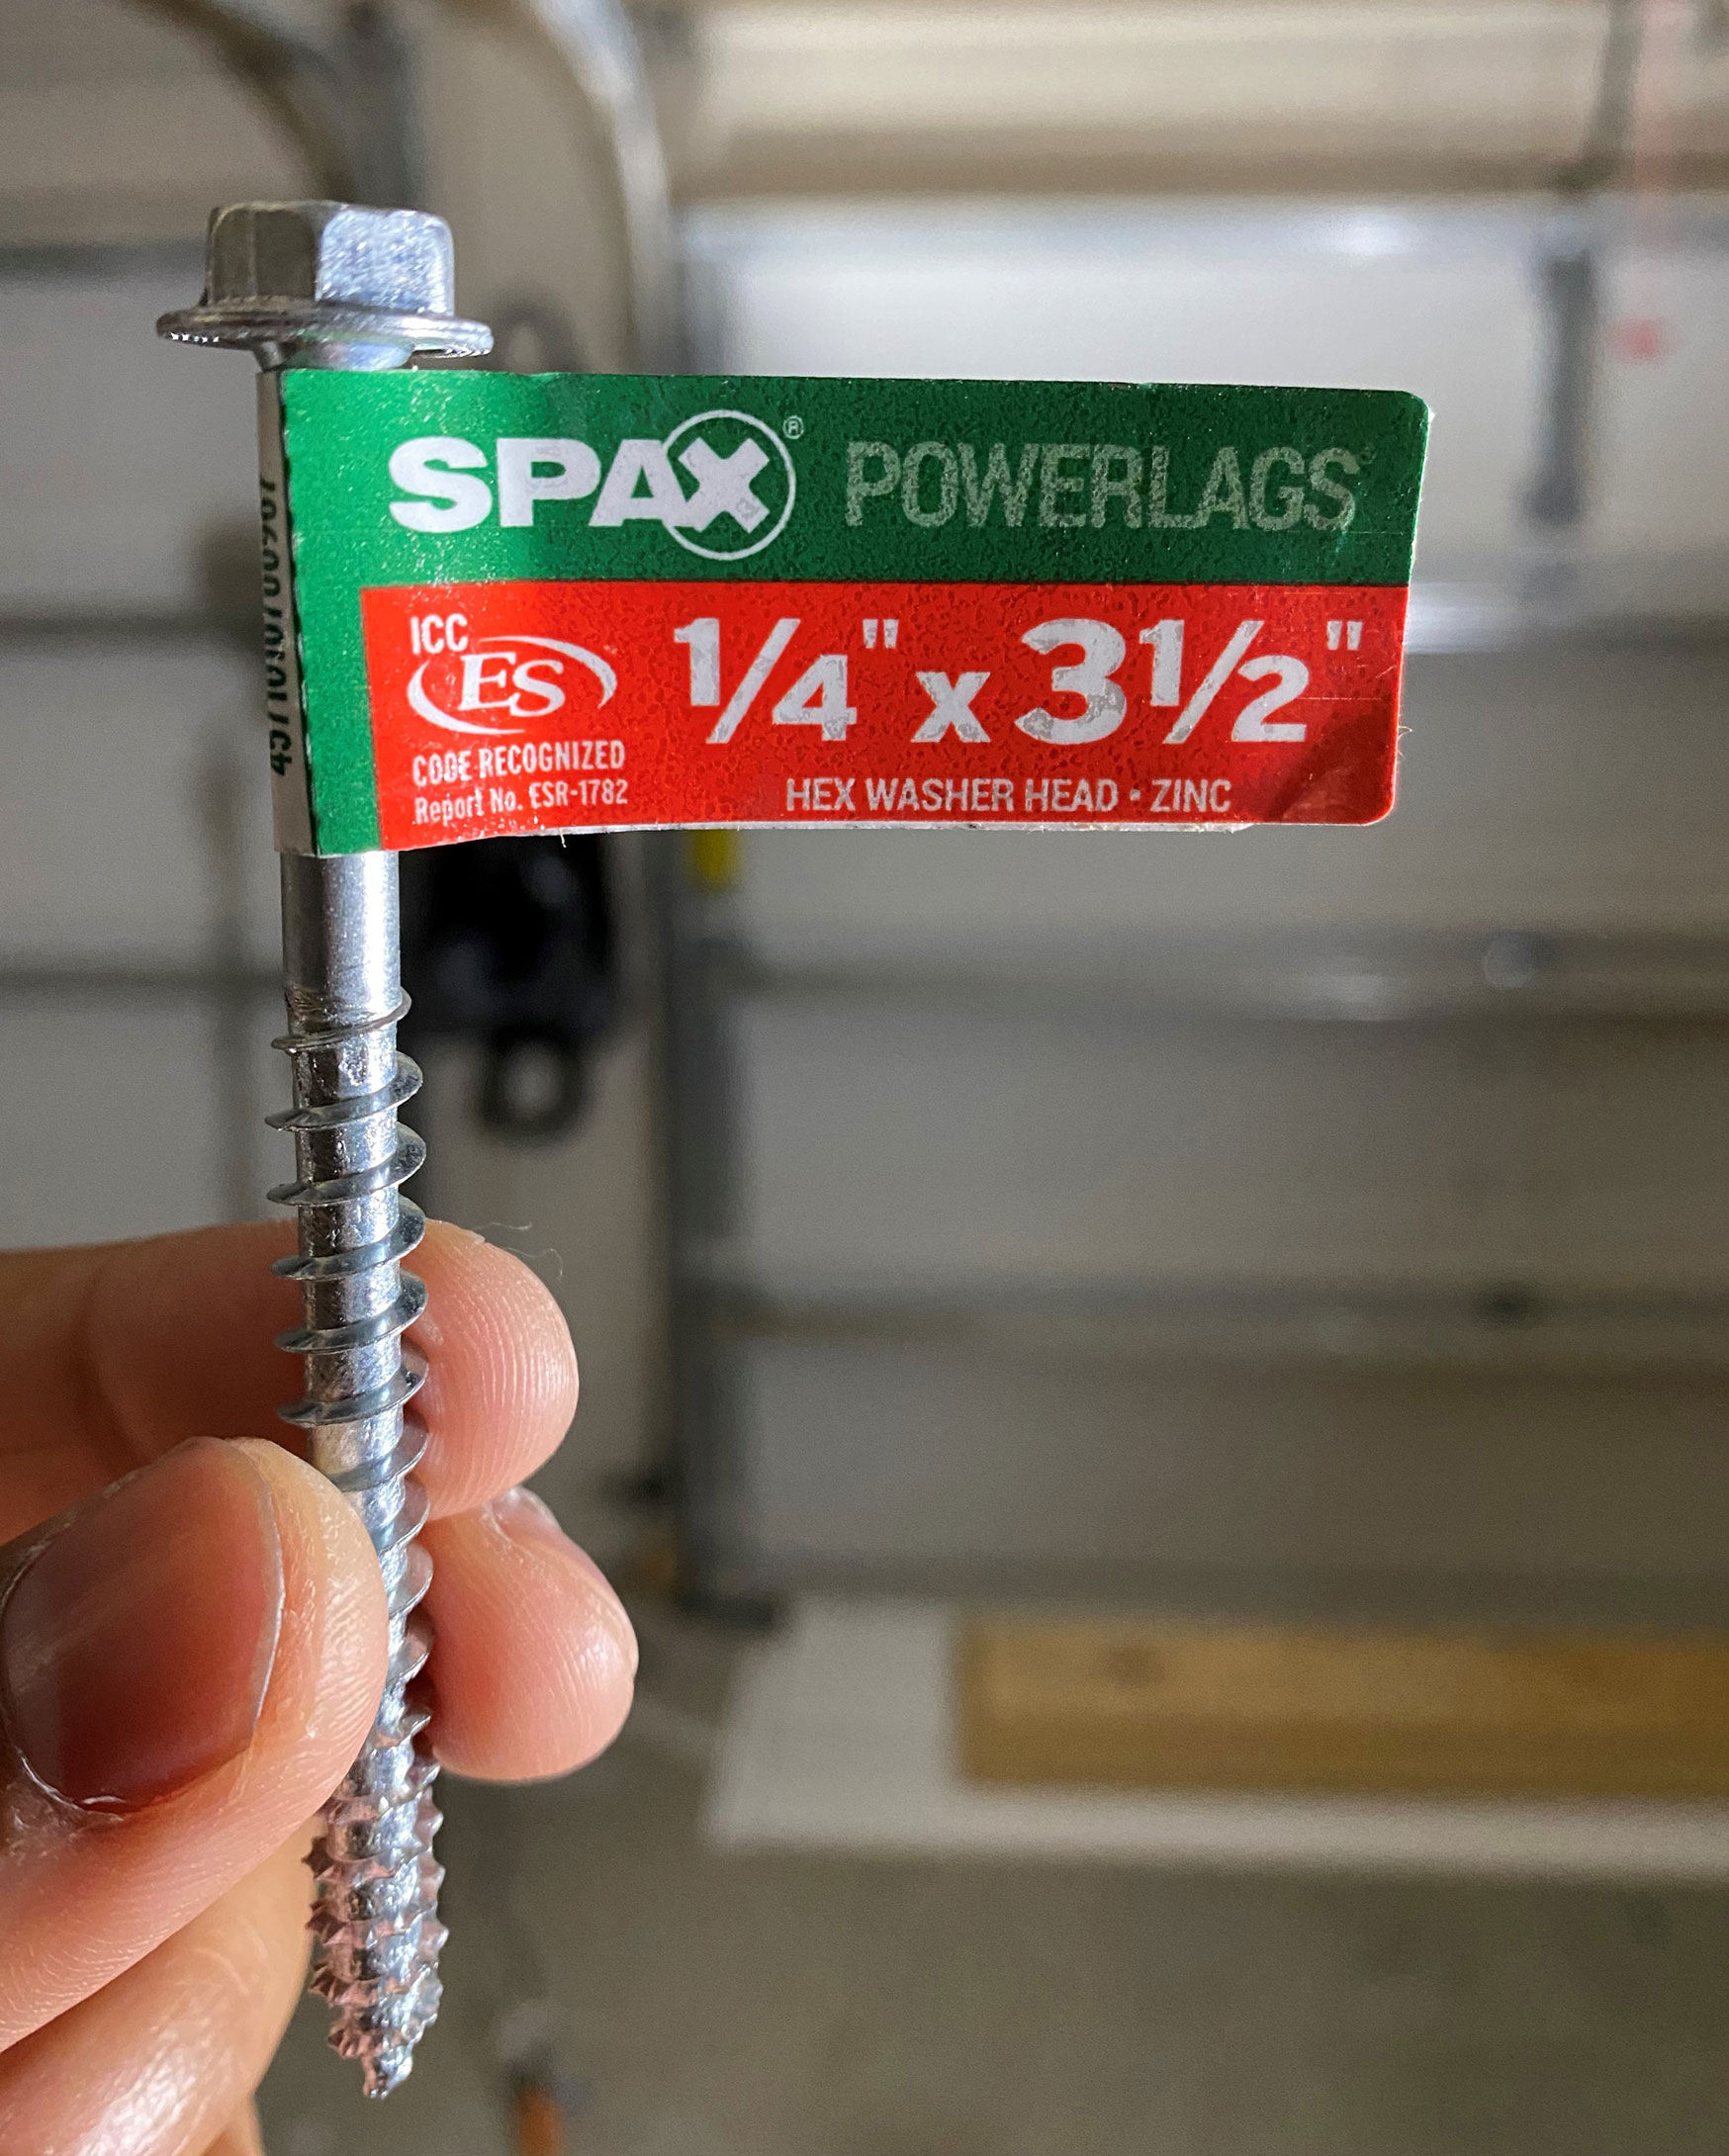
We’re always searching for more space. In a nutshell, custom rails were created using 2×3’s, plywood, and screws. These rails were lag bolted to ceiling joists (Spax PowerLags 1/4″ x 3 1/2″). 27 gallon storage bins containing light seasonal decor and recreational equipment can slide effortlessly through the rail so that it can remain off the garage floor. All thanks to the Ryobi brushless cordless impact and drill set (our bias obviously shows)!
We have the entire process laid out as reels on our Instagram page. Now, we did run into issues, some noted here:
- No extra help scenario: its advisable to get a 2nd pair of hands to help align and attach the ceiling rails. However, if you must do it alone, grab 2 very tall ladders. The top of the ladder can be used to rest the rail as you work. In addition, also grab a pair of support bars with piston grips. Strategically place them around you.
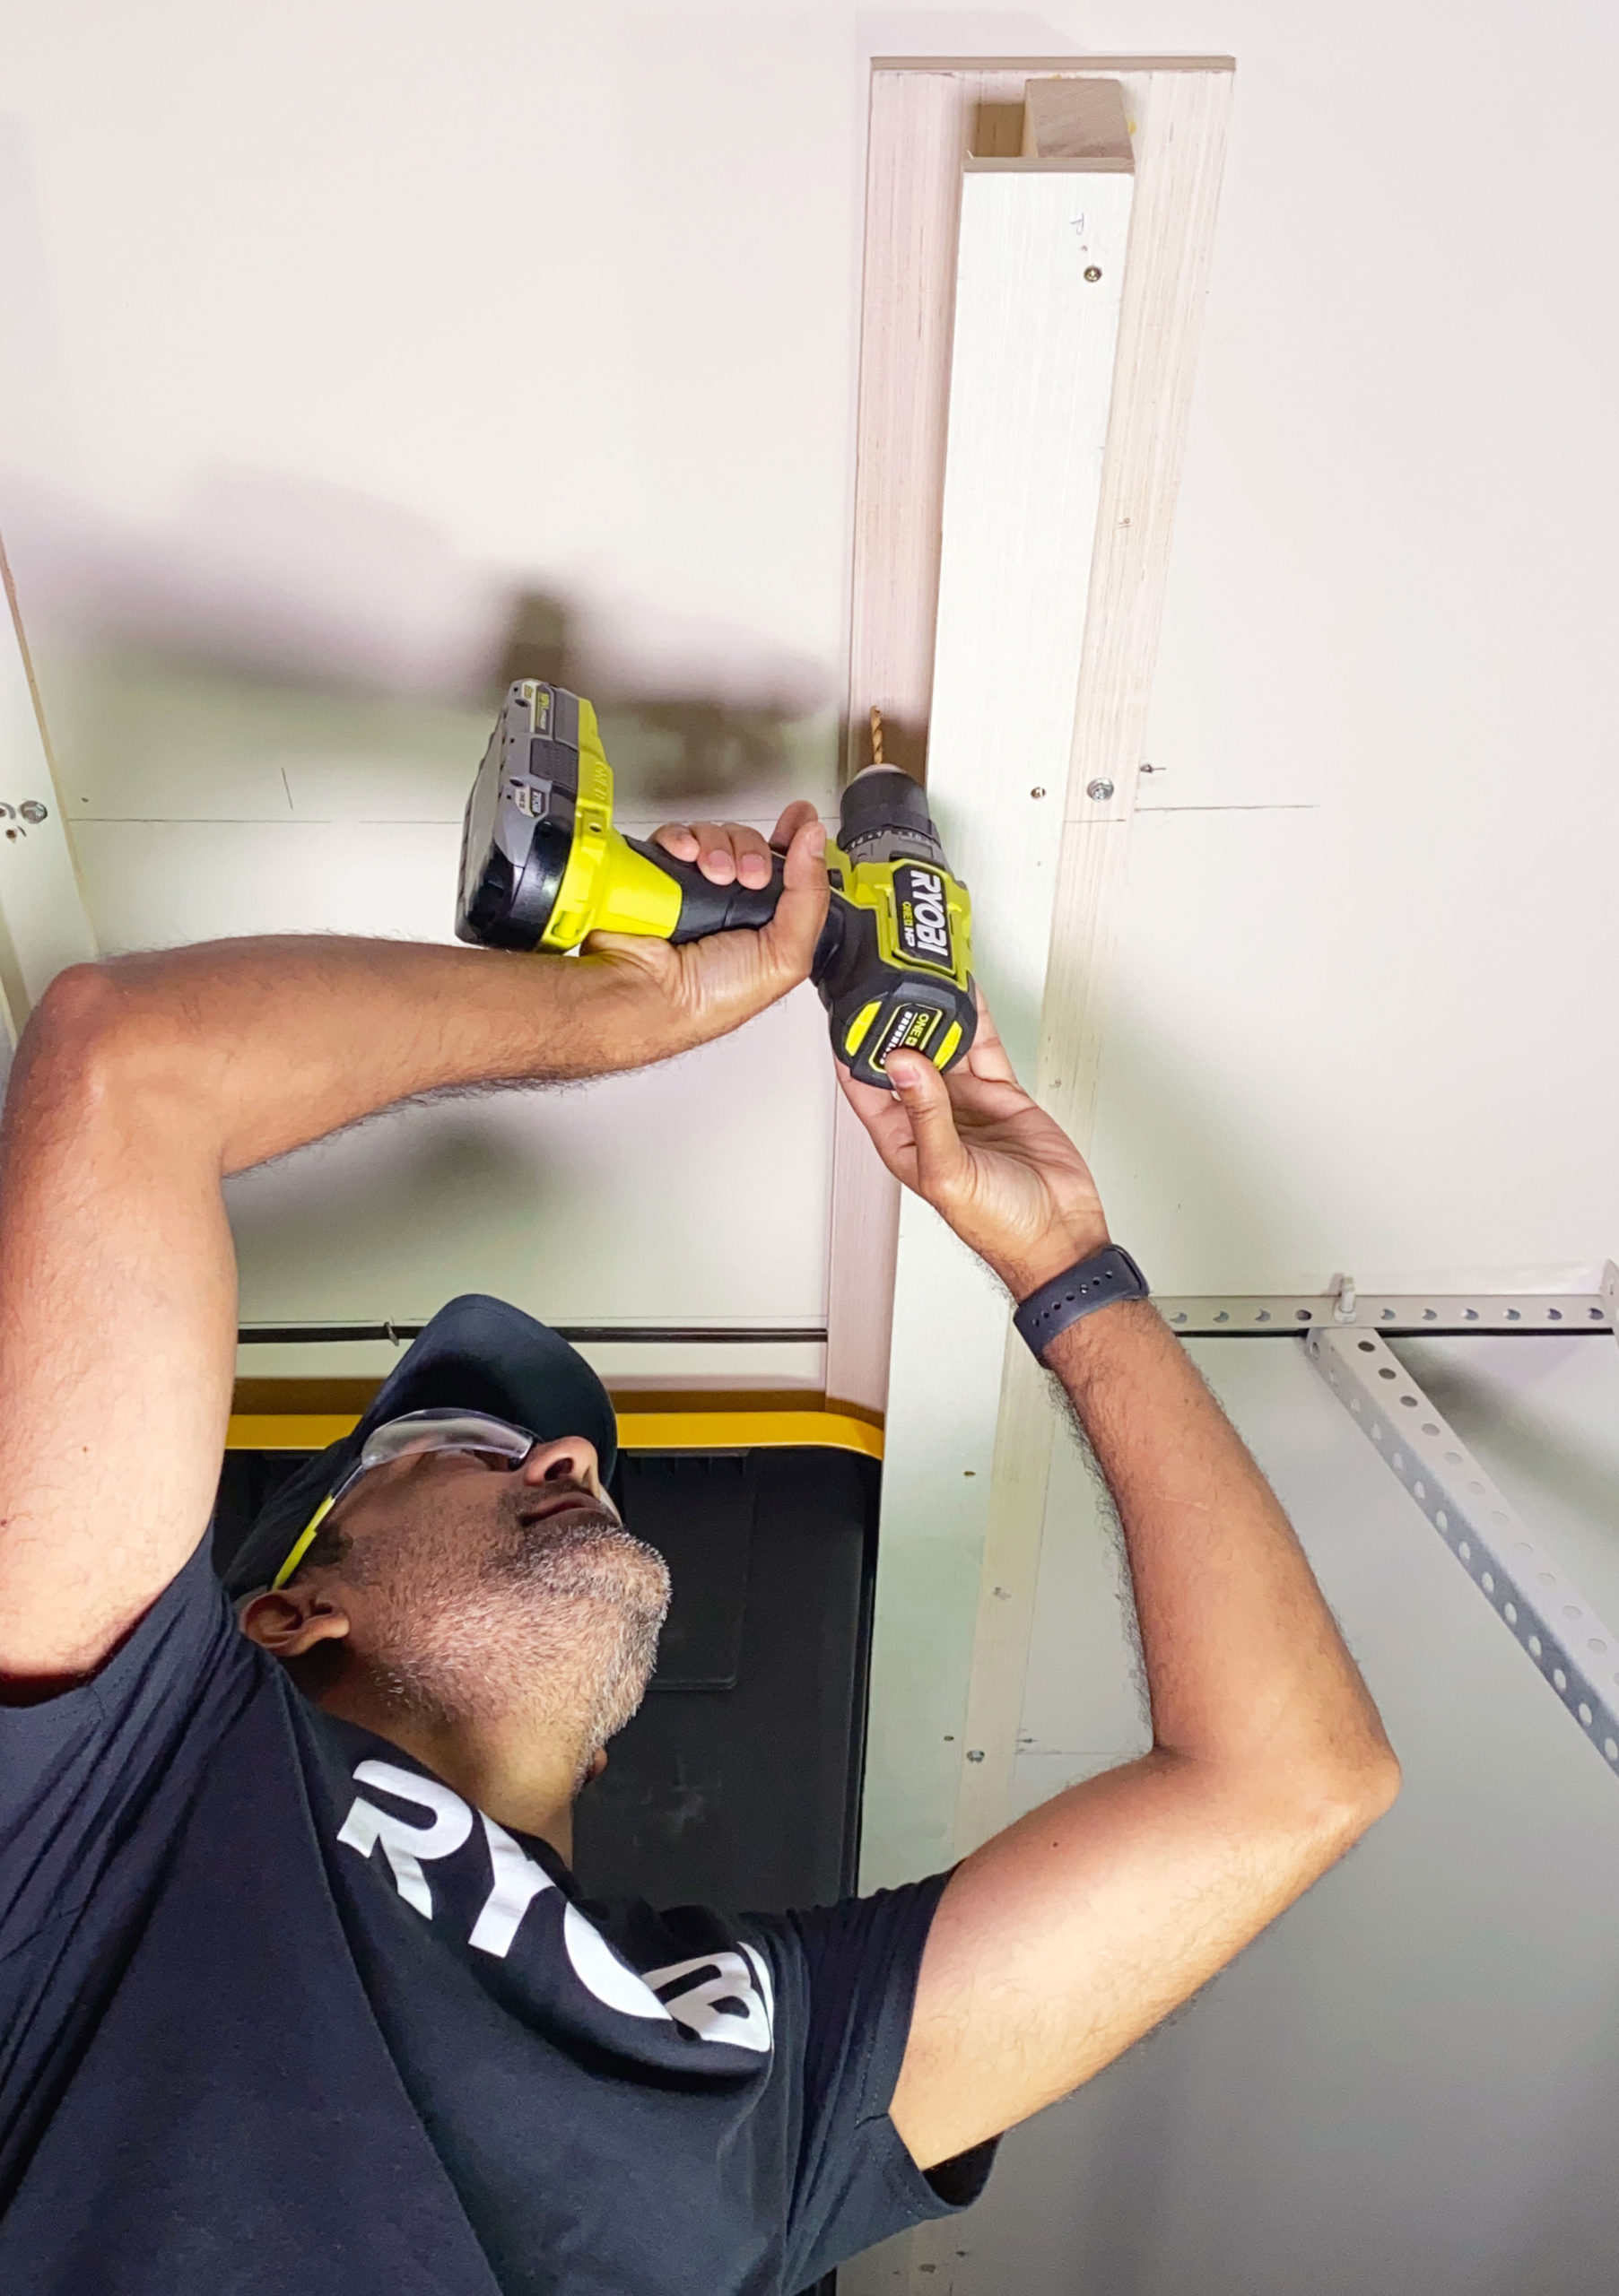
- Double-check, triple check joists: always pre-drill. Even after using a proper stud finder to locate the joists, I still managed to hit sheetrock during the pre-drill process. It’s essential to hit the center of the joist so that the lag bolts don’t slip out causing a falling hazard.
- Avoid over-torqueing: when using the impact drill, gently install the lag bolts. Over-torqueing can tear through the plywood or compress the wood, thereby weakening it’s ability to carry load. Use an extension bar and socket adapter to improve reach.
Epoxy update
Last week, I mentioned that we would begin applying epoxy. Well, that didn’t happen. We have questions about install pending from Rust-Oleum, so we didn’t want to get started until the response comes through. In the mean time, we’re still clearing out that small section and anticipate starting this week.
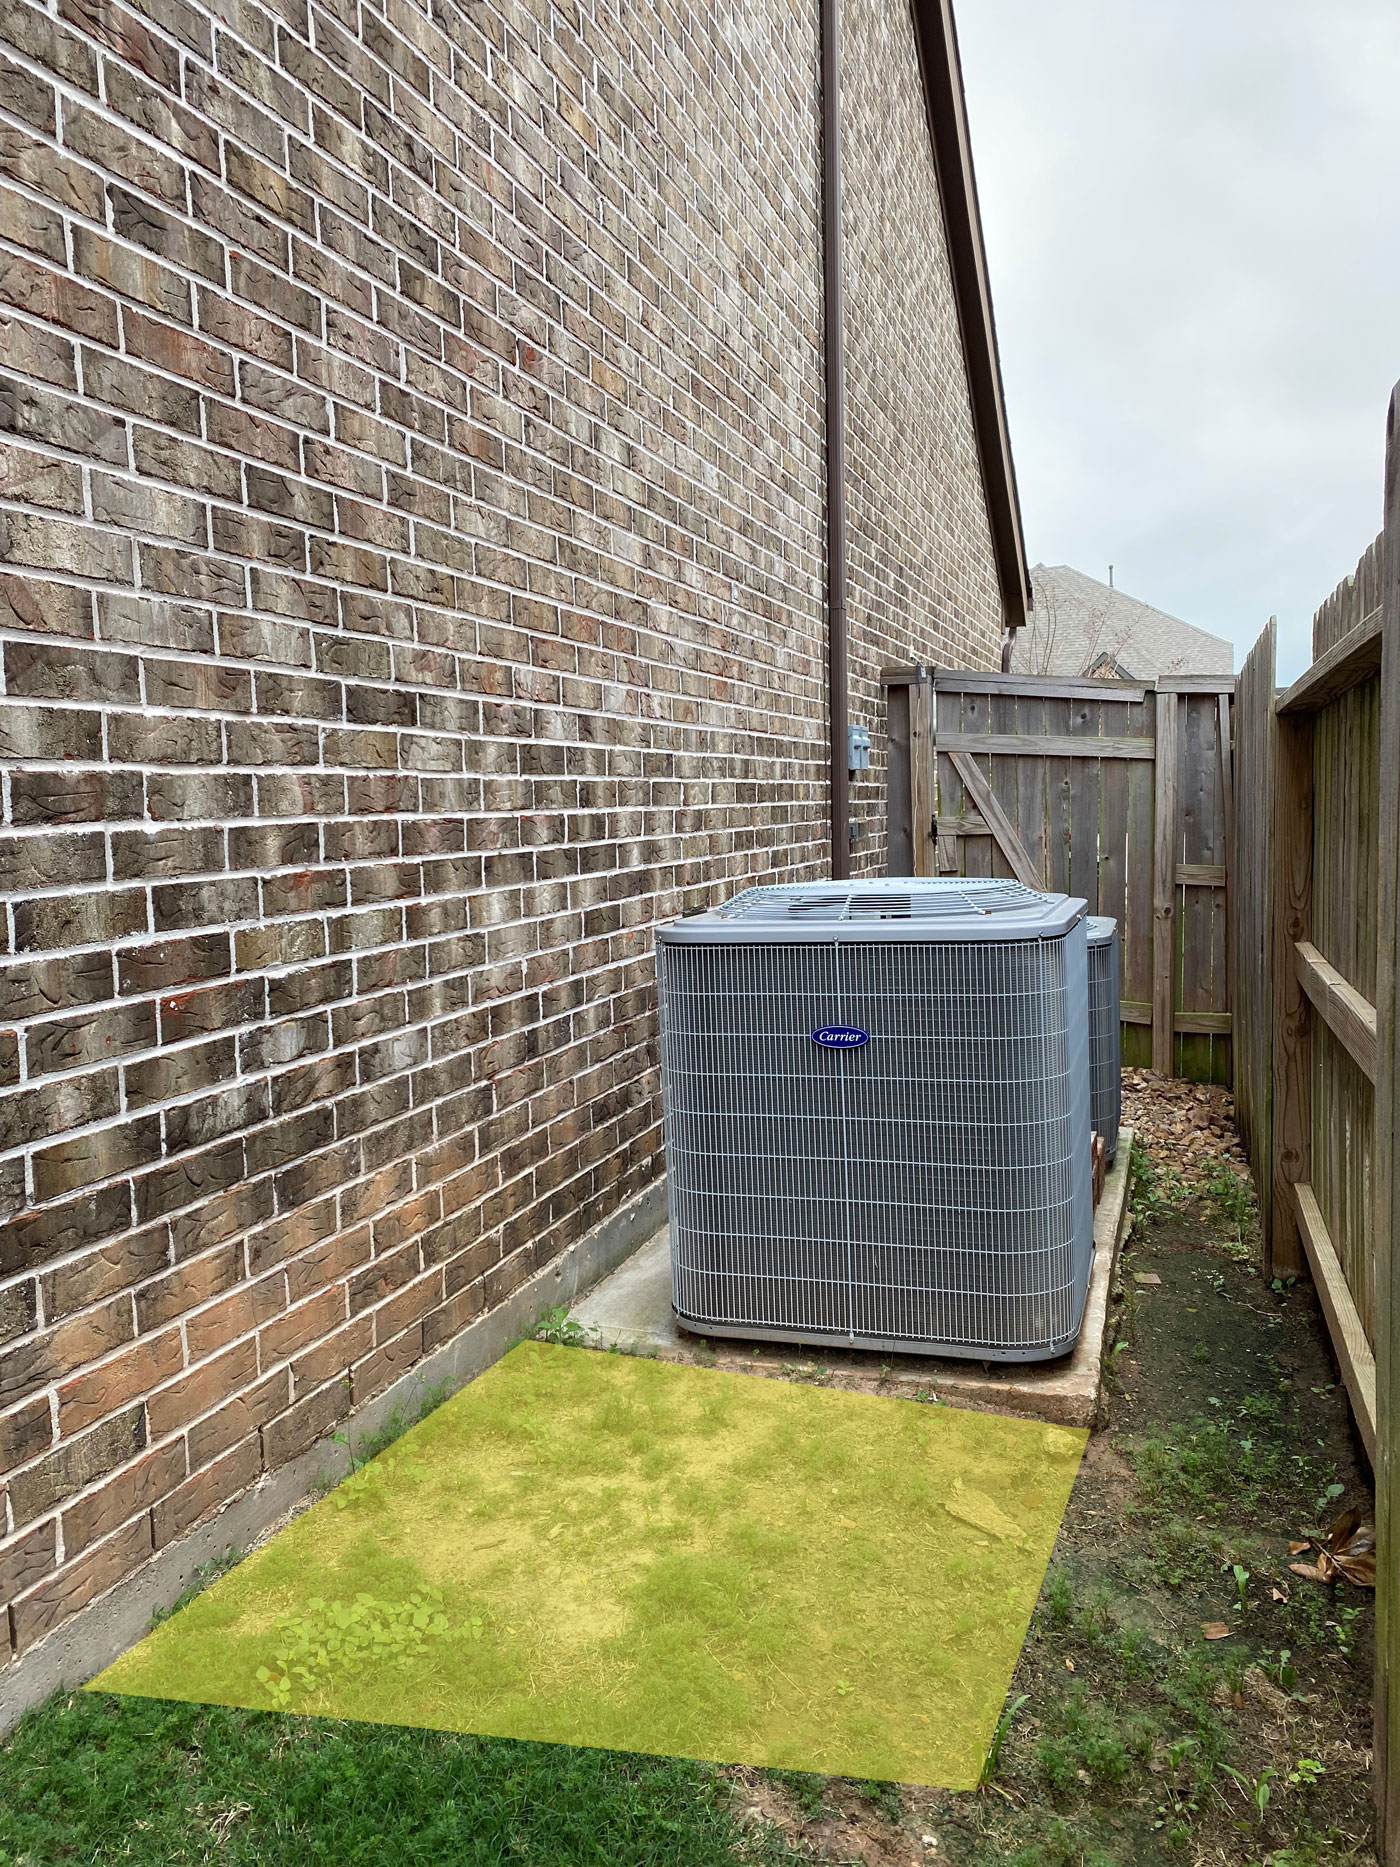
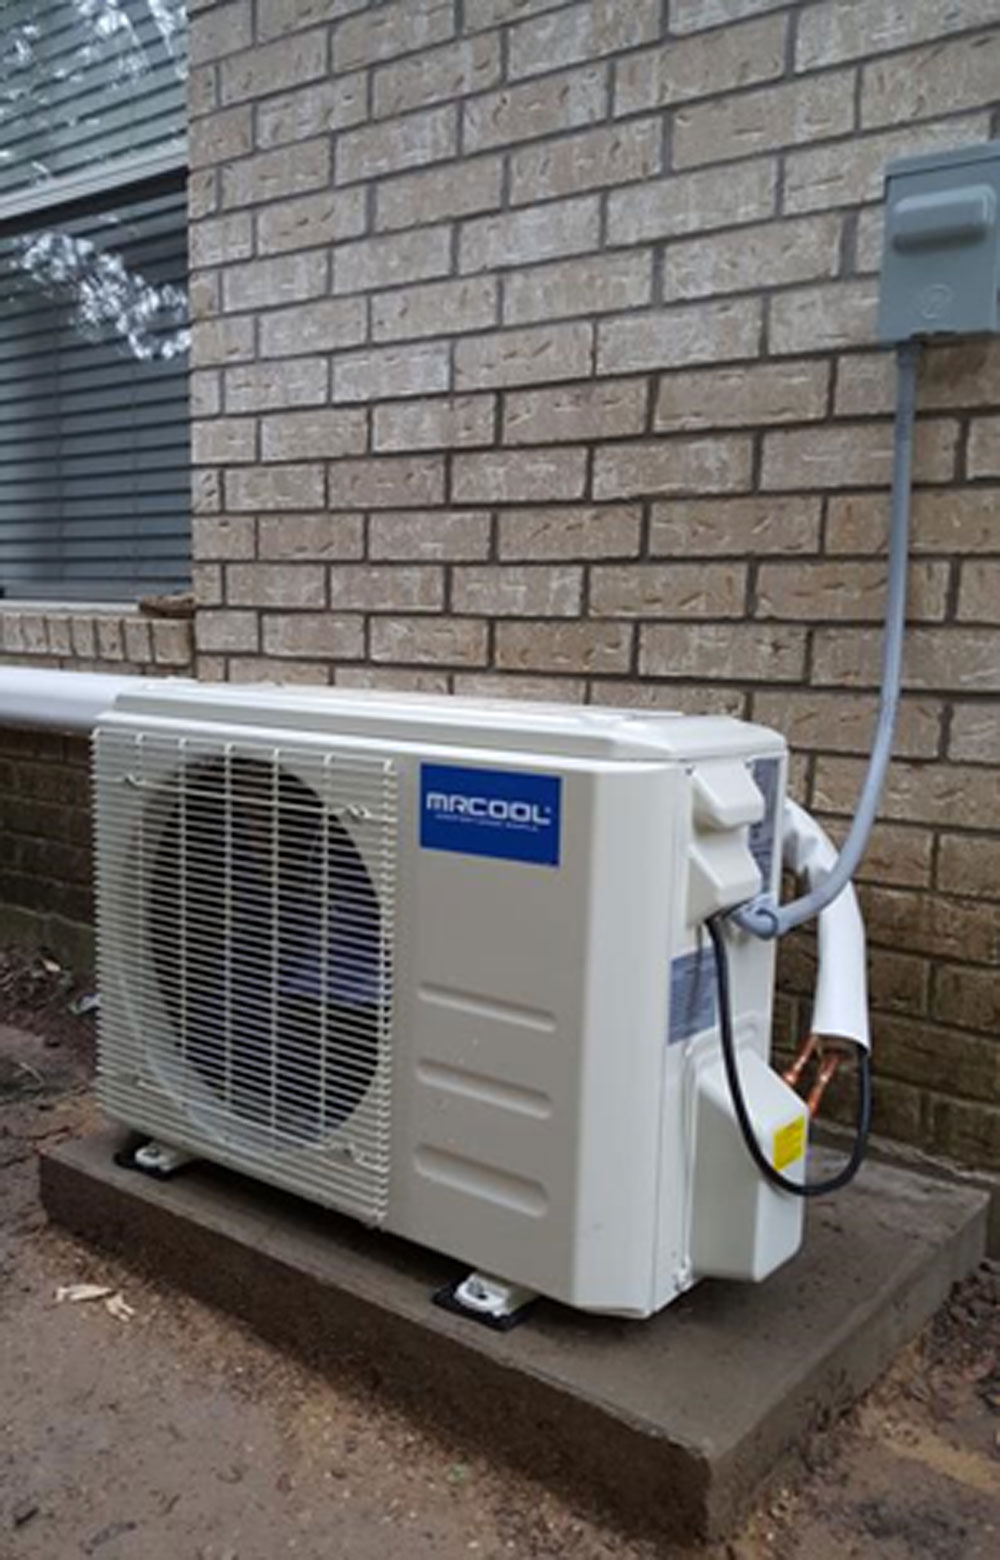
Mini-split install
Our HOA approval came through to install a mini-split A/C unit from MRCOOL (24k BTU 20 SEER Ductless Heat Pump Split System 3rd Generation). The proposal requires us to add an A/C unit slab next to the existing slab to accommodate installation of a mini-split A/C unit that will feed into our garage (boy what a sentence, oops). We will begin on this work as soon as possible.
As always, send us any questions and don’t forget to follow our Instagram stories. By the way, check out the official One Room Challenge site with Apartment Therapy as a media partner.