It’s week 2 of the Spring ORC 2022. This year marks the 10th anniversary with an amazing partner in Apartment Therapy. And guess what? We’re already falling behind! You know, last week felt like Week 0 and this week feels like Week 1. But fear not, we have a plan that we intend to carry through!

If you came here from the ORC site, hello! I’m Sanju Patel. By day, I work behind a desk, typically crunching numbers. By night, you can find me in a garage. My wife and I purchased a home in Texas 4 years ago – a quick close without costly bells and whistles. As lifelong fans of DIY, we’ve decided to invest into our home as our family grows with an open invitation to see our process from start to finish.
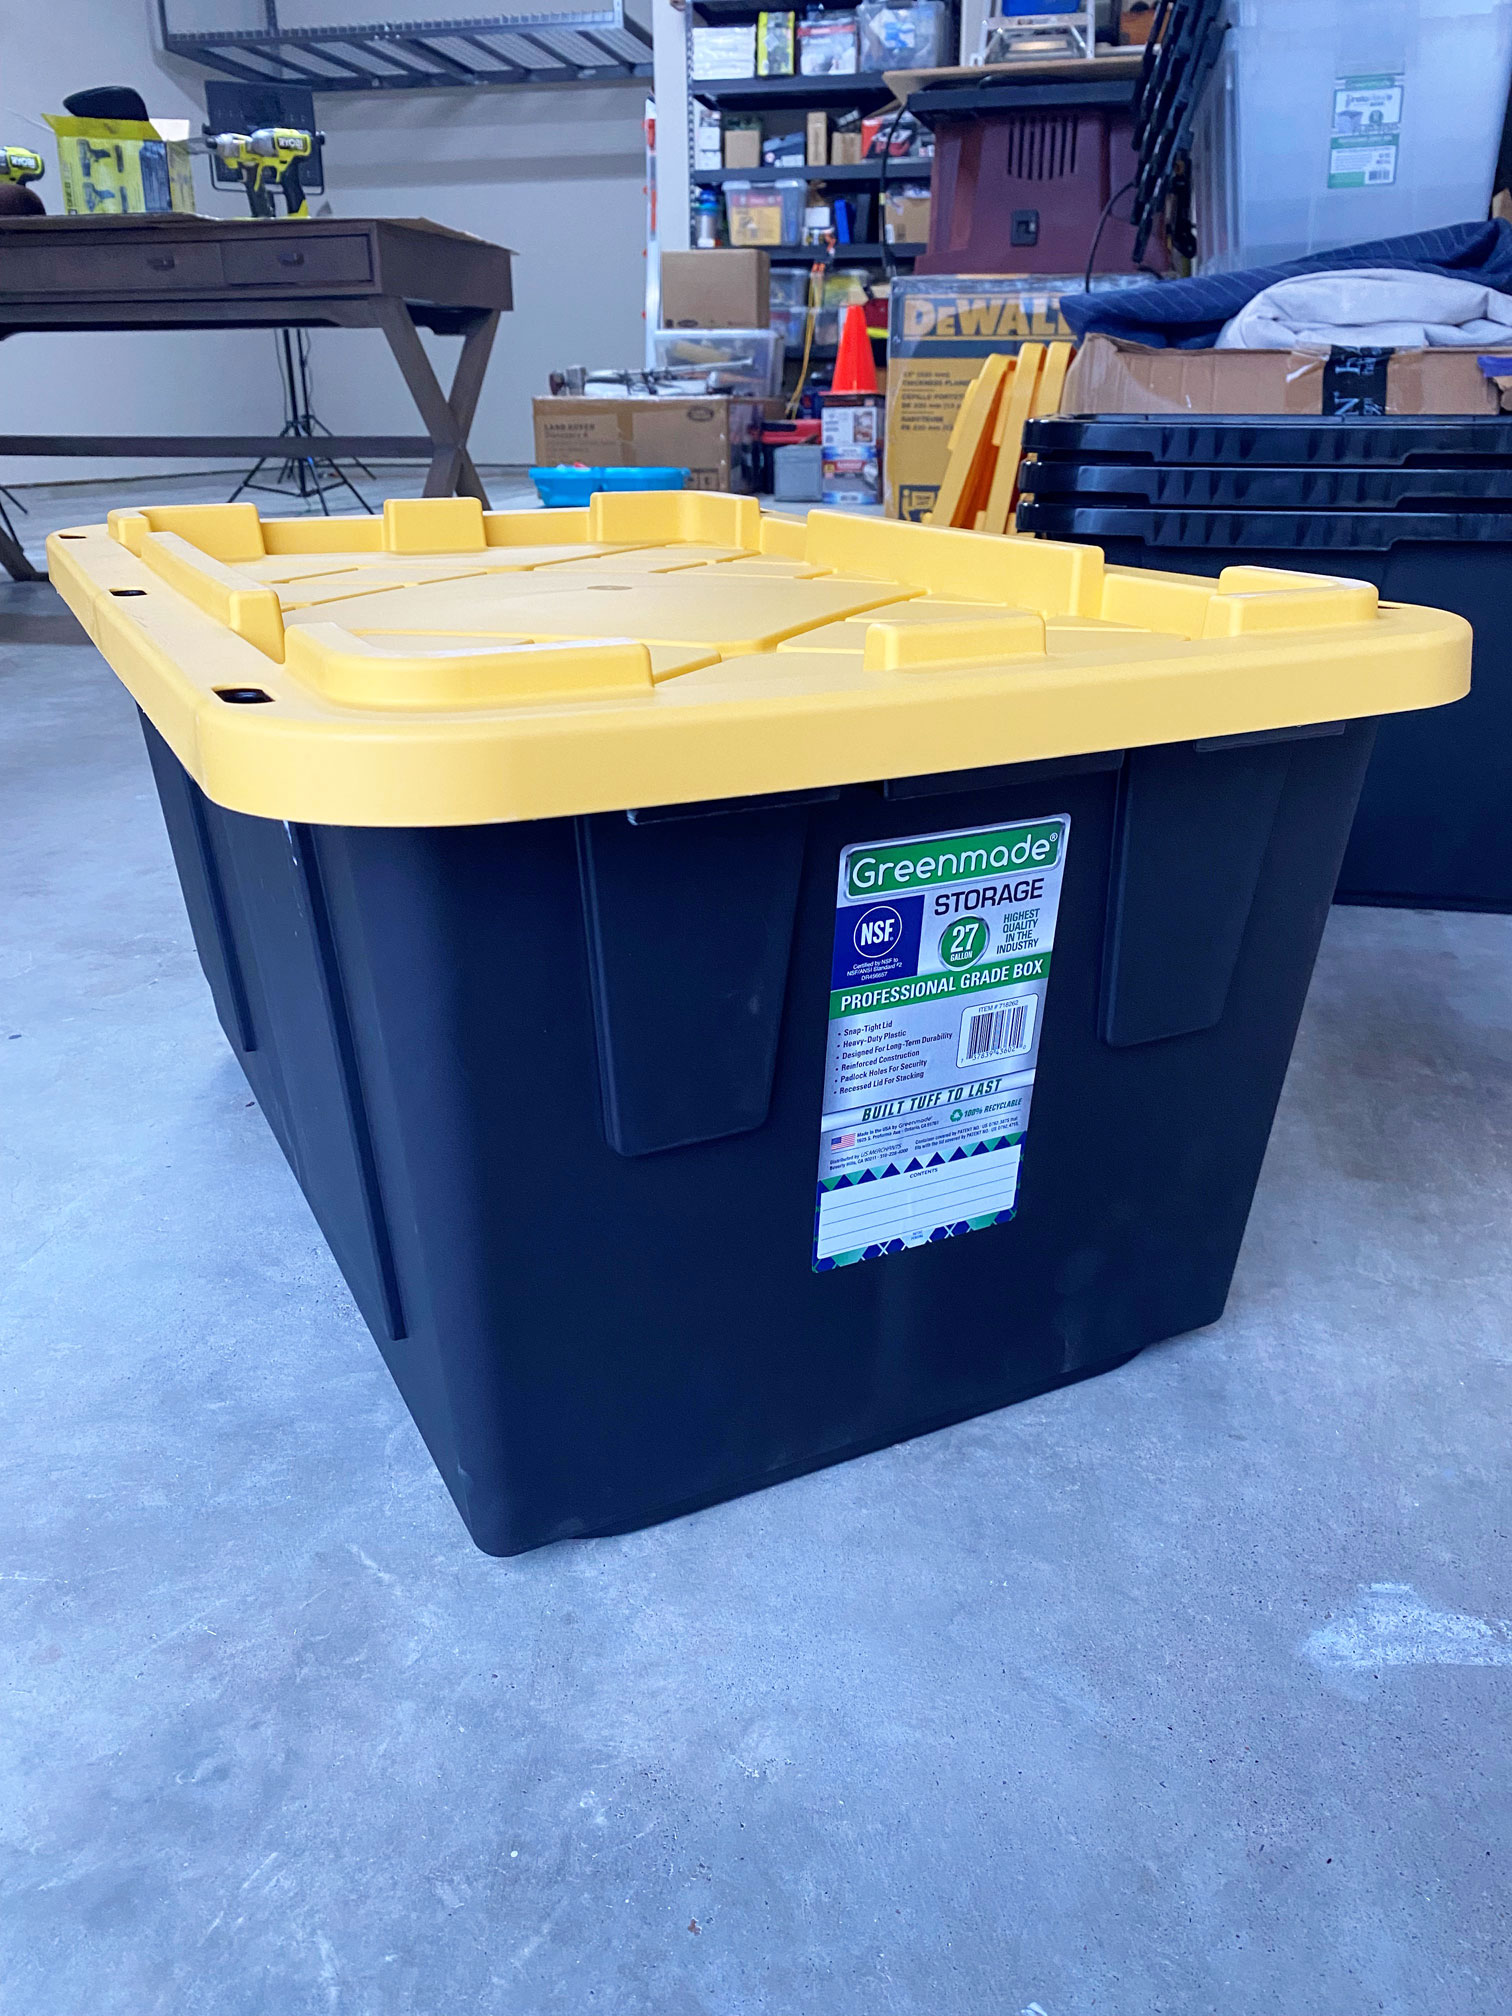
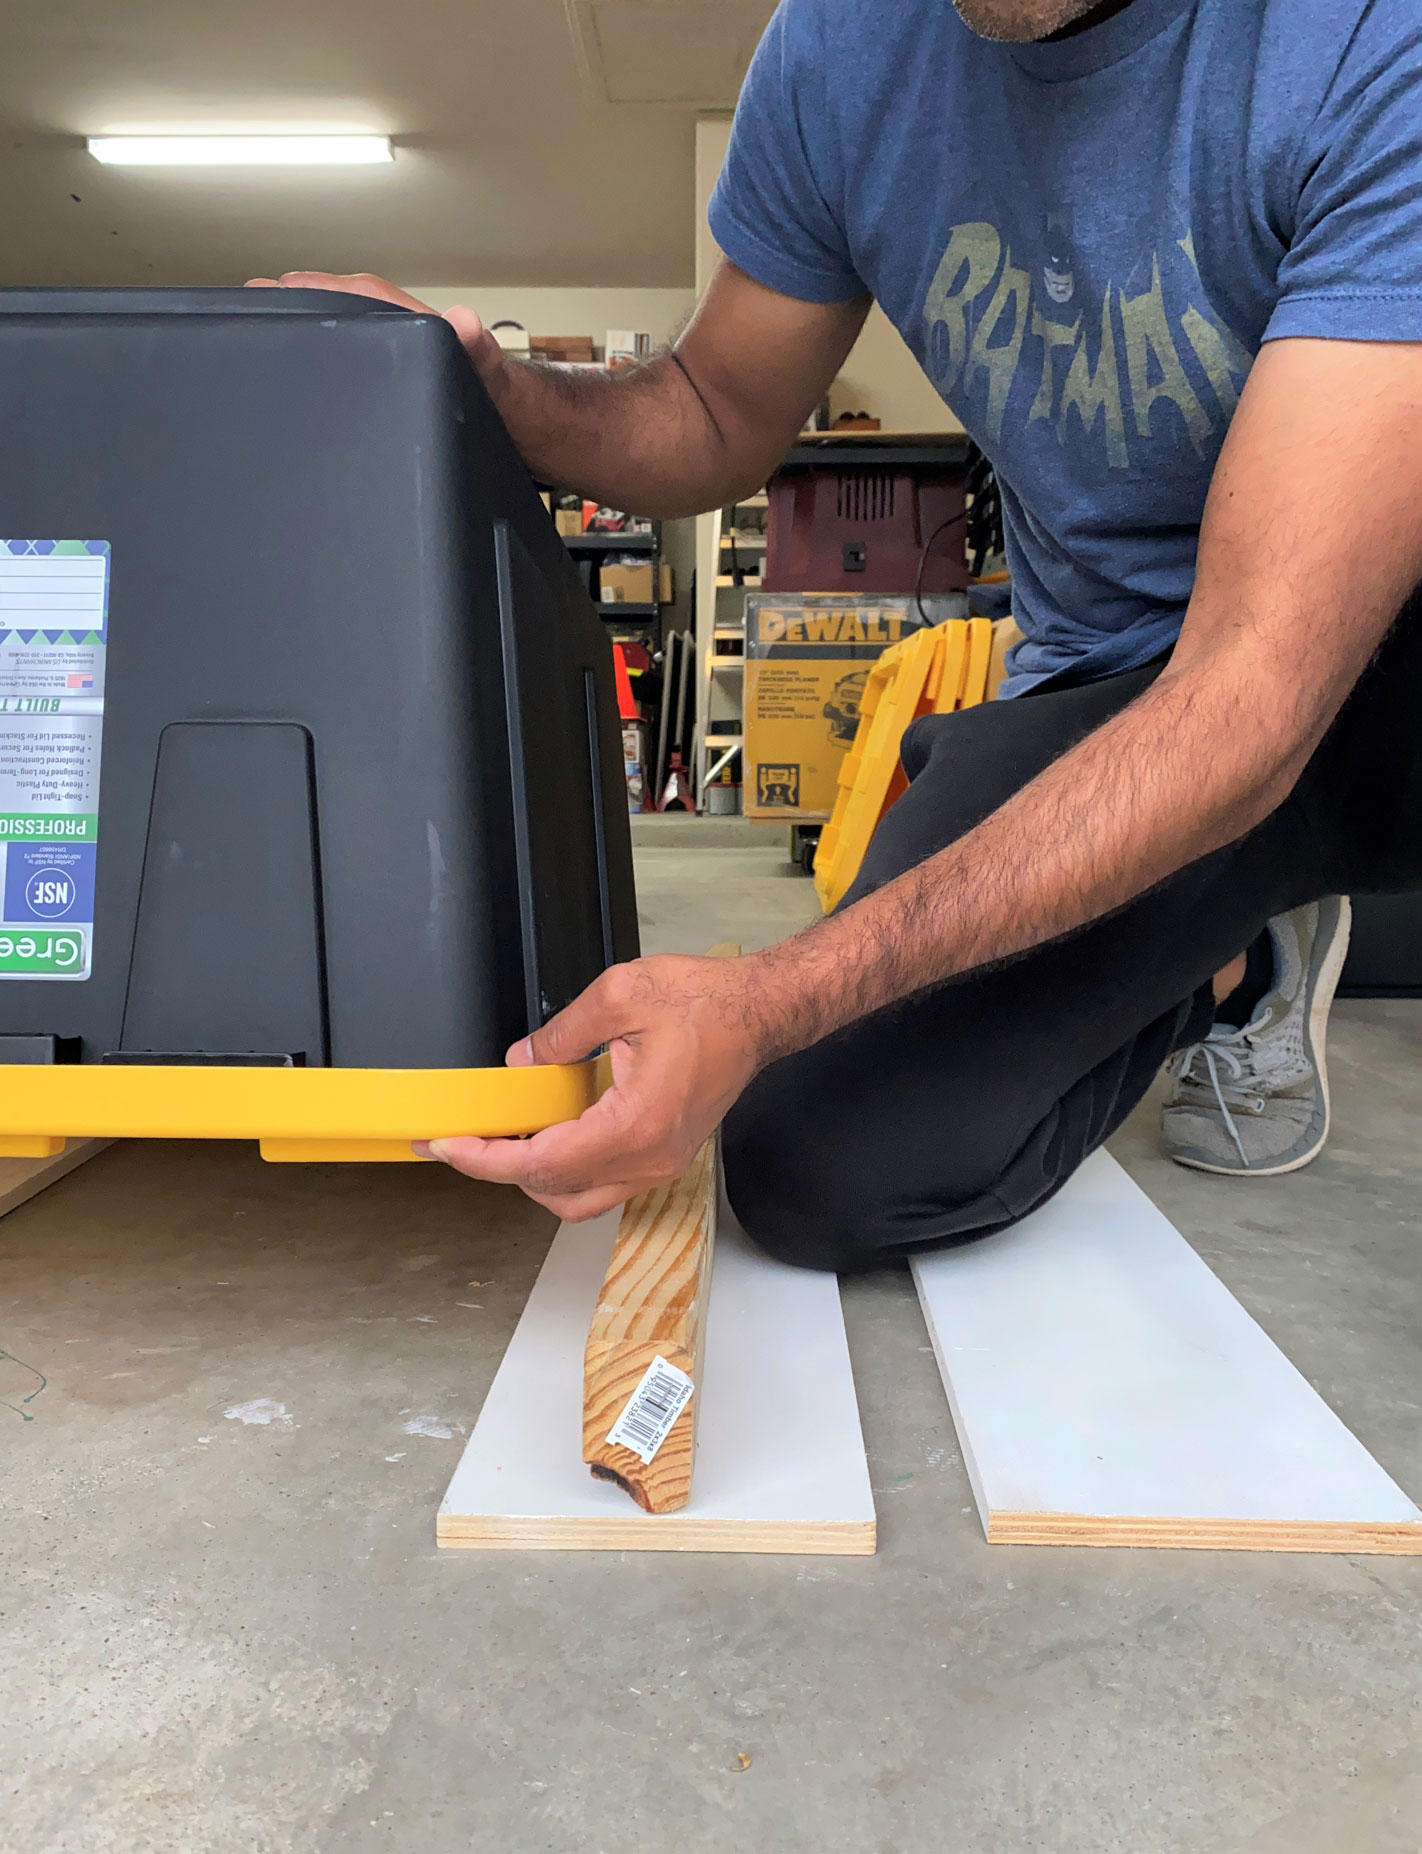
Storage meets yellow bin
We picked up these 27 gallon yellow bins to help store away some lightweight sporting goods, toys, and rarely used tools. They are the perfect size with the right amount of durability – not too bulky or too light.
Have you heard of YouTube? (insert lame joke) Ya, it’s the website with useful videos and…just kidding. I’m sure you’ve heard of it by now. Anyway, we came across a couple of brilliant ideas on how to DIY custom ceiling rails for these yellow bins to slide into. If you’ve been previously following us, we cannot seem to get things off the ground for our workspace (and I’m pretty sure even if we tuck away everything, it will one day – rather quickly – wind back on the floor).
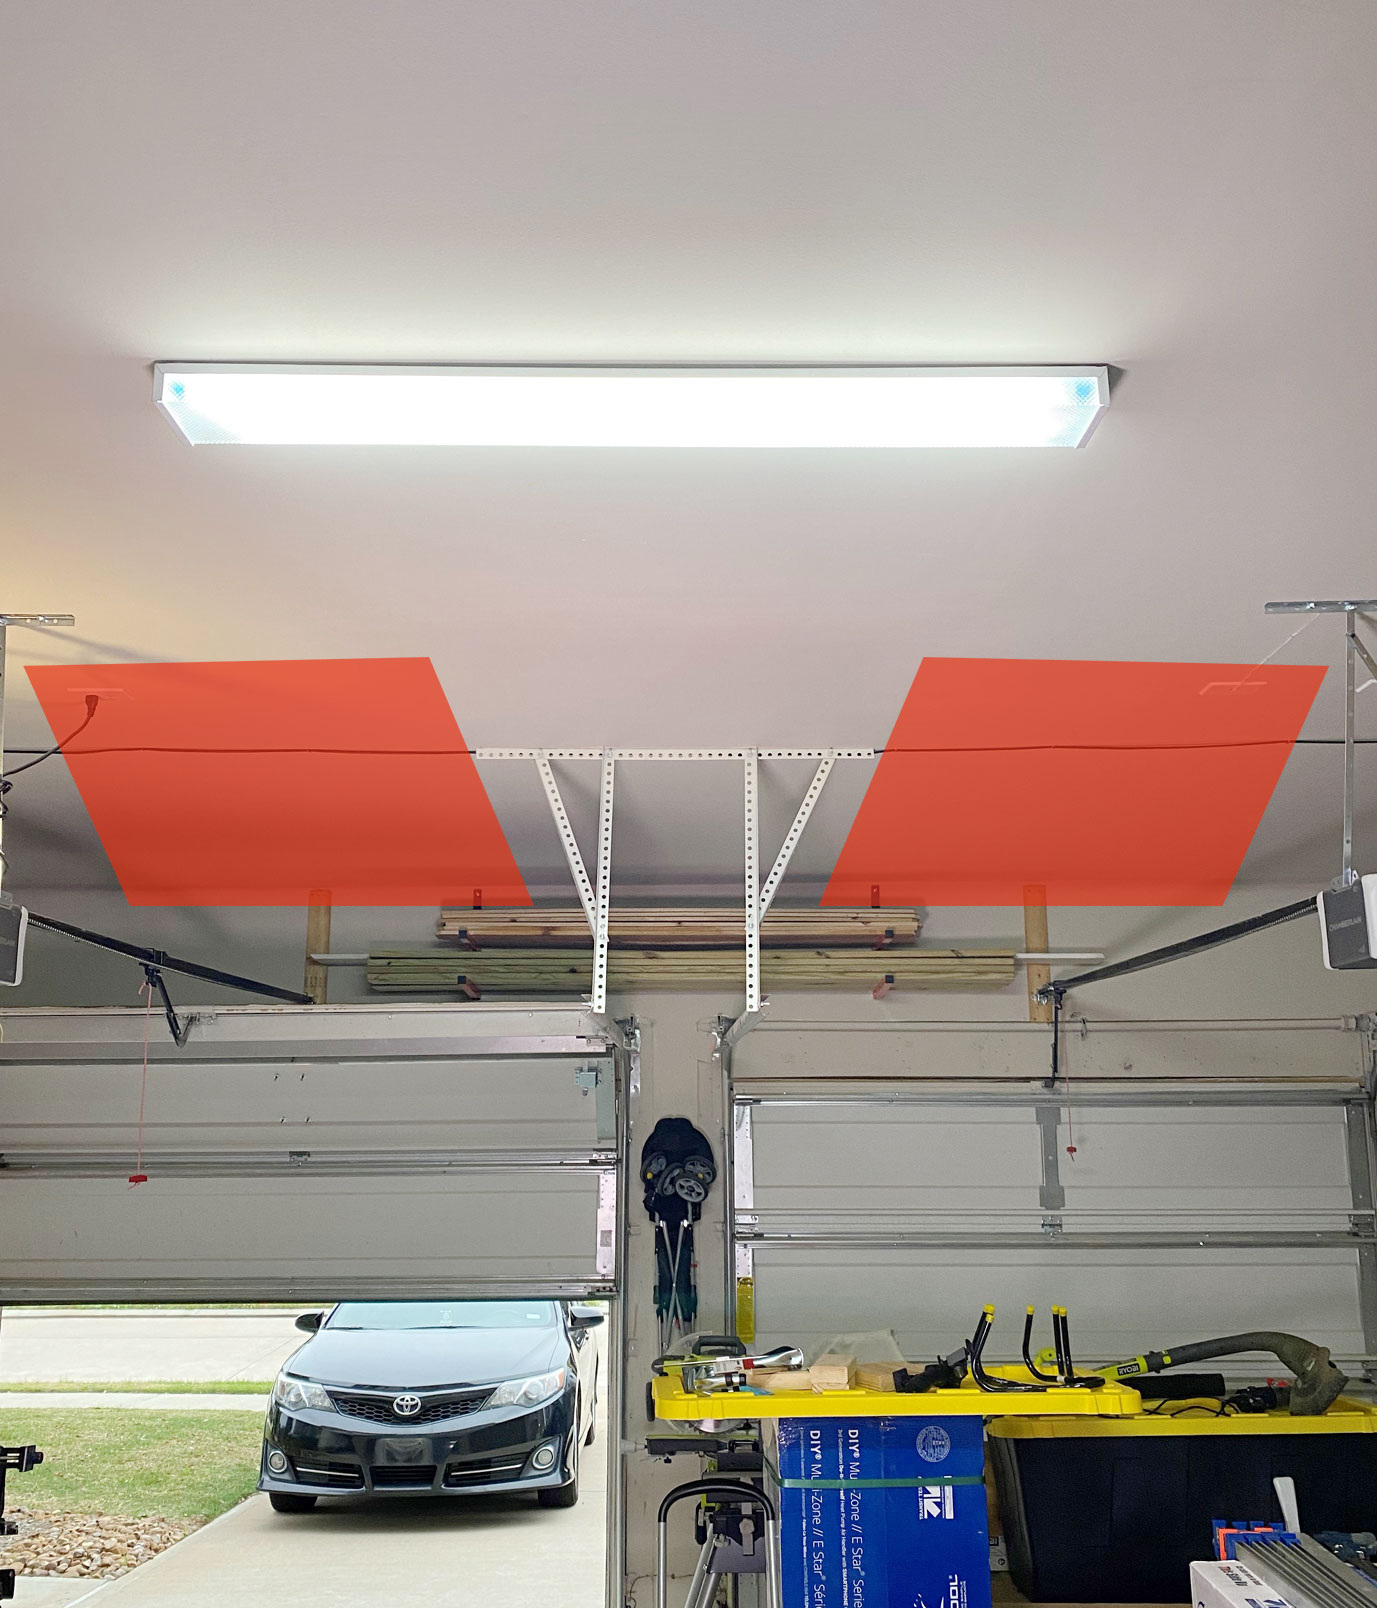
Ceiling rail planning
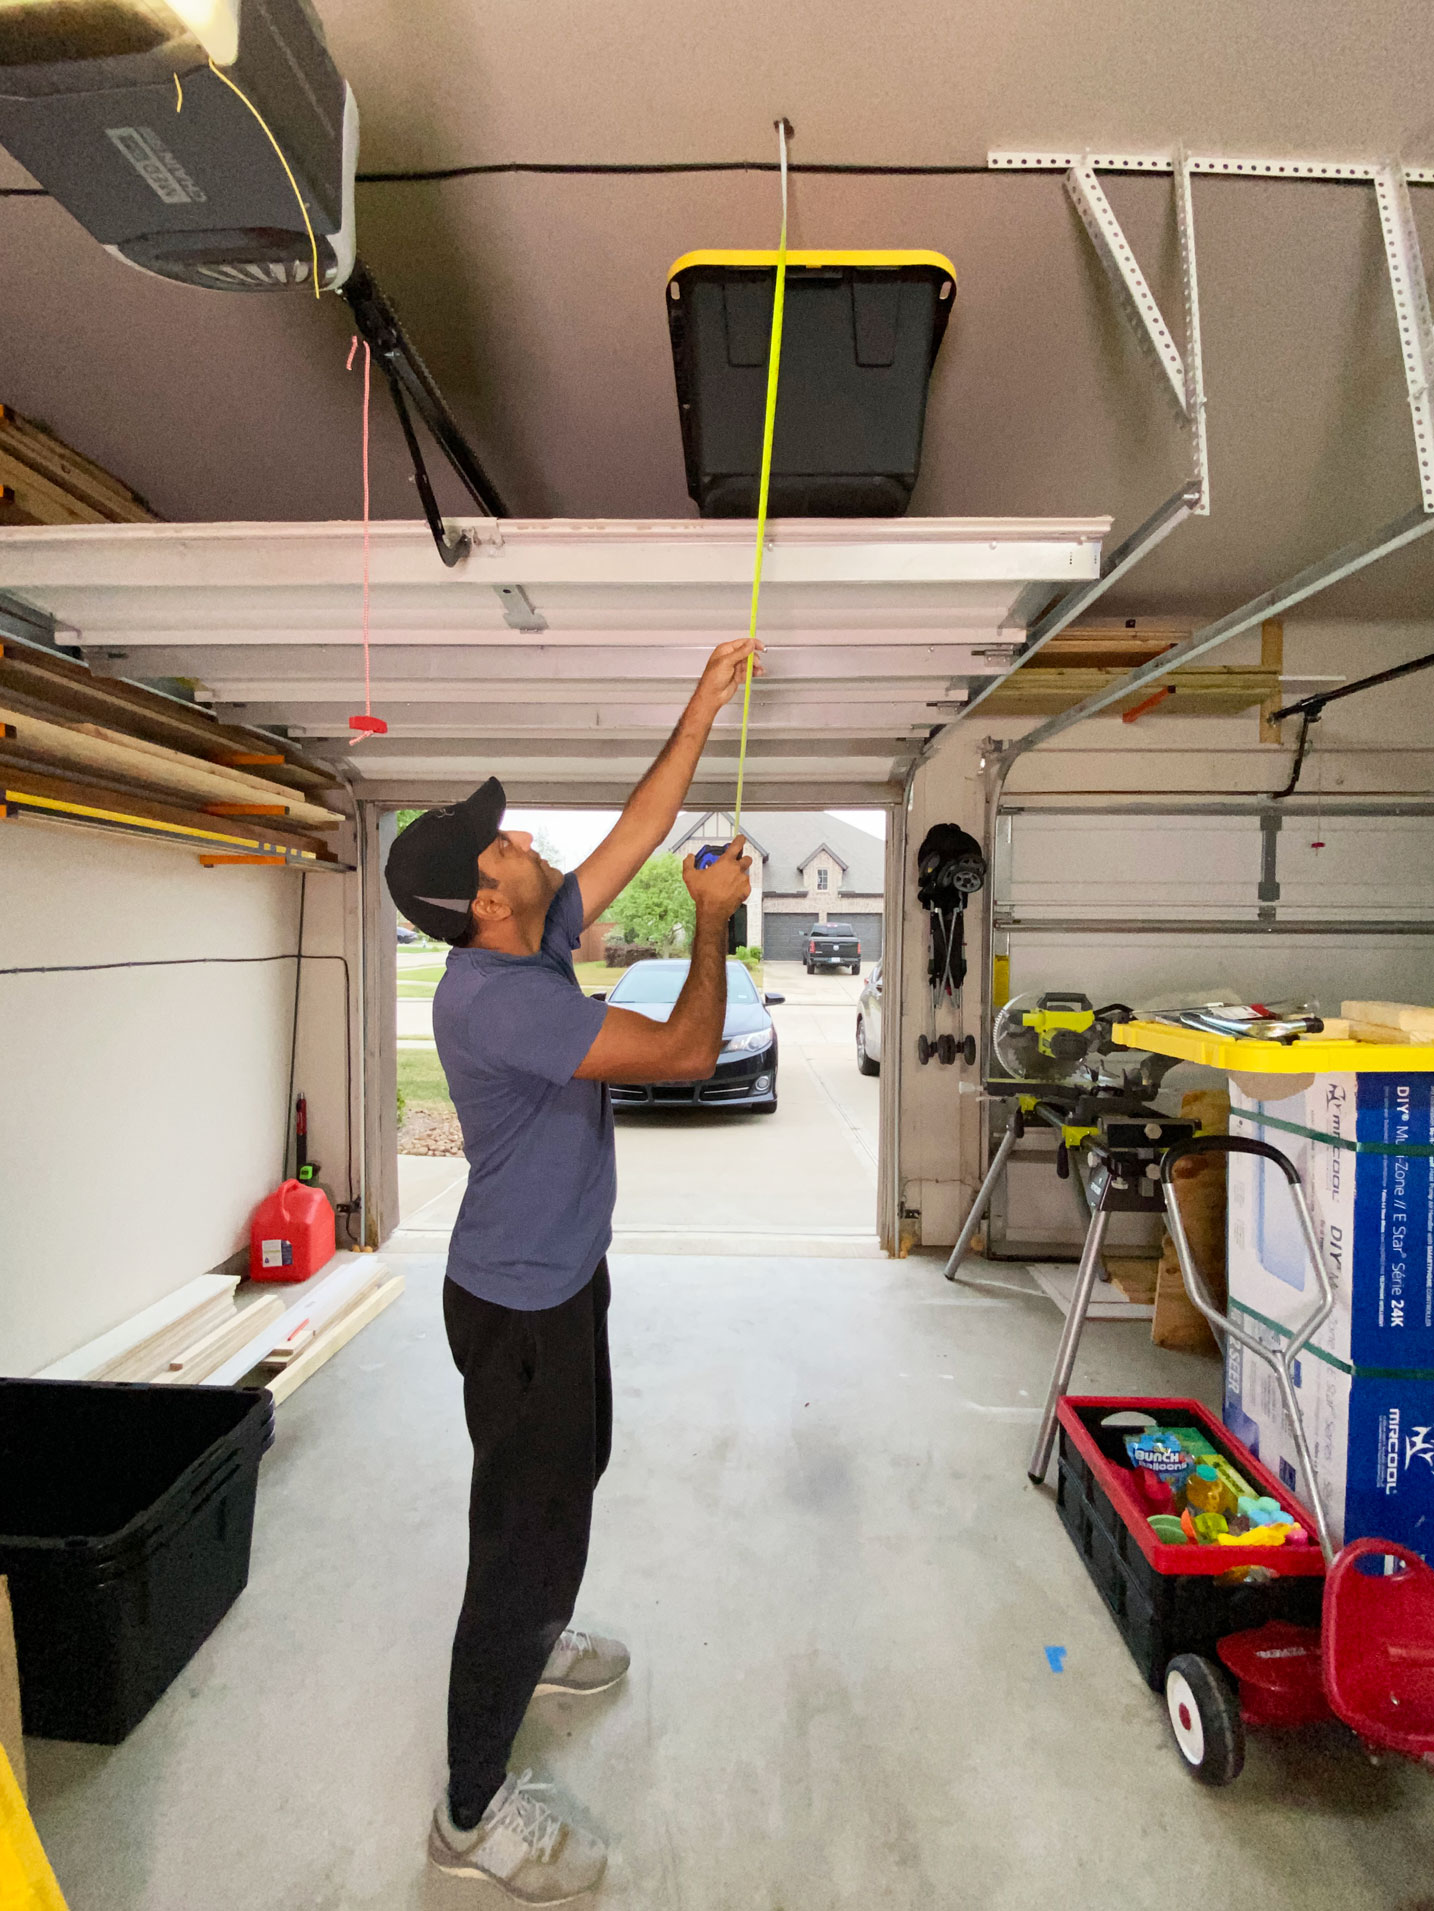
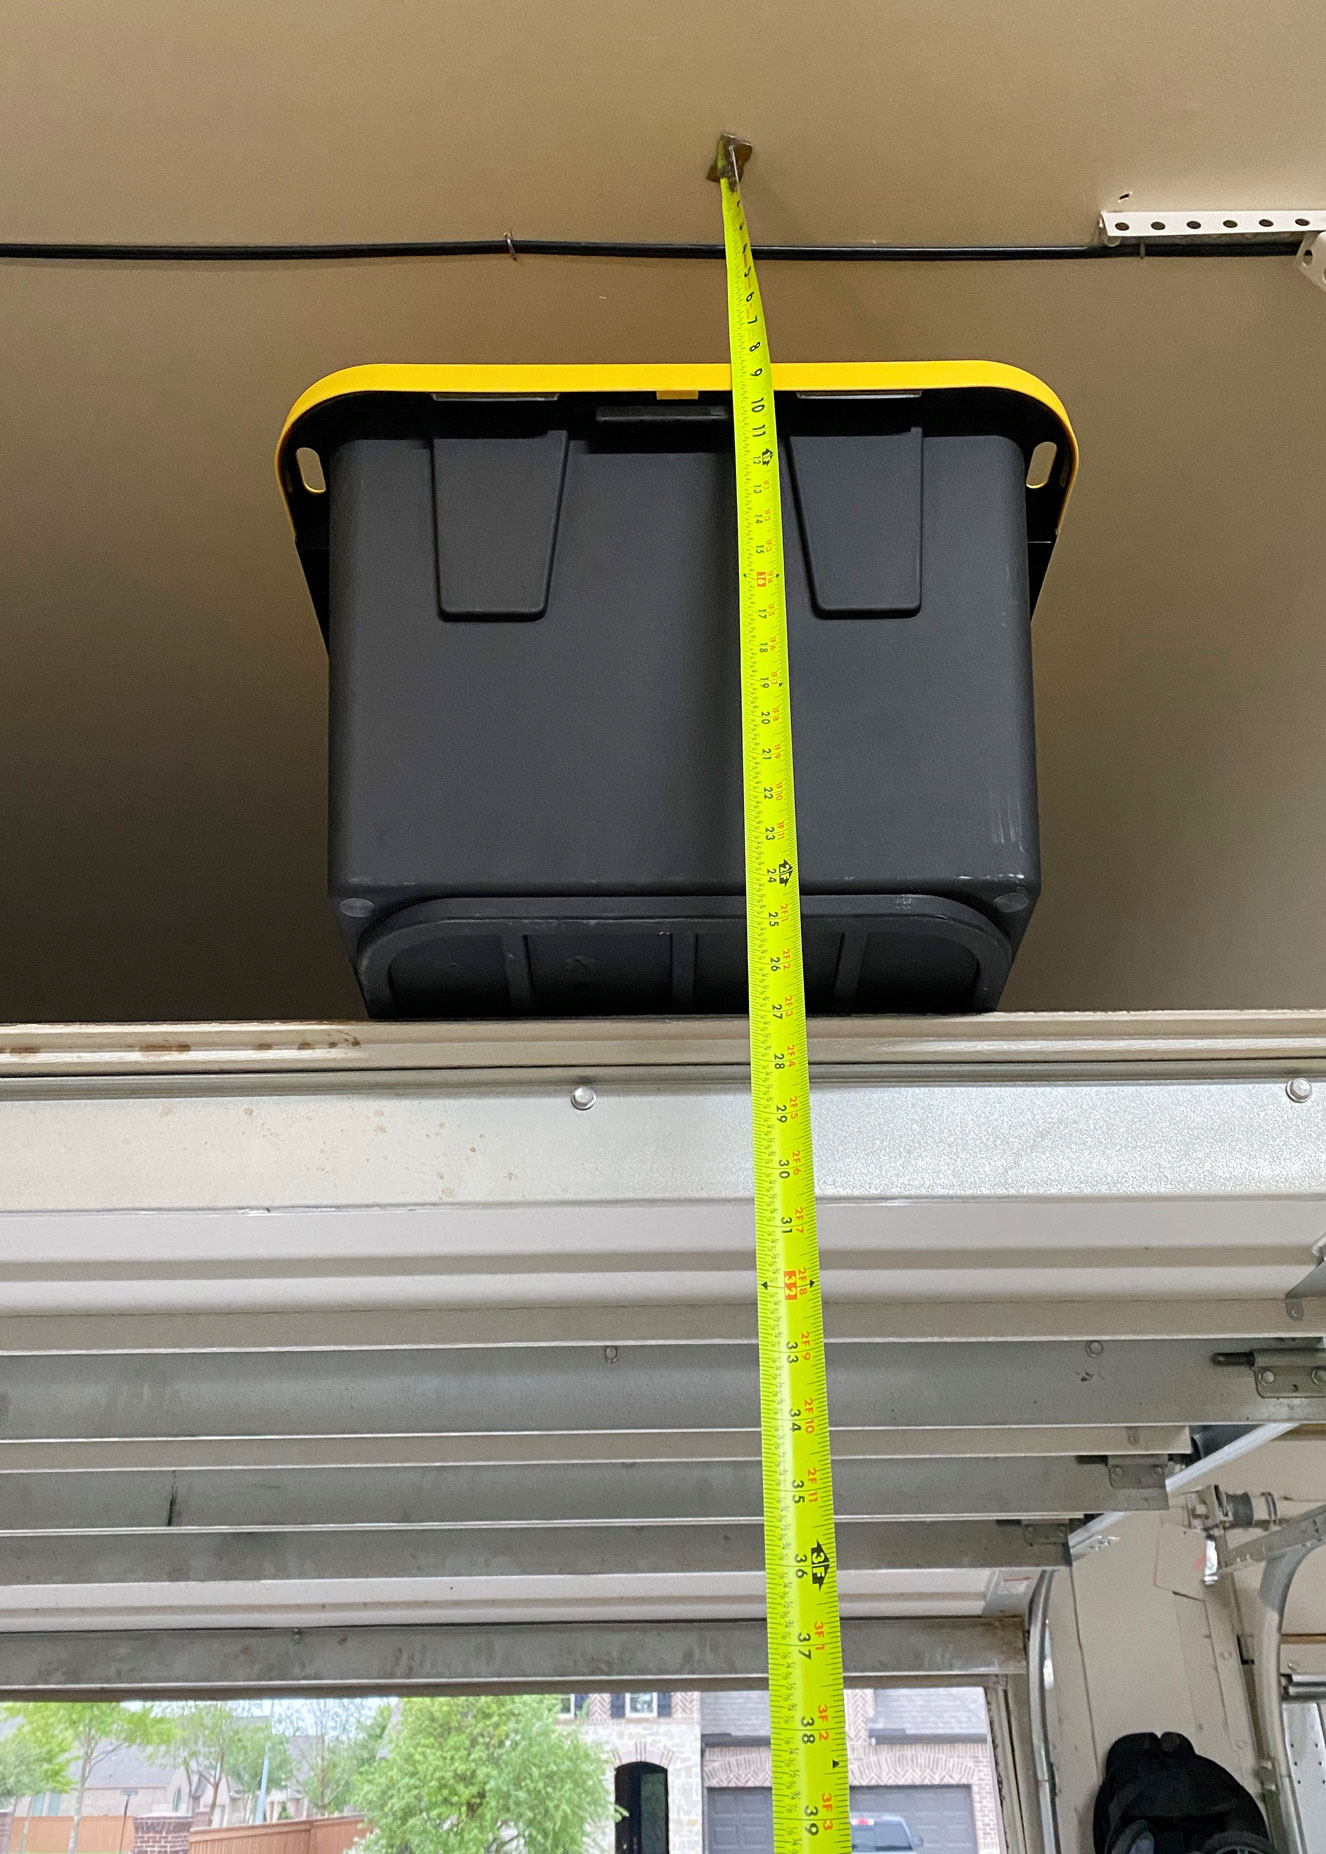
So we have the right amount of space above our garage doors to build ceiling rails and slide in the yellow bins. We only need about 4 inches for the rails so plenty of room (thankfully).
Two sets of rails will be constructed from 1/2″ plywood and 2 x 3 x 8 (because they’re slightly cheaper than a 2 x 4 and the height is perfect). The construction is simple in nature.
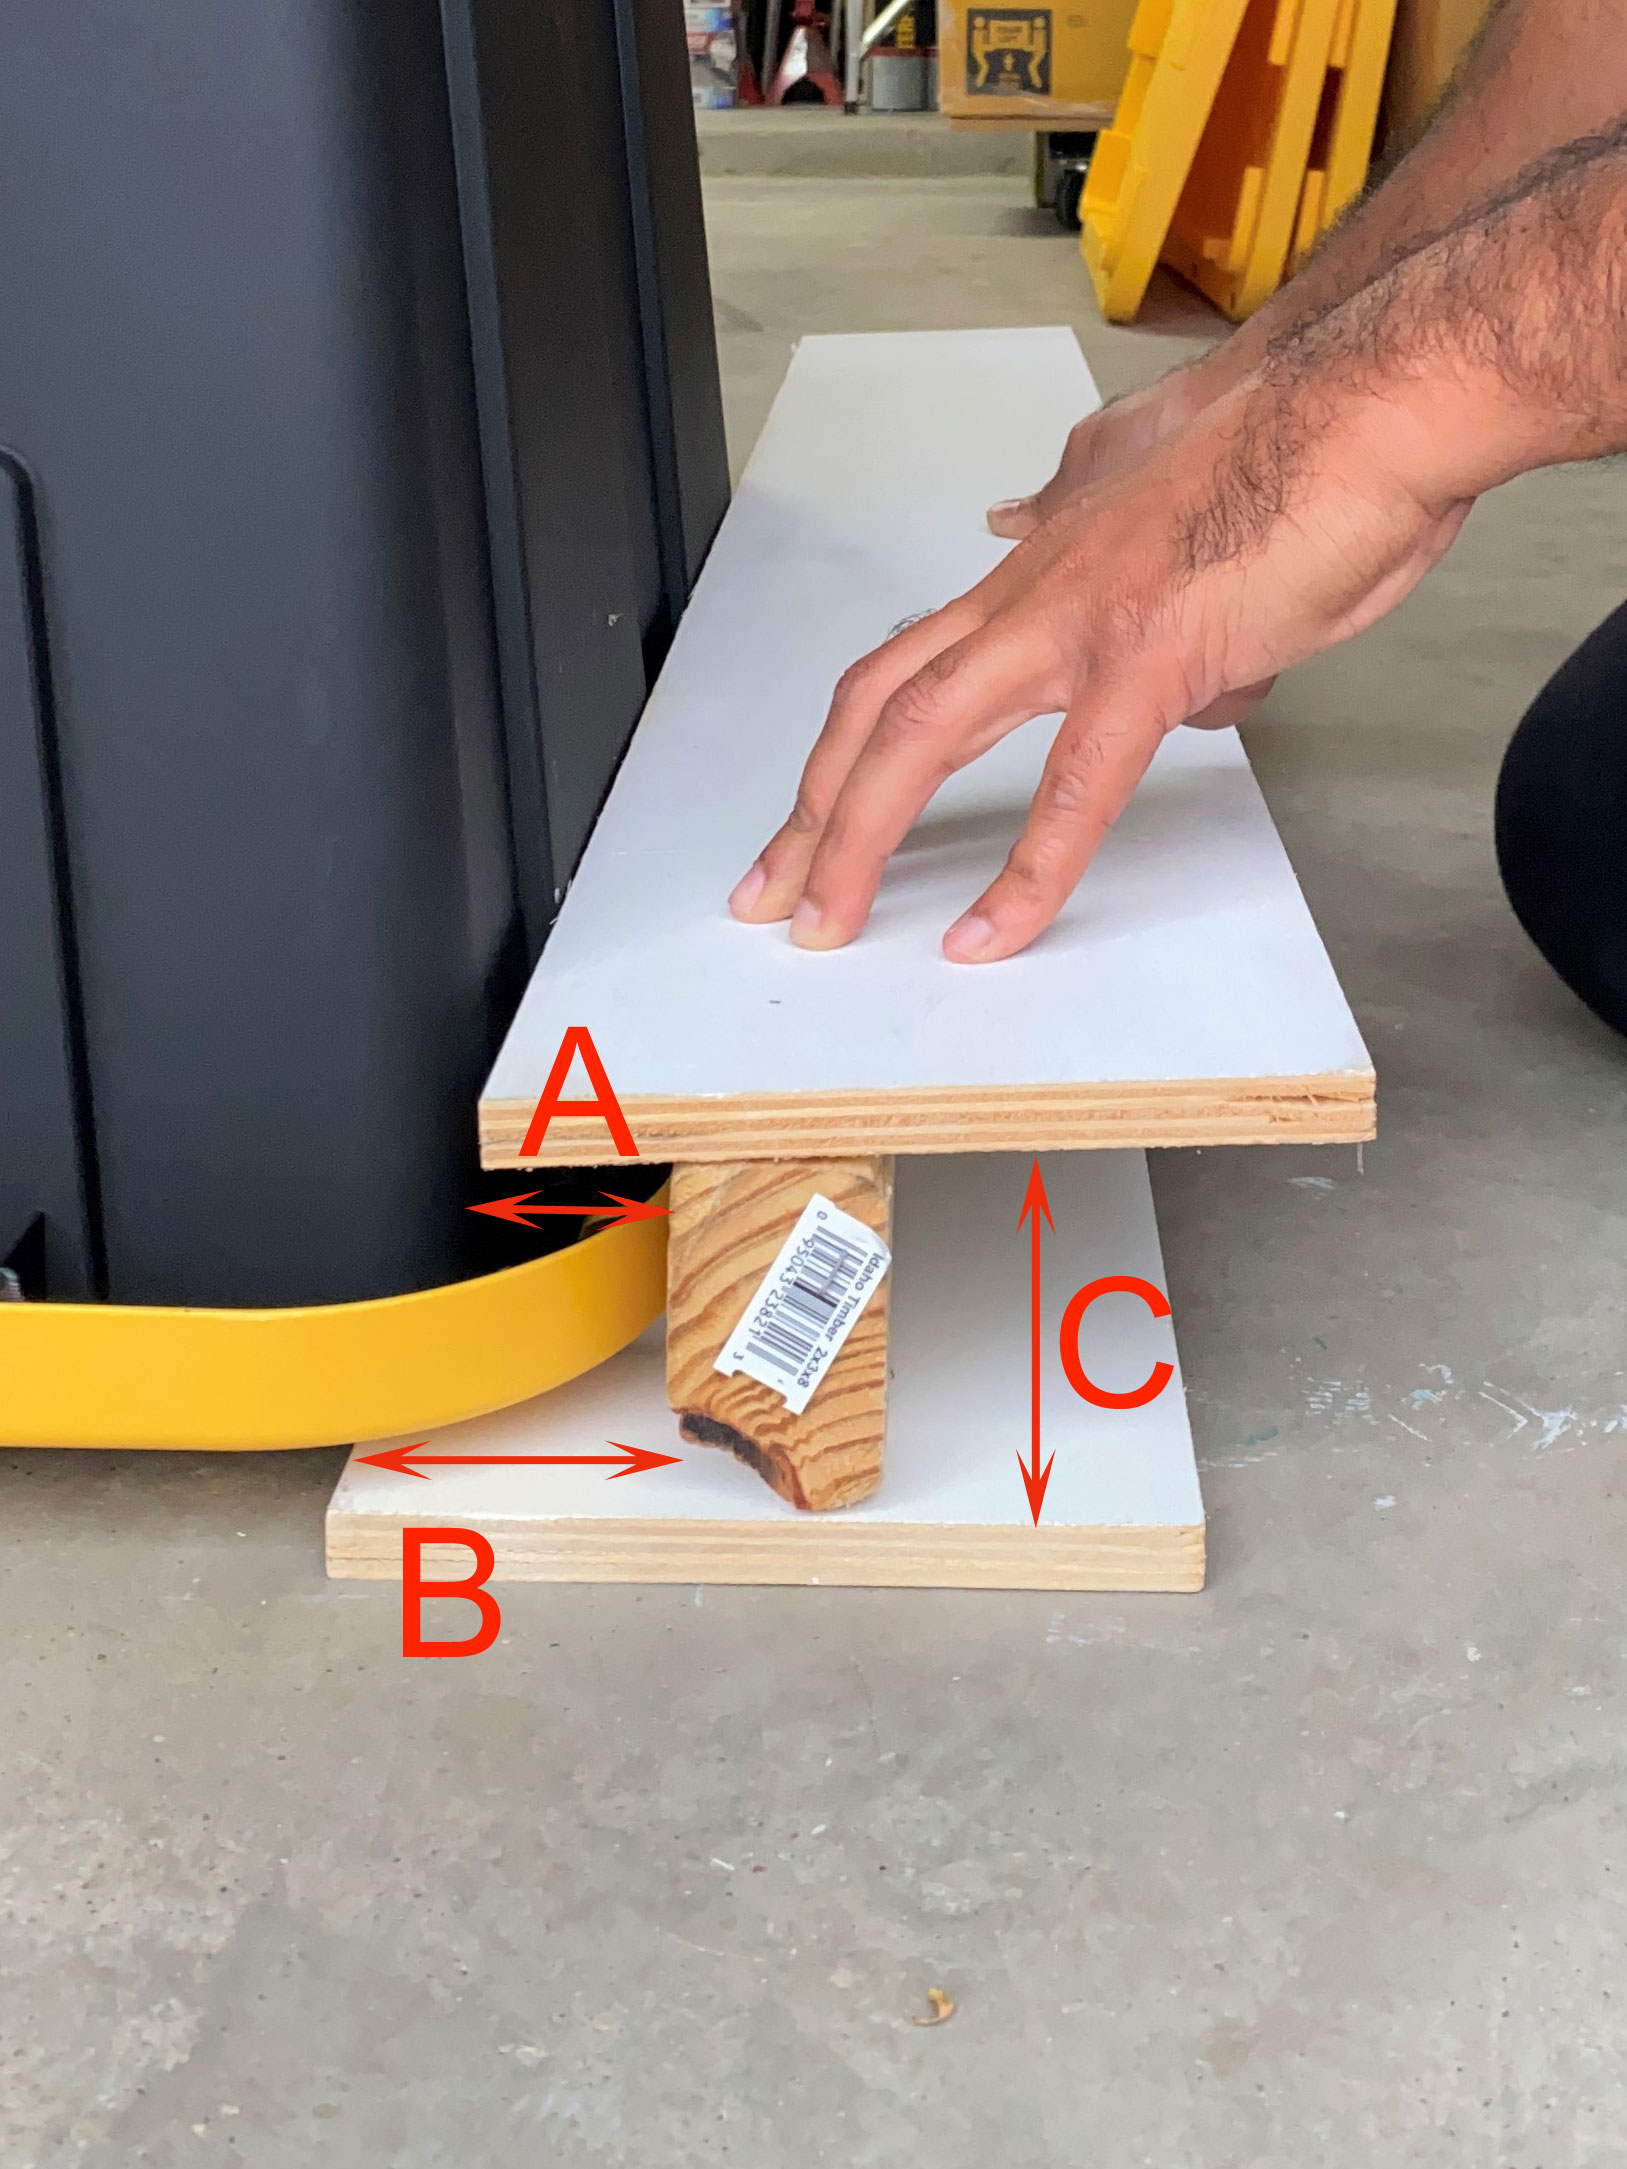
A: Bottom rail that will be cut down to 3 inches lengthwise. About 1/2 inch is needed for the bin to rest on and carry a bulk of the load.
B: Top rail cut down to 6 inches. The top rail will touch the ceiling and be secured with multiple lag screws.
C: This 2 x 3 x 8 will act as a spacer for the lip of the bin to slide into. It will be glued and screwed down to the top and bottom plywood pieces (we’ll be using 2 inch PowerPro screws)
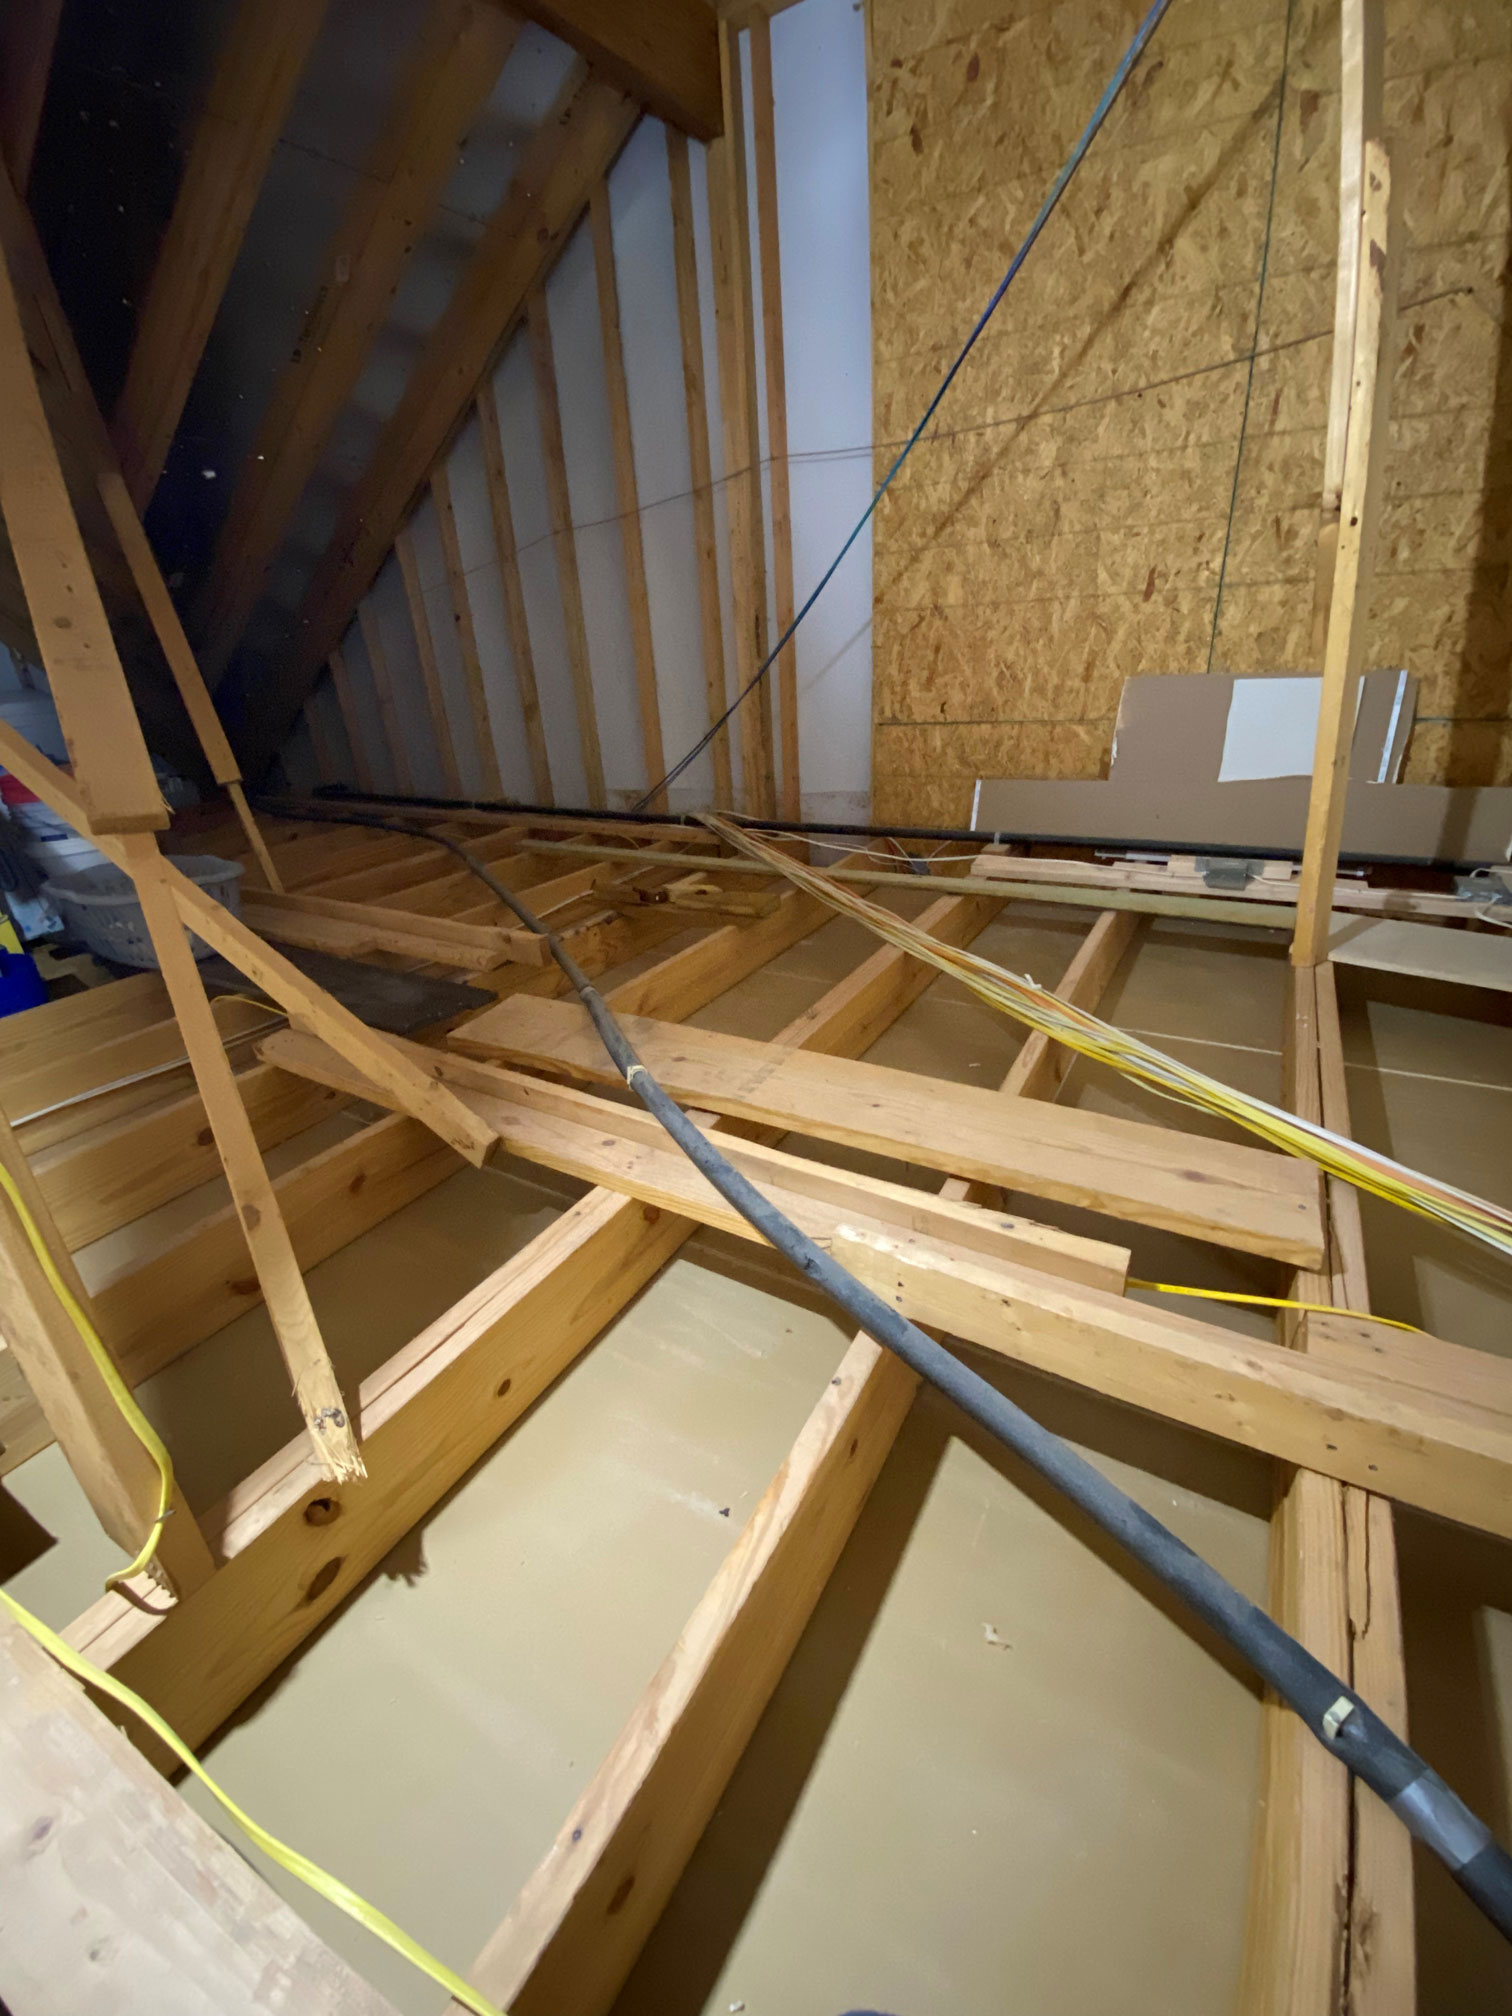
Taking a quick peek in the attic above the garage, we confirmed that our ceiling joists should be able to carry the load of the rails and bins. The joists run horizontal and the rails will be installed perpendicular. Seems like pretty standard width between the joists for the lag screws.

So, this will be a work in progress until next week. And we plan to add space elements to the bin – somehow (hehe).
As always, send us any questions and don’t forget to follow our Instagram stories. By the way, check out the official One Room Challenge site with Apartment Therapy as a media partner.