Foldable Kids Lemonade/Market Stand
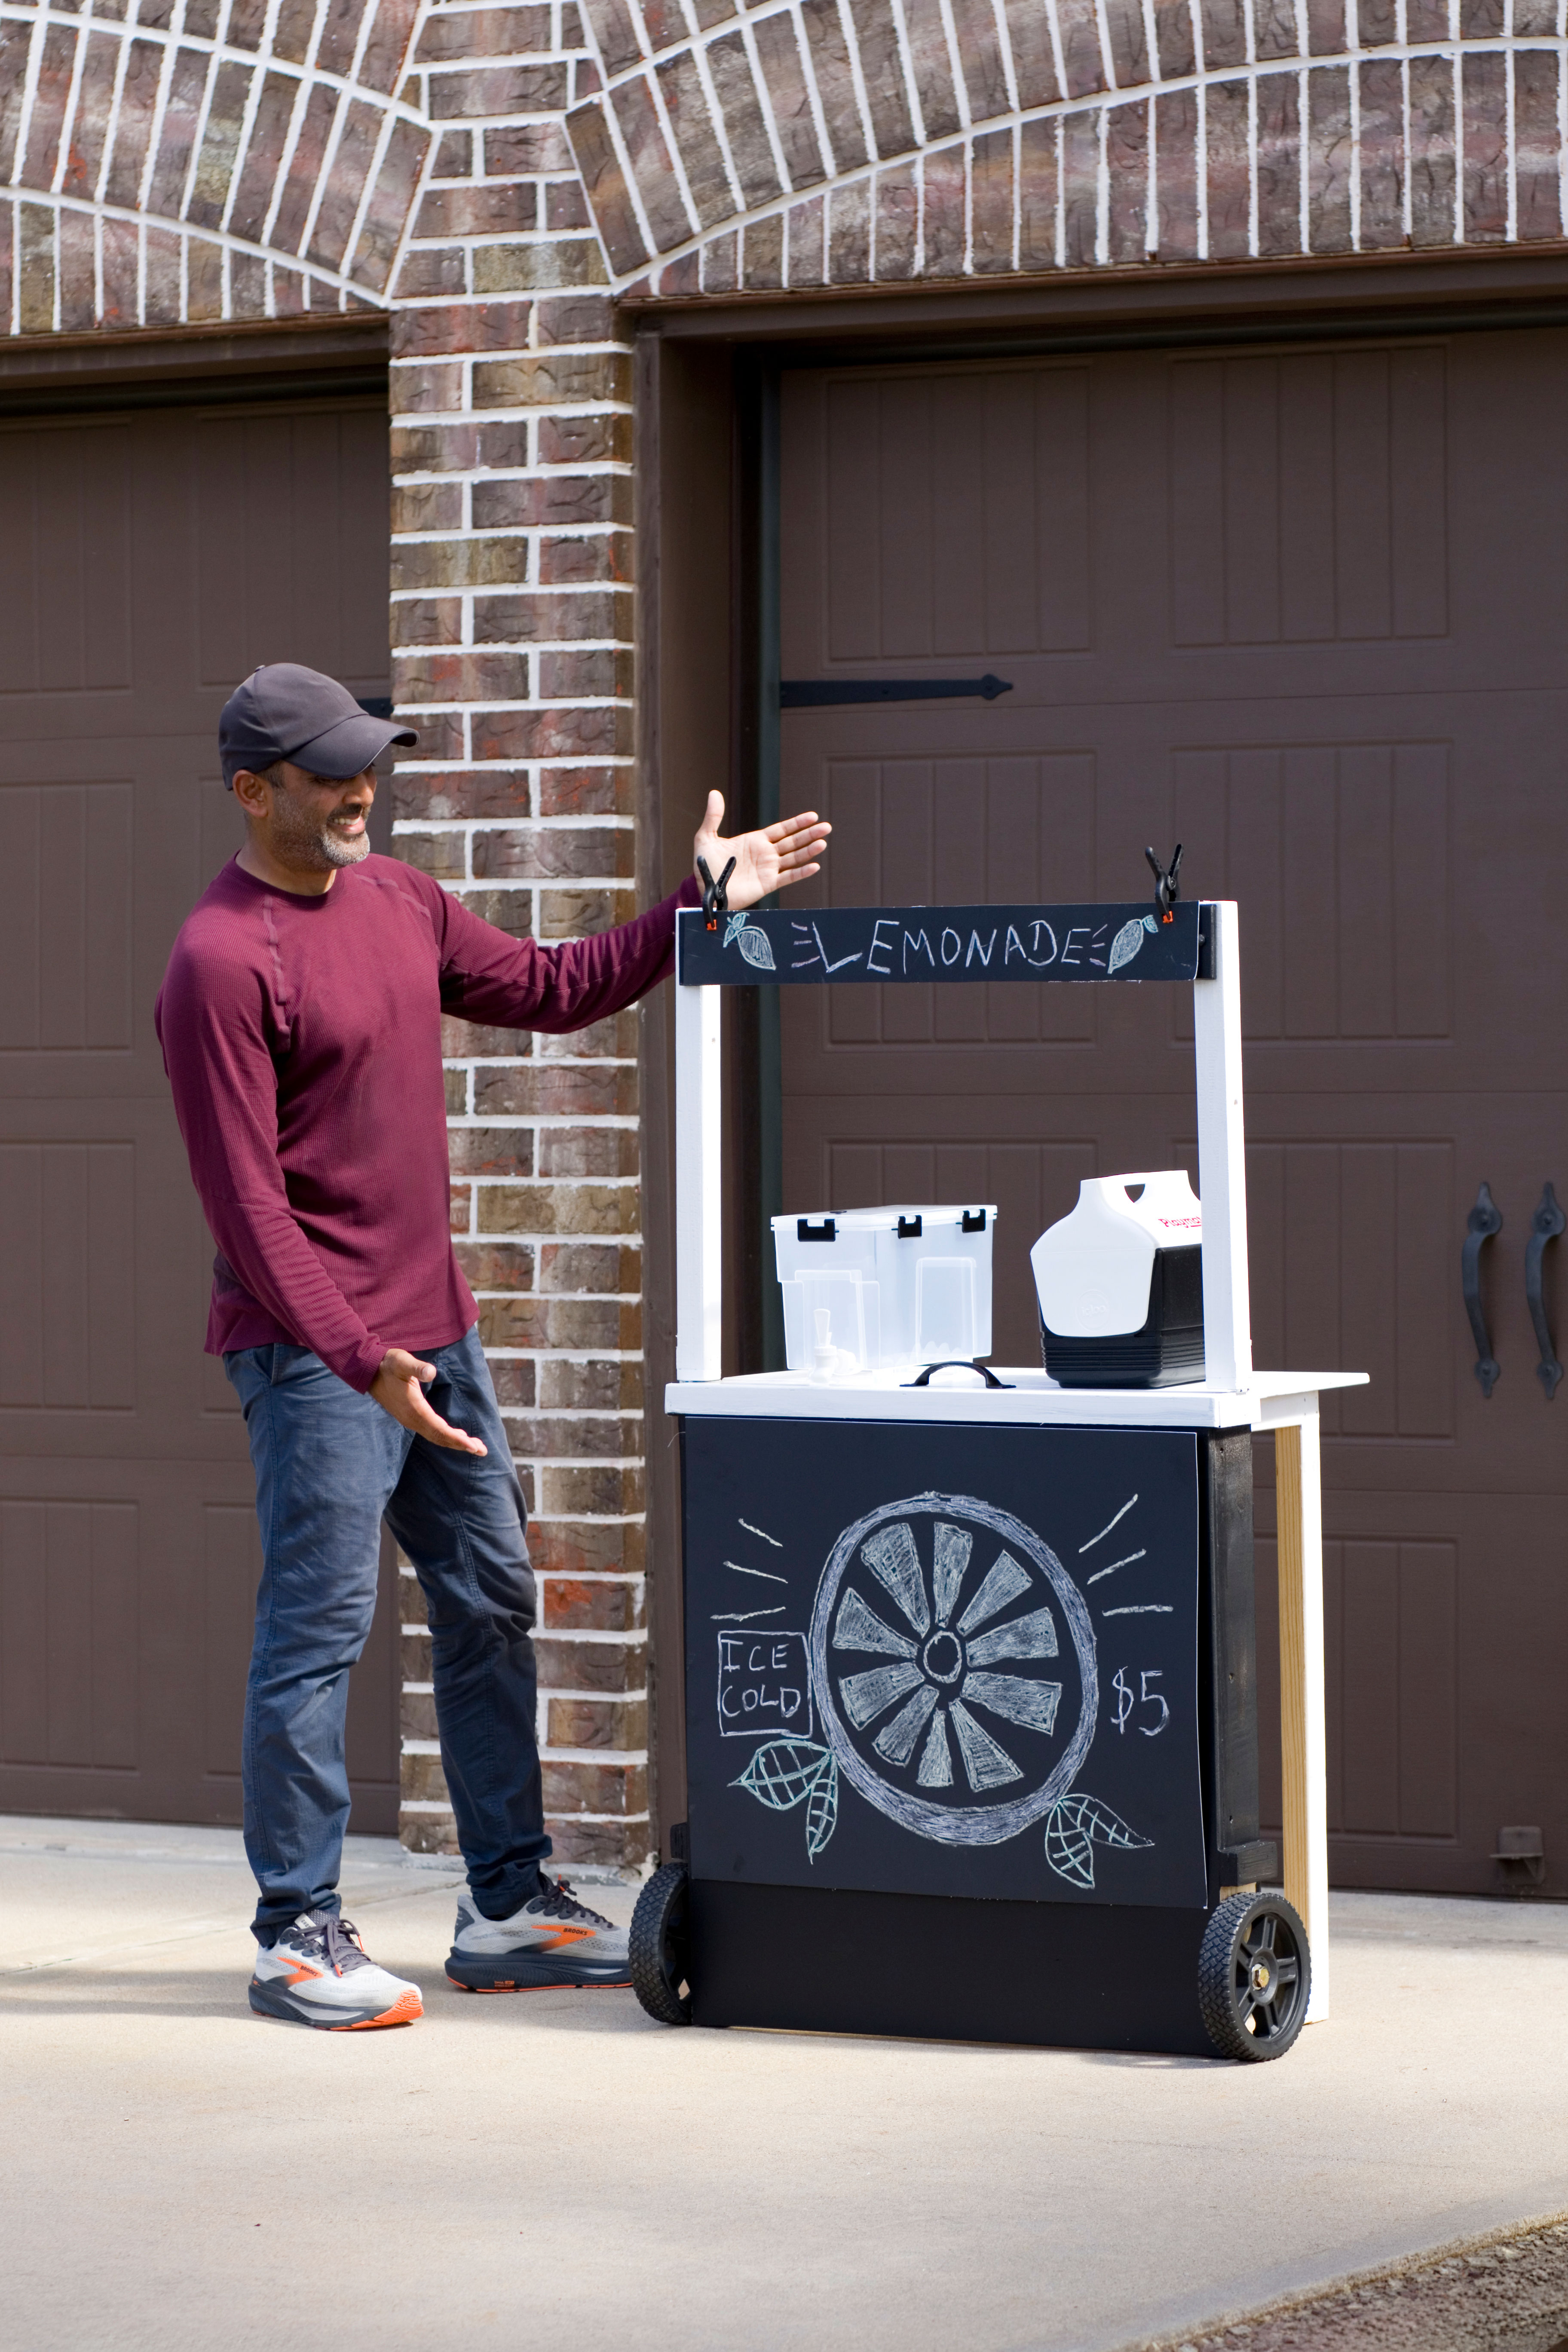
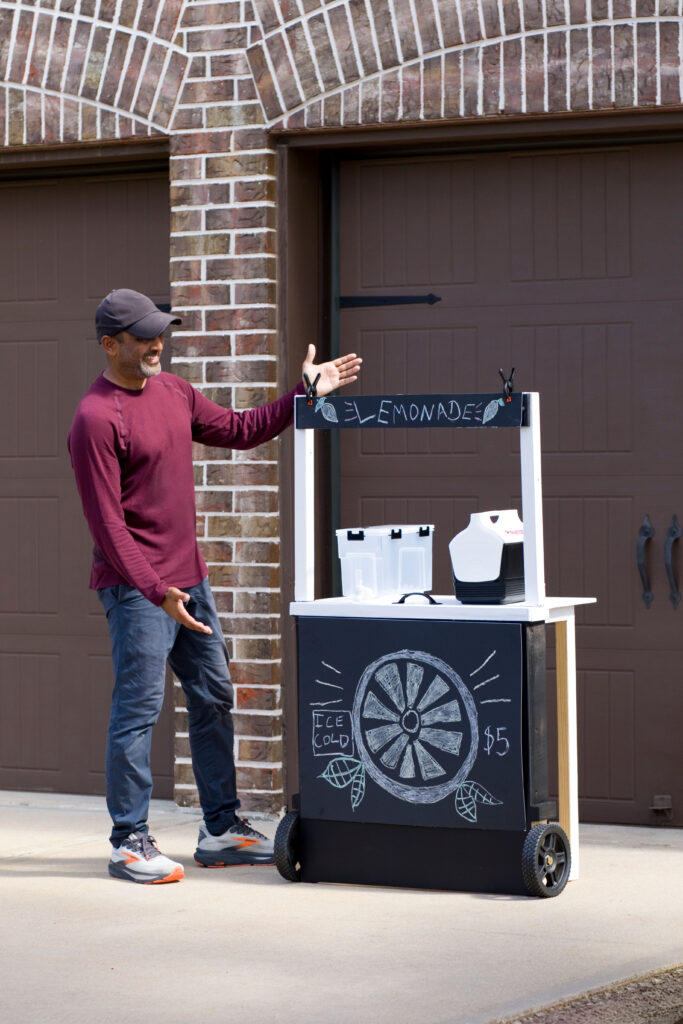
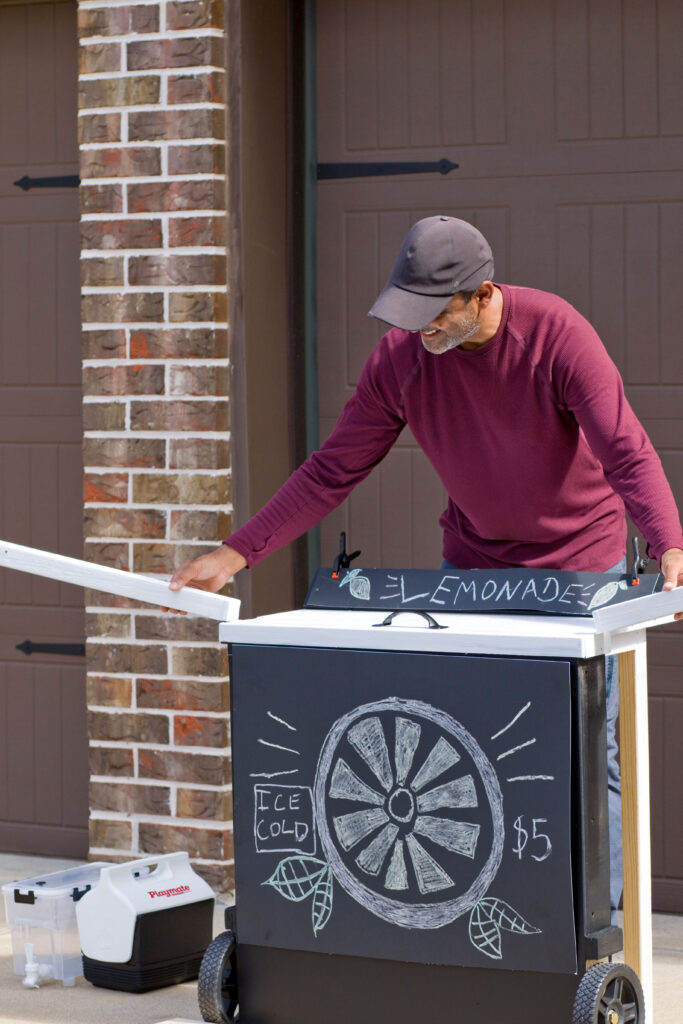
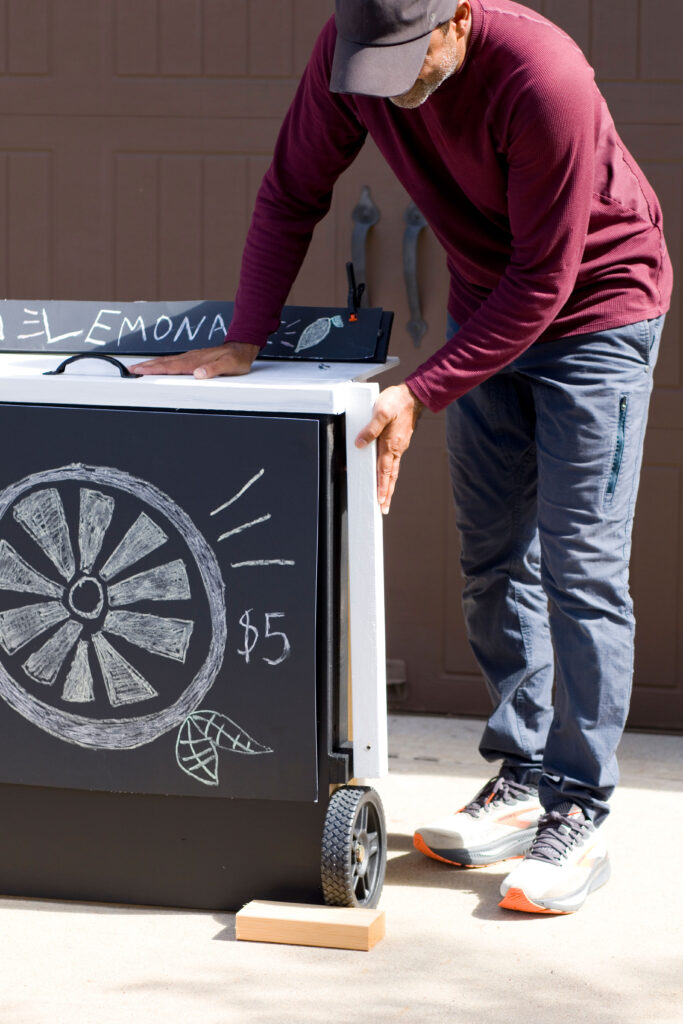
A portable kids’ lemonade and market stand that folds nearly flat for storage and rolls on two 8″ wheels. The chalkboard front and sign make it easy to reuse for lemonade, bake sales, kids’ markets, and other pretend-play setups.
Materials
- (3) 2×4×8′ studs
- A third sheet of 1/2″ plywood
- (5) 1″ hinges
- (4) 2″ hinges
- (2) 1/4″ × 2-1/2″ carriage bolts
- (2) 1/4″ × 6″ carriage bolts
- (4) Washers that fit 1/4″ bolts
- (4) Wing nuts that fit 1/4″ bolts
- (2) 2″ zinc-plated window/barrel bolts
- (2) 8″ lawnmower wheels
- 3″ wood screws
- Wood glue
- Approximately 1″ wide wood trim or inexpensive yardsticks
- Black chalkboard paint
- White paint
- Optional pull handle
- Optional 2″ x 2″ furring strips
- Optional drink dispenser
Tools
- Circular saw or miter saw
- Table saw
- Drill/driver
- Tape measure
- Speed square
- Sander or sanding block
- Paintbrush or roller
Steps
- Cut the main frame pieces from the 2×4 lumber. Use two 26″ pieces for the top and bottom rails and two 30″ pieces for the sides. Assemble them into a rectangular frame that will act as the main structural backbone of the stand. The bottom rail should be taken in by 8″ for the wheels.
- Cut the front panel from 1/2″ plywood to 29″W × 30.5″H or to your desired size. Fasten it securely to the main frame, keeping the frame square as you attach the plywood.
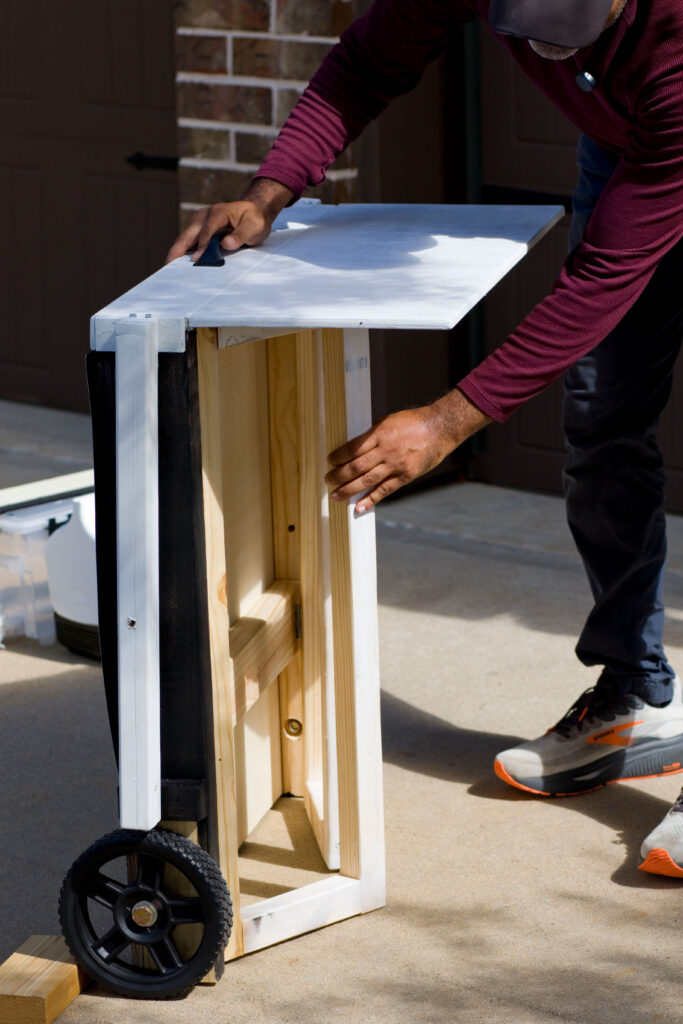
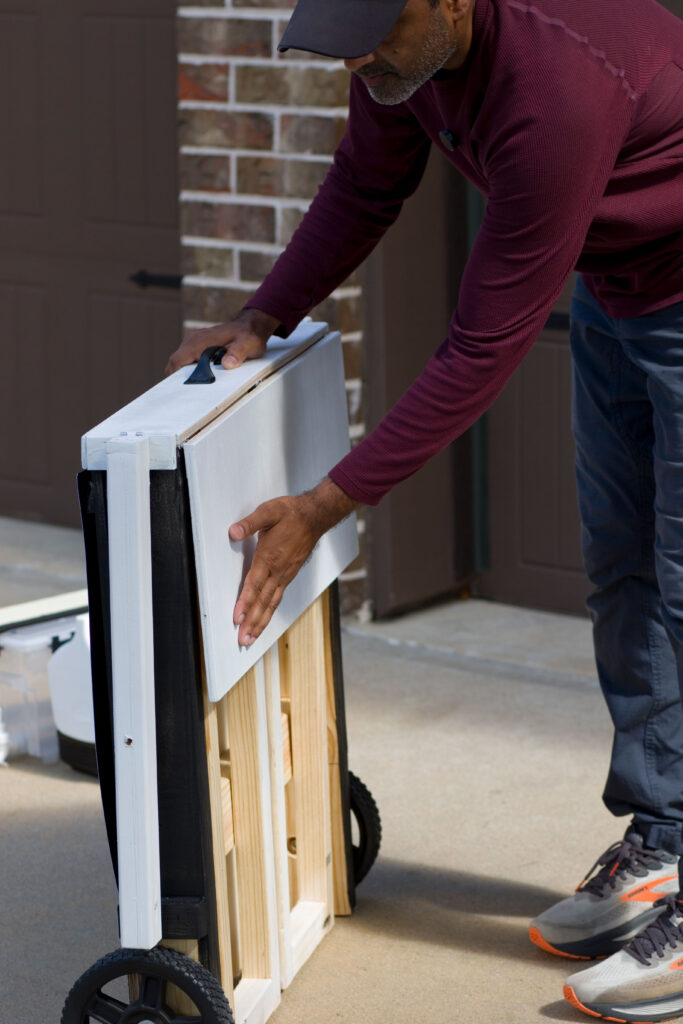
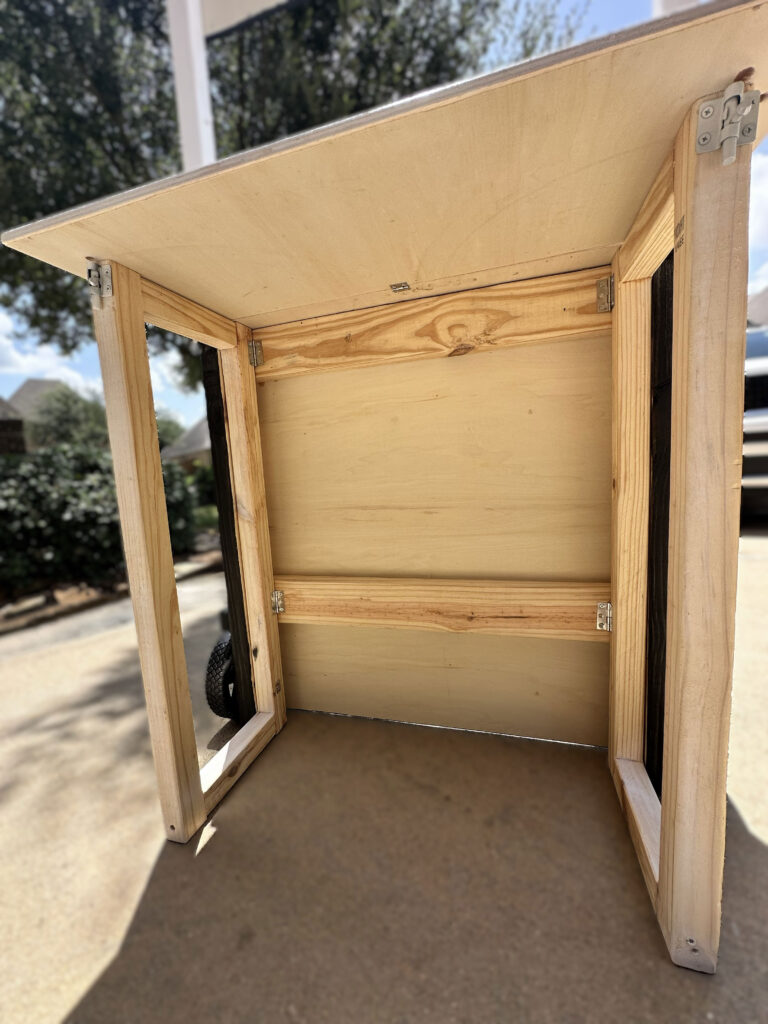
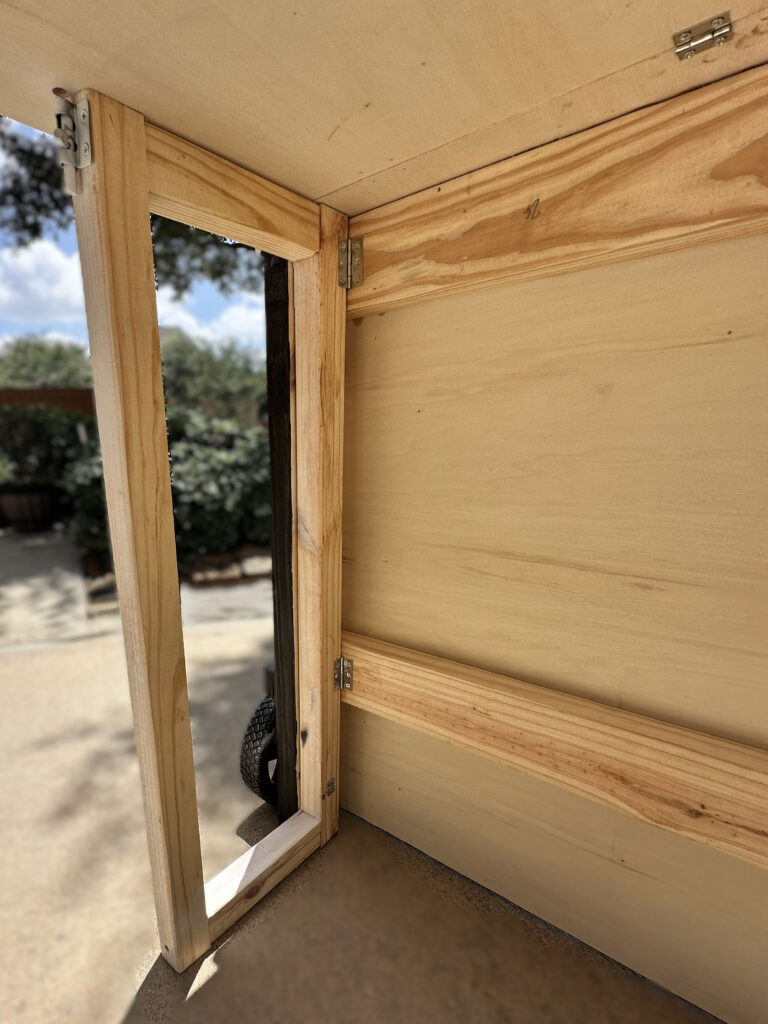
- Make the two folding side frames from vertically ripped-down lumber (optionally substitute with furring strips). Each side uses a 30″ folding leg and a 7.5″ rail. Hinge the completed frames behind the main body so they can swing approximately 90° outward during use and fold flat against the back for storage. When open, the legs can be secured into the table with a barrel bolt.
- Cut the tabletop from 1/2″ plywood to 29″W × 15-5/8″D. Hinge it to the main body so it can fold against the stand for storage and lower over the two open side frames during setup.
- Install the two 8″ lawnmower wheels near the bottom of the stand. The included bolts might be short so you might need to swap them out for a longer one. If you use a shorter bolt, use a Forstner bit to drill out a larger hole from the inside. Position the wheels so the stand remains stable while open but can be tilted backward and rolled when collapsed. When in upright position, use a wedge or block to prevent the wheels from moving.
- Cut a 22″ section of 2×4 and rip it lengthwise to create two sign posts. Attach the posts with the hinge, carriage-bolt, washer, and wing-nut so they can extend above the tabletop and collapse or remove for storage.
- Cut the upper sign from 1/2″ plywood to 29″W × 8″H. Attach it between the two sign posts while keeping the assembly removable or foldable enough to store nearly flat.
- Add approximately 1″-wide trim where the plywood front meets the tabletop to cover the exposed plywood edge. Cheap wooden yardsticks cut to length can work well for this detail.
- Round over exposed edges with a router and sand all surfaces smooth. Paint the front panel and upper sign with black chalkboard paint, then paint the tabletop, trim, and sign posts white. Leave the interior framing raw if you want to keep the homemade DIY look.
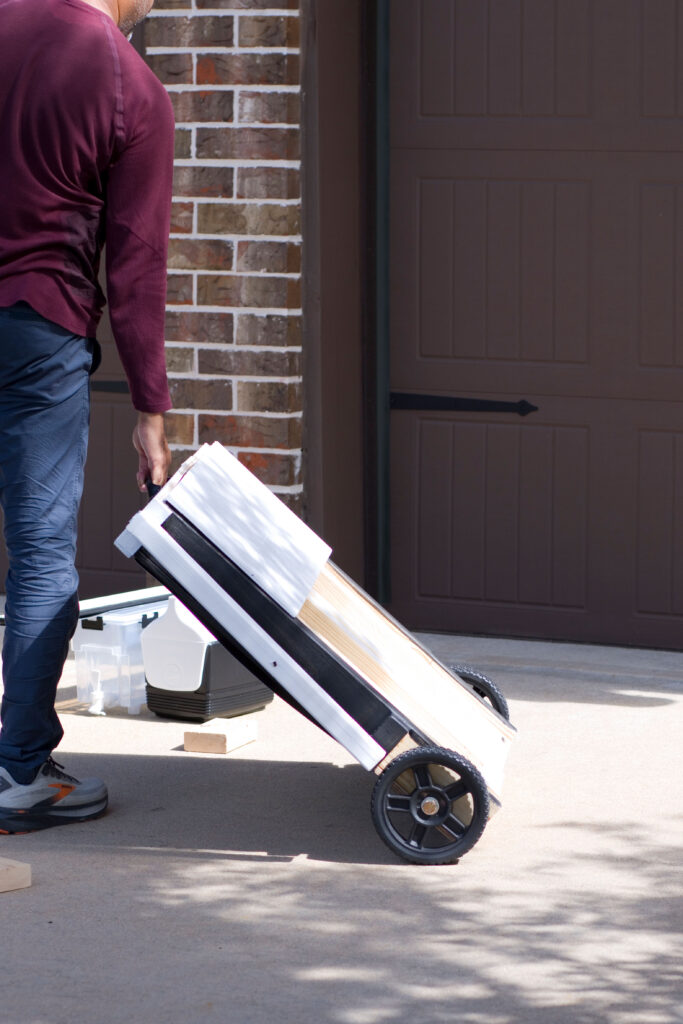
- To collapse the stand, remove or fold the sign assembly, fold the tabletop against the main body, swing both side frames inward, then tilt the stand onto the wheels for rolling and storage.
Cut List
- (2) 2×4 pieces at 26″ – main frame top and bottom rails
- (2) 2×4 pieces at 30″ – main frame sides
- (2) 30″ pieces ripped lengthwise from 2×4 stock – folding legs
- (2) 7.5″ pieces ripped lengthwise from 2×4 stock – folding leg rails
- (1) approximately 22″ 2×4 section ripped lengthwise – creates (2) sign arms
- (1) 29″W × 30.5″H piece of 1/2″ plywood – front panel
- (1) 29″W × 15-5/8″D piece of 1/2″ plywood – folding tabletop
- (1) 29″W × 8″H piece of 1/2″ plywood – top sign
Notes
- Adult supervision required when in use.
- The cut list is an approximation and can be customized for your needs.
- The three plywood pieces use approximately a third of a standard 4×8 sheet of 1/2″ plywood, leaving roughly two-thirds of the sheet for another project.
- The large plywood front is an important structural part of the stand, so make sure the main frame is square before fastening it.
- Washers and 1/4″ wing nuts make removable or adjustable carriage-bolt connections easier to assemble and disassemble without tools.
- Round over and sand exposed corners carefully because the stand is intended for children.
- The wheels currently free-roll. A simple wooden wedge or doorstop can be used as a temporary parking brake.
- The chalkboard front and upper sign can be relabeled for lemonade, aguas frescas, lassi, bake sales, snack stands, kids’ markets, or other pretend-play setups.
- Chalk designs can be prepared ahead of time on matte black poster board or foam board and temporarily placed over the chalkboard surfaces for faster changes.
- The stand uses roughly $60-65 worth of materials, although buying a full sheet and complete hardware packages from scratch may put the unfinished checkout north of $100.
- Shoutout to Thomas Custom Woodworks. I first came across the idea of space-saving workbenches a few years ago through one of his designs, and they helped put collapsible builds on my radar. This lemonade stand is my own kid-sized take on that same general idea of making something useful that can fold down and store out of the way.
Difficulty: Intermediate
Estimated Time: 2-3 days