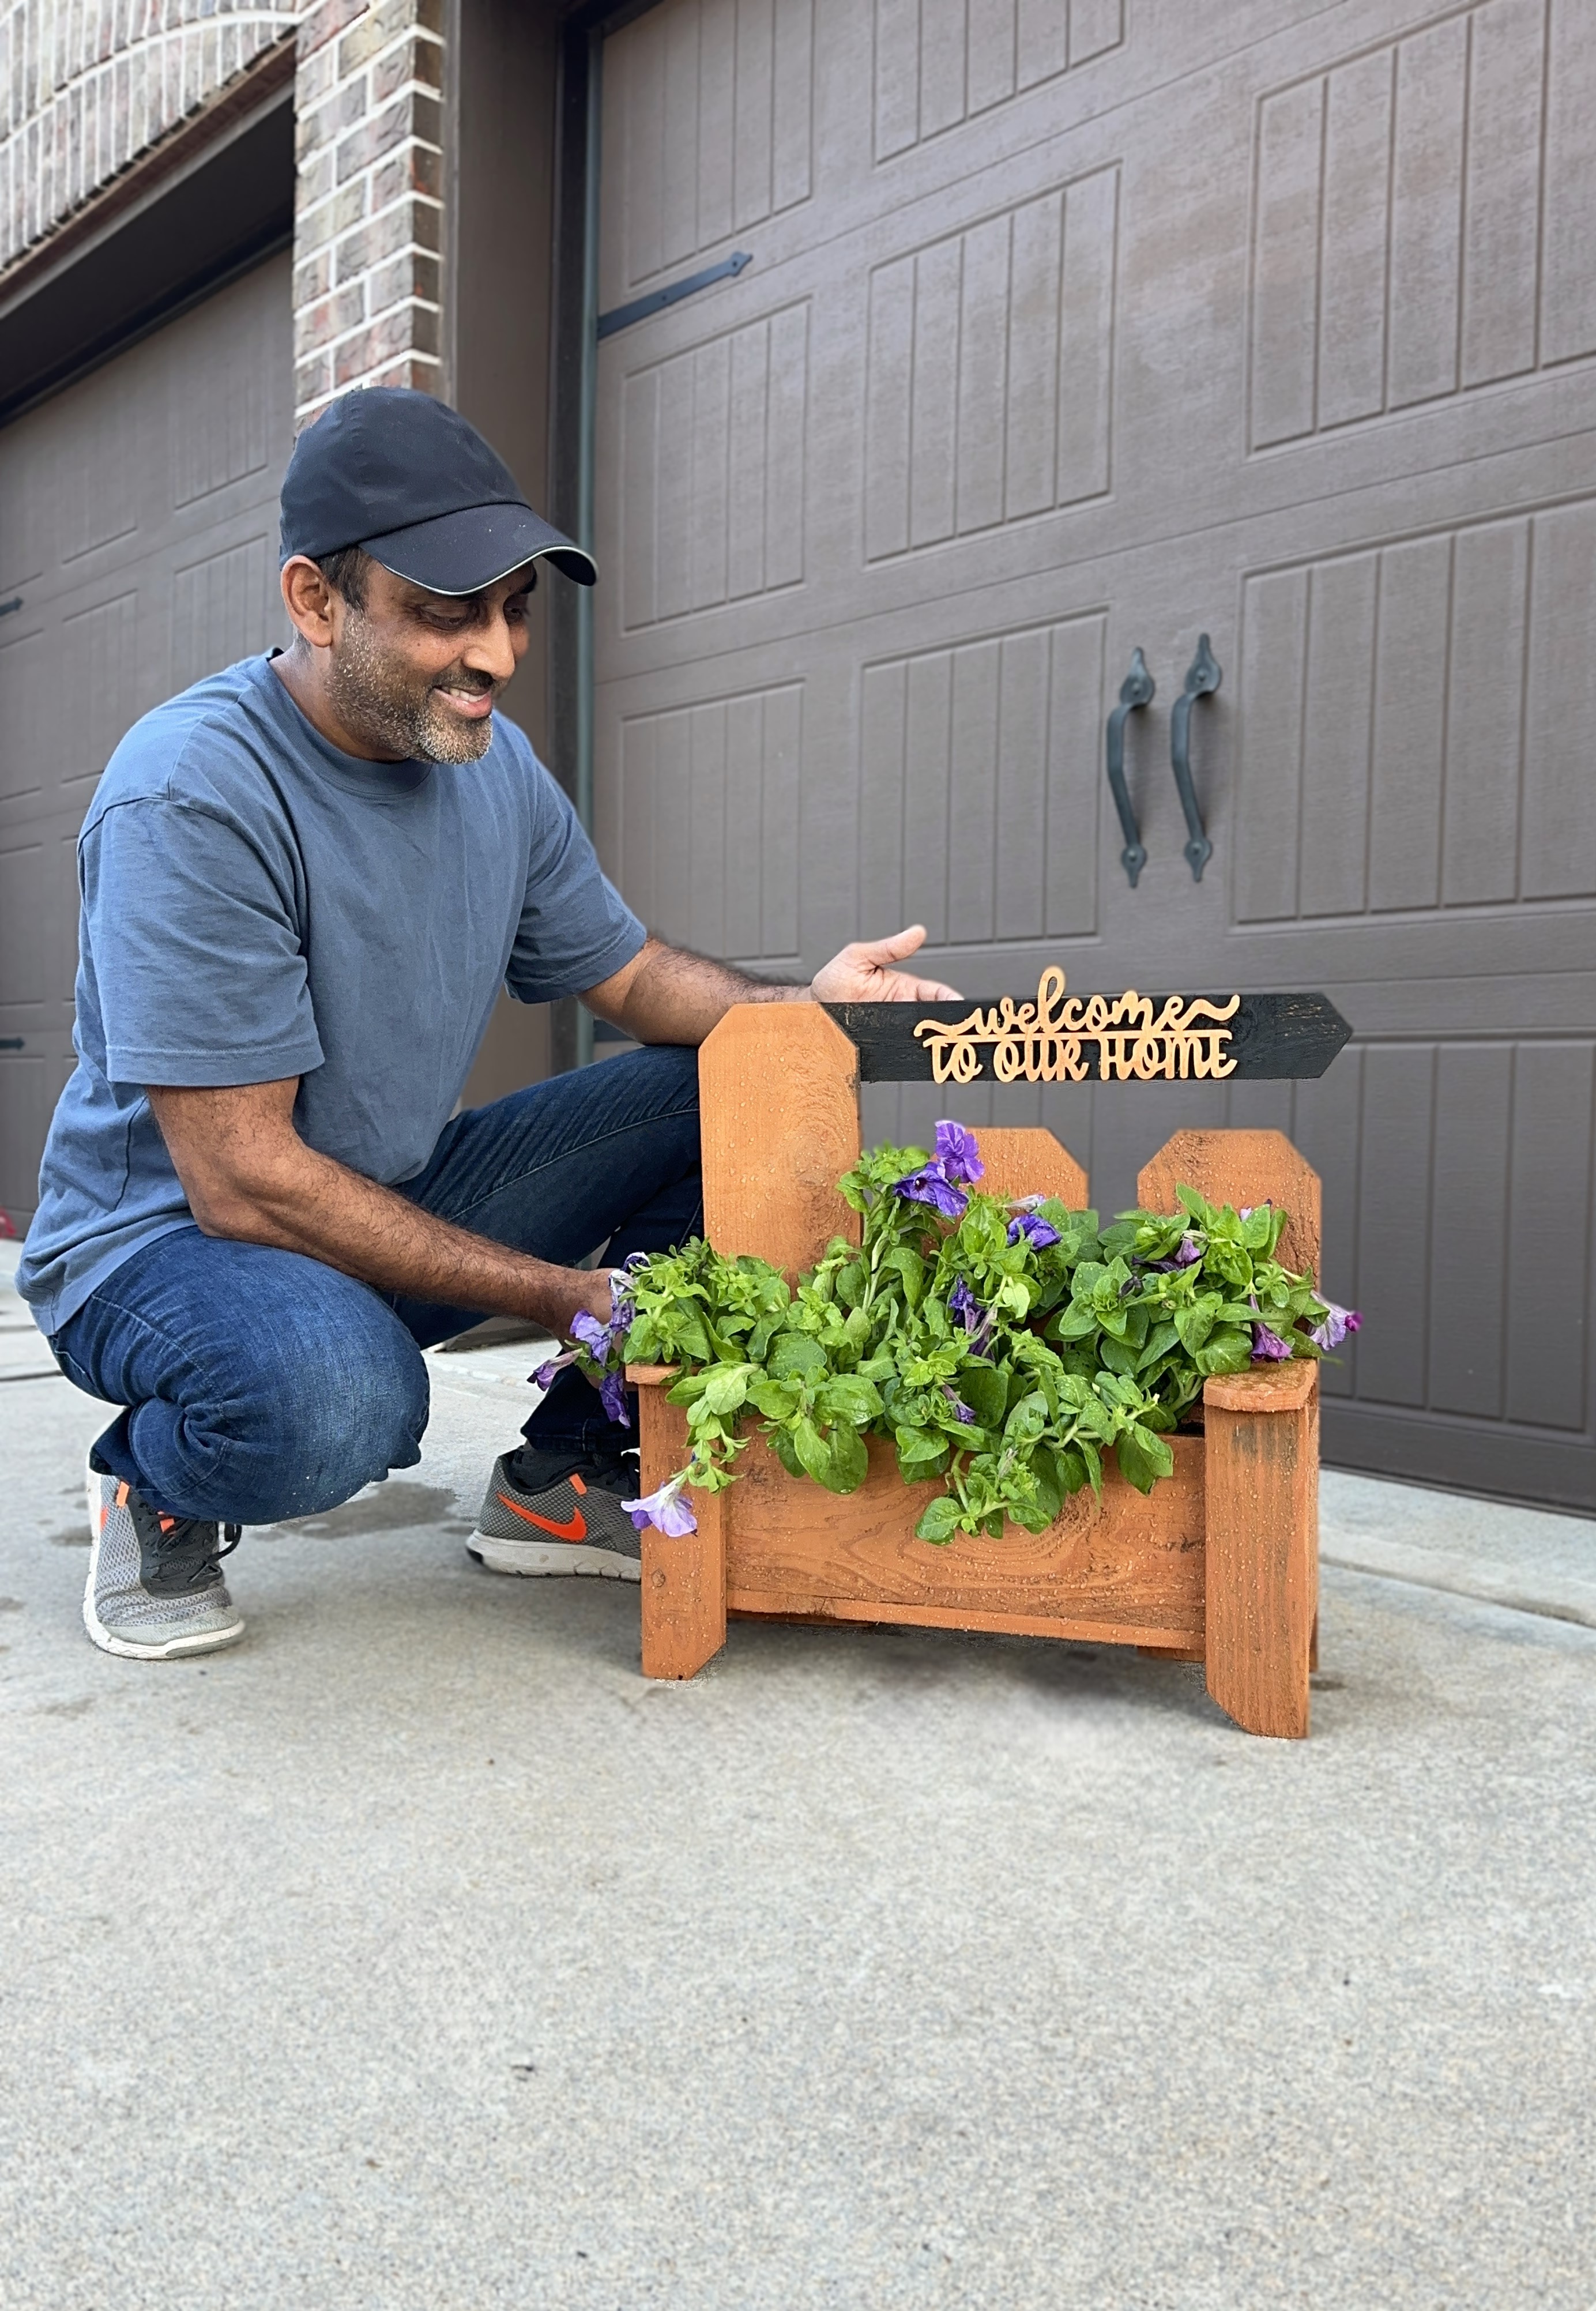
Welcome Planter Box
A simple outdoor welcome planter made from a few inexpensive boards and basic cuts. This project combines a small planter box with a decorative sign for an easy handmade gift on a budget.
Materials
– 3 common pine or cedar boards
– Exterior wood screws or nails
– Wood glue
– Outdoor paint or stain
– Lettering or paint for “Welcome” text (optional)
Tools
– Miter saw or circular saw
– Drill or nailer
– Tape measure
– Speed square
– Sander with sanding pads
– Paint brush or roller
Steps
- Cut the front legs to 9″. Cut vertically for 2 sets of legs. Add slight angled cuts on the ends for a decorative look.
- Cut the support arm to 7″. Cut vertically for 2 sets of arms. Add slight angled cuts on the ends for a decorative look.
- Cut the back panel boards to 14″, 16″, and 20″. Optionally cut in dog ears. Stack or stagger them to create the stepped back support.
- Cut the planter box front and back pieces to 18″ long and cut the side pieces to 6″.
- Assemble the planter box using wood glue and screws or brad nails. Keep the box square while fastening.
- Attach the planter box to the lower section of the back panel assembly.
- Cut the arrow sign to 19″. Cut vertically. Add angled end cuts for a decorative look.
- Attach the arm securely to the back panel and front legs
- Fasten the arrow sign to the 20″ back panel (perpendicular).
- Sand all edges smooth and remove any sharp corners.
- Finish with outdoor paint or stain and allow everything to dry before adding flowers or décor.
- Secure on welcome lettering (or paint it on)
Notes
- Cedar works best outdoors, but inexpensive pine can also be used with exterior paint or sealer.
- Add drainage holes to the planter box if placing soil directly inside.
- Dimensions are approximate based on the provided cut list and can be adjusted to fit different planter needs
Difficulty: Easy
Estimated Time: 1-2 hours