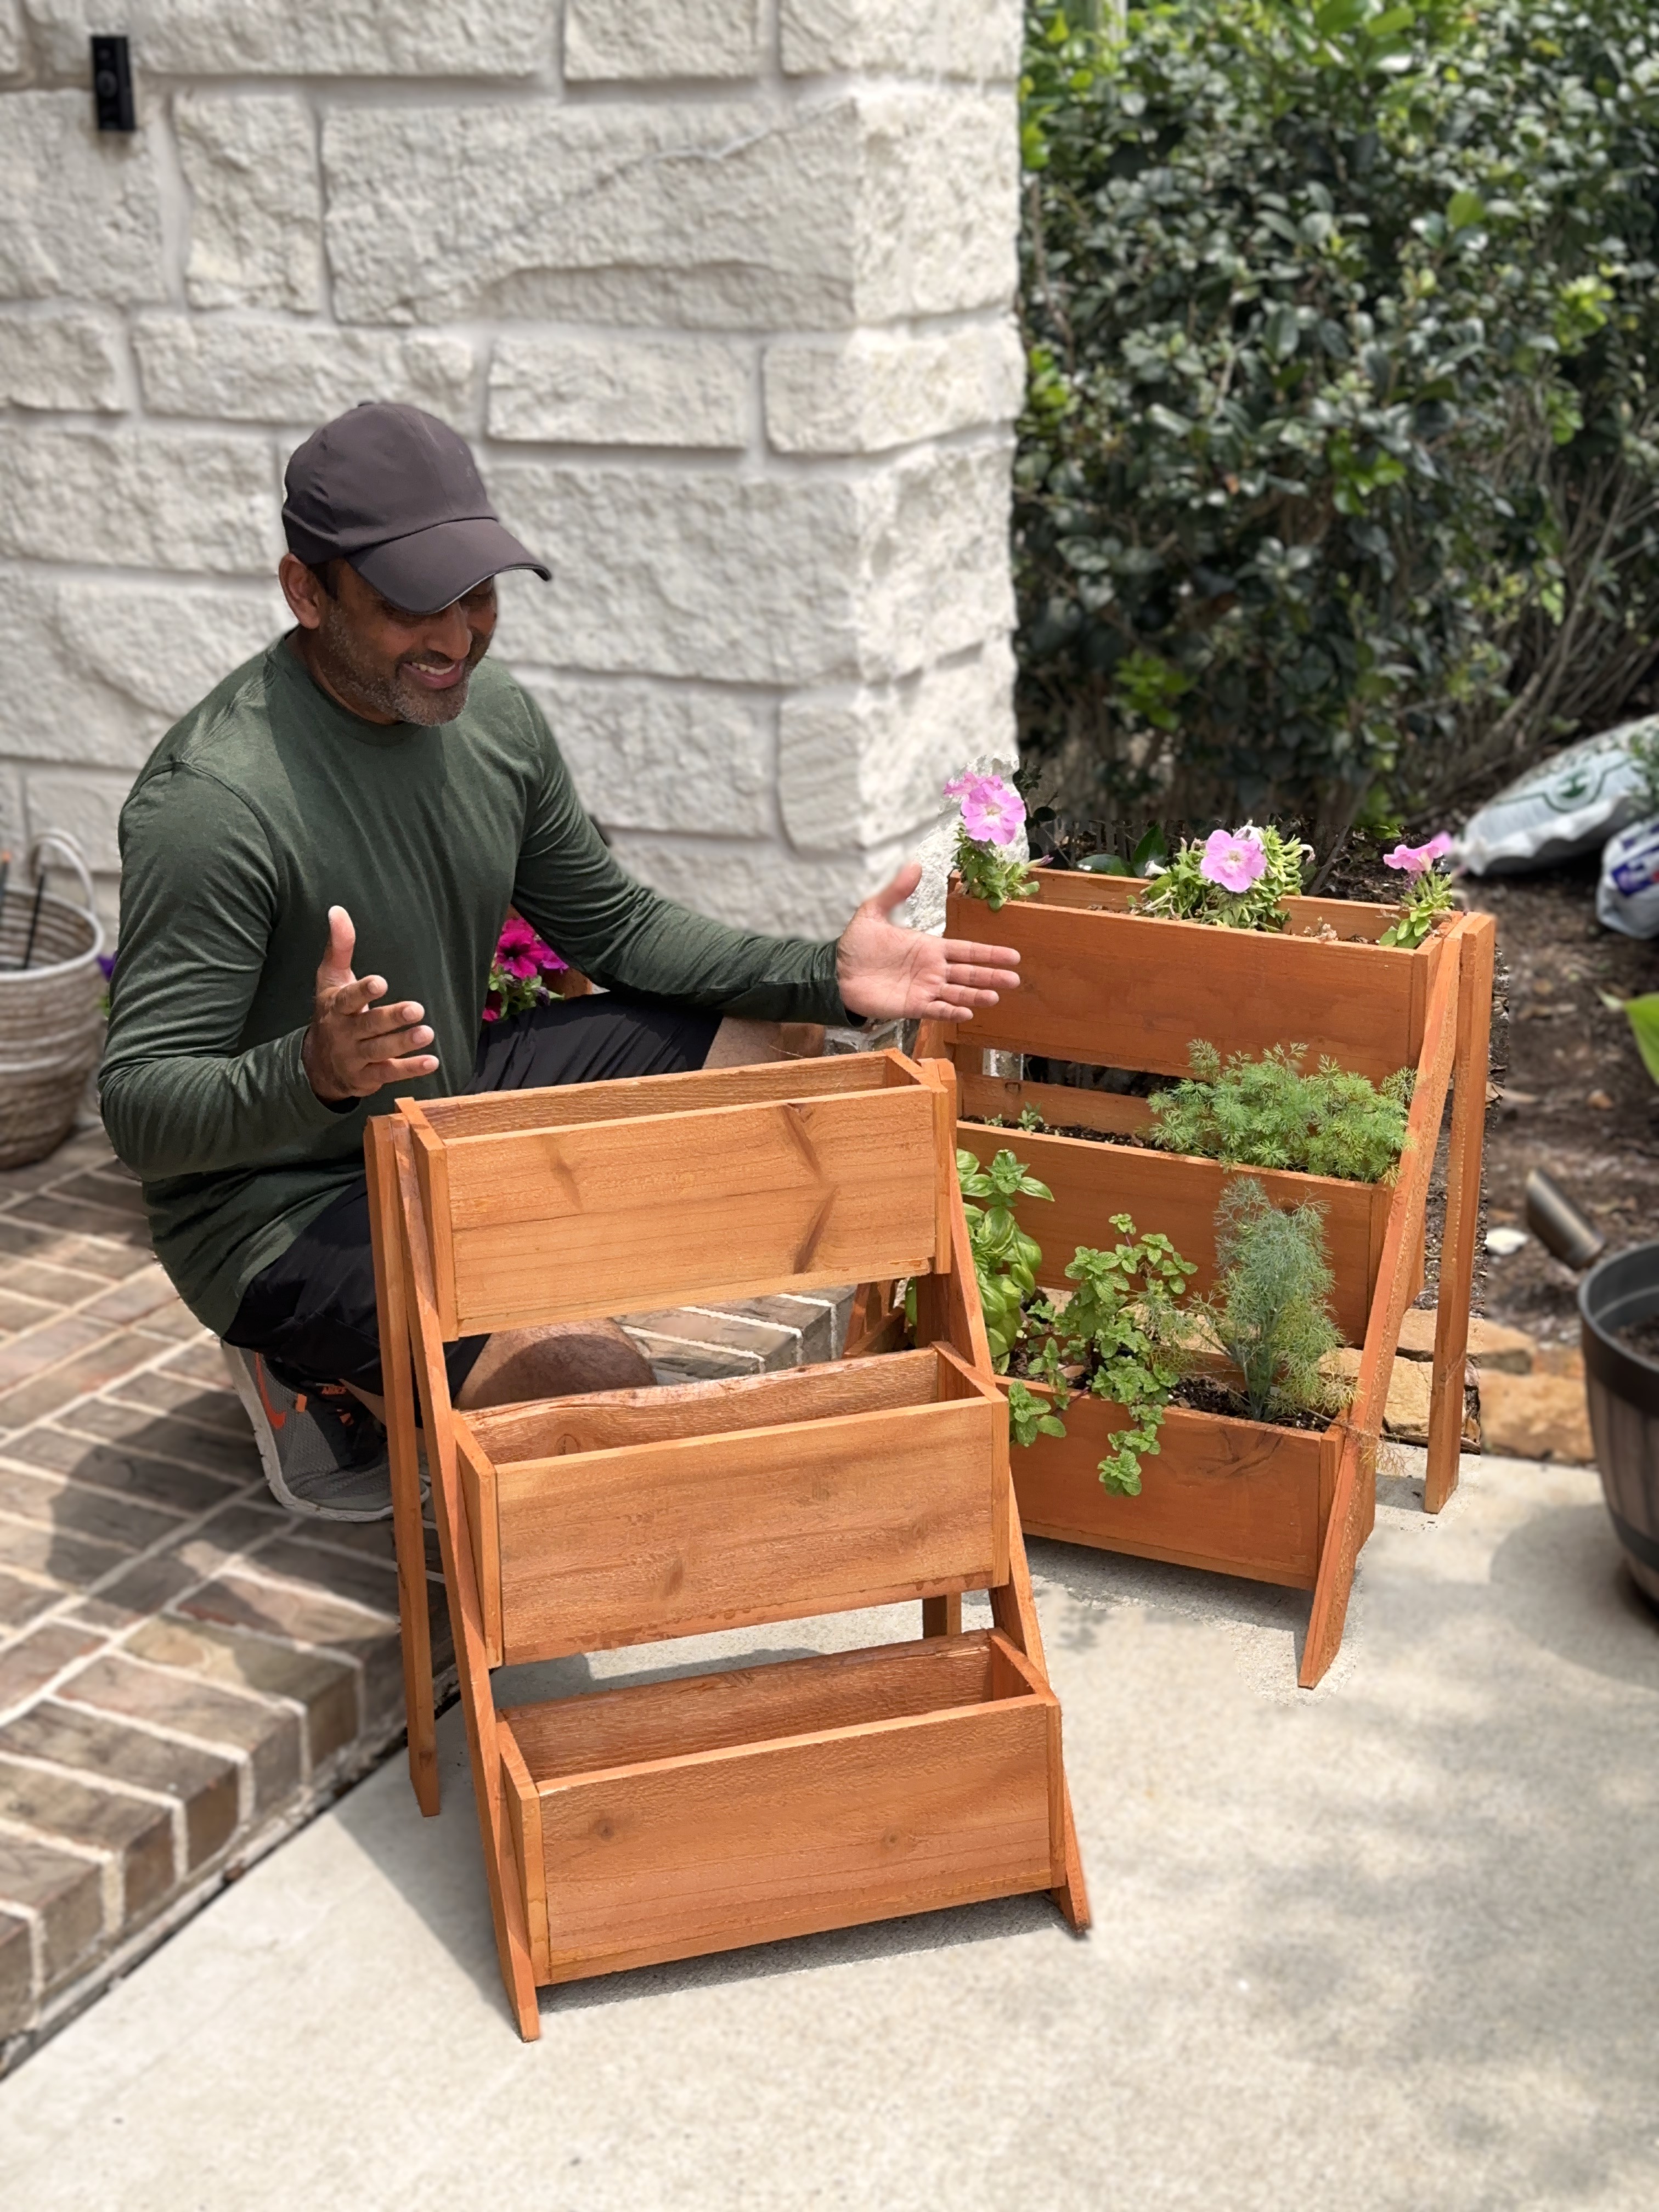
3-Tier Wood Planter Stand
A simple vertical planter stand made from four boards, repeated cuts, and basic tools. Great for adding plant space to a small patio, balcony, or porch.
Materials
– 5 1/2″ x 6ft cedar fence boards (5/8″ thick)
– Wood glue
– 3/4″ narrow crown staples. brad nails, or screws
– 80-120 grit sand paper (optional)
– Exterior stain or sealer (optional)
Tools
– Circular saw
– Tape measure
– Speed square
– Drill
– Brad nailer or narrow crown stapler (optional, but faster)
Steps
- Take one fence board and rip it down the middle lengthwise so you end up with two matching pieces.
- Cut one pair of front legs at 27 1/4″ and one pair of back legs at 23 1/4″.
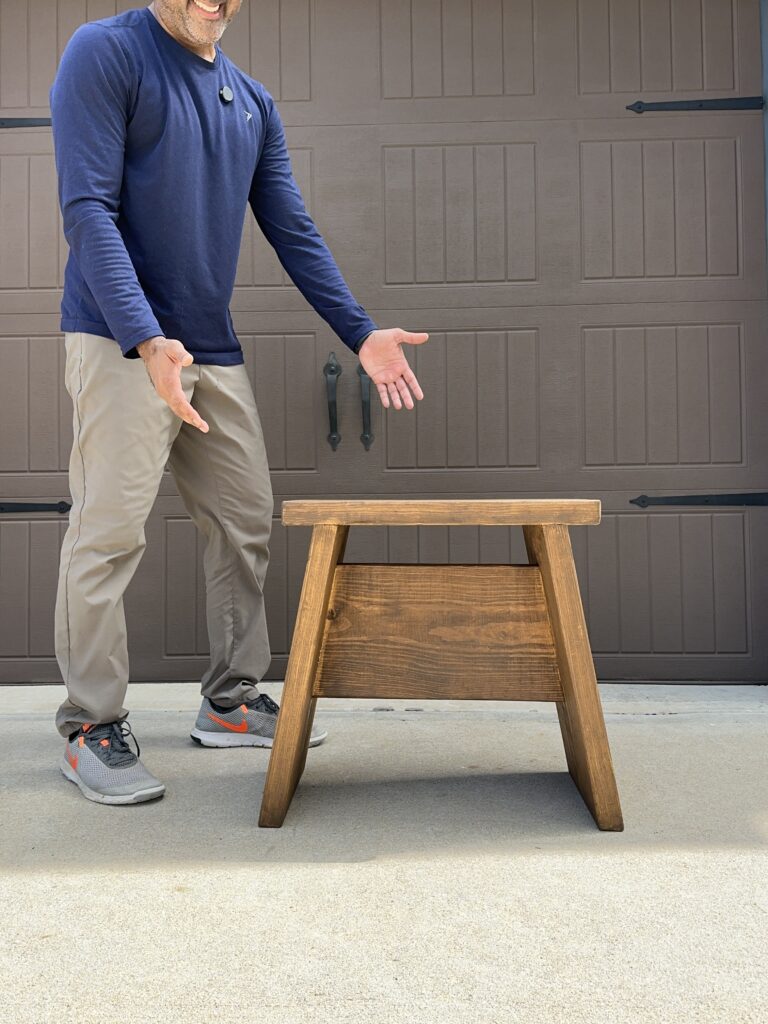
- Use a speed square to mark and cut a 30-degree angle on the front legs. Make sure both pieces are identical so the planter sits evenly.
- Lay out the front and back legs together and check the fit. You may need to trim a slight angle on the top ends so everything sits flush.
- Glue and staple the leg joints together using 3/4″ staples.
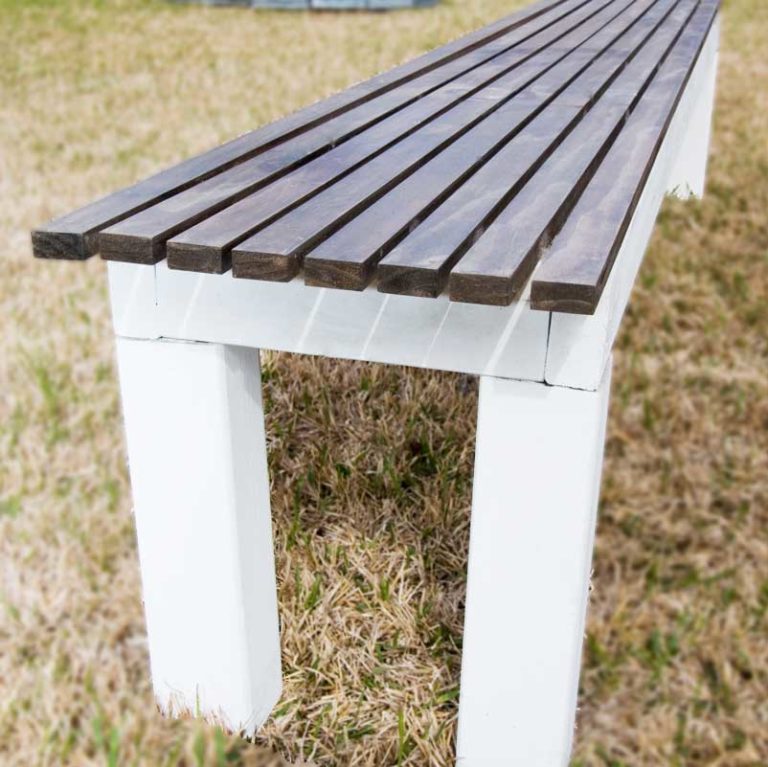
- Build the planter boxes using three 18″ pieces and two 6″ pieces for each planter. Glue and staple the long sides first, then attach the end pieces. Repeat until you have three total planter boxes.
- Set the first planter box onto the legs, then stack the second planter above it. Use a speed square to keep everything aligned while attaching the pieces.
- Slide the third planter into place, flip the stand around, and attach the opposite side frame.
- Drill a few drain holes in the bottom of each planter box.
- Sand everything smooth and apply stain or exterior sealer.
Notes
- The front leg angle is the most important part of the build. If the angles don’t match, the whole planter can look crooked.
- Clamp pieces before stapling if you want cleaner joints.
- Drain holes help prevent standing water and wood rot.
- Cedar fence boards work especially well for outdoor use.
Difficulty: Easy
Estimated Time: 90-120 minutes